


2-4
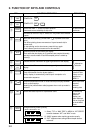
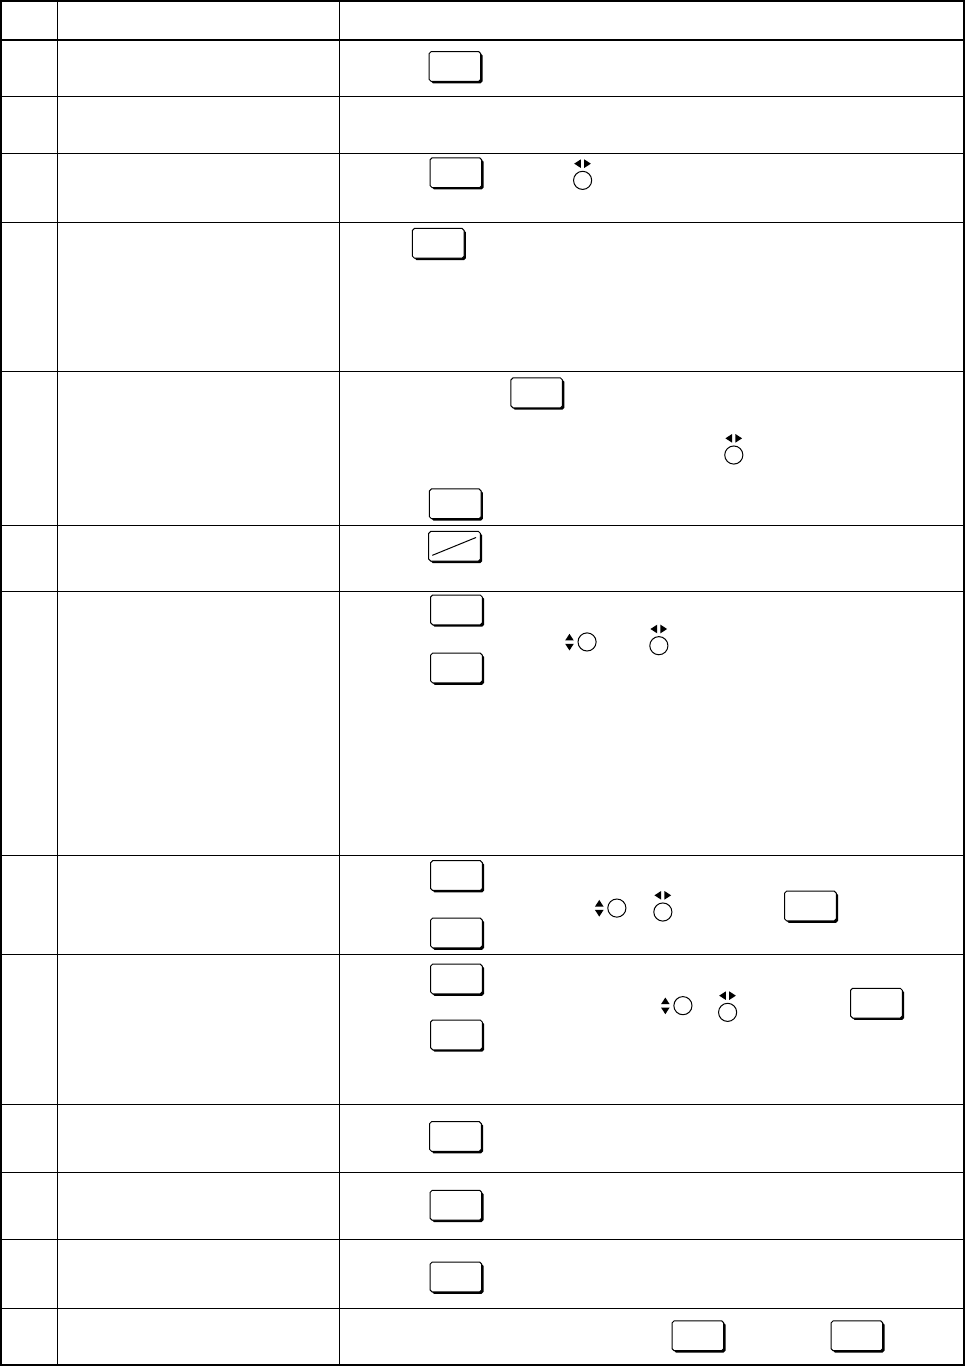
3. OPERATING PROCEDURE
SUBJECT/PURPOSE OPERATON (ACTION)
1
2
3
4
5
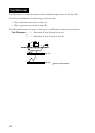
Power-on ¡Press key.
13
Power-off
¡While pressing and holding down key, press key.
Display brilliance adjustment ¡Turn BRILLIANCE control. (CW : Bright, CCW : Dark)
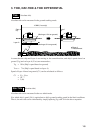
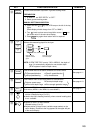
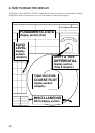
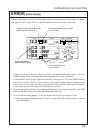
Setting measuring depth
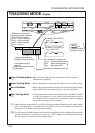
Selecting tracking mode
Reacquiring of temporarily
lost ground echo
(Manual bottom acquisition)
¡Press and turn knob to set depth. After setting, press
any key.
¡Tap key to select tracking mode.
GT/WT/AUTO or GT/NAV/AUTO.
*Use ground tracking mode if water depth is shallower than 200m.
*Select “T/D” or “NAV-TIDE” in MENU 4 - “WT SPEED” to switch
between WT and NAV mode.
¡Press and hold key until “MAN” appears instead of “GT”.
(LED to the left of this key lights.)
¡While watching echo level display, turn knob to place
acquisition cursor on the bottom echo.
¡Press key when bottom acquisition is completed.
7
Setting ranges
¡Speed range for tide
vector display
¡Distance range for course
plot display
¡Depth range for echo level
display
¡Color gradation level for
echo level display
¡Press key to call range menu.
¡Set desired range by and knobs.
¡Press key again to store the setting.
8
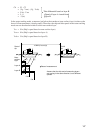
Setting conditions for
measurements and displays
¡Press key.
¡Set desired condition by / knobs and key.
¡Press key again to store the settings.
9
Setting alarm limits
¡Ships speed/course
¡Tide speed/direction
¡Tide dif. speed/direction
¡Trip time/distance
¡Press key to call alarm menu.
¡Set desired alarm conditions by / knobs and key.
¡Press key again to store the settings.
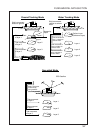
10
Plotting event mark
(Storing present position)
¡Press key.
11
Starting and stopping tide
effect plotting
¡Press key.
12
Switching course plot
display on and off
¡Press key.
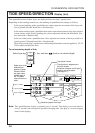
6
Changing presentation mode
for vector graph display
¡Press key to alternate “Head-up” mode and “North-up”
mode.
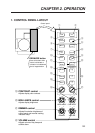
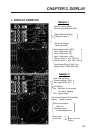
PWR
LYR
n
TRACK
MODE
MANUAL
TRACK
MANUAL
TRACK
TIDE
EFECT
COURSE
PLOT
HU
NU
RANGE
RANGE
MENU
EVENT
EVENT
ALARM
ALARM
EVENT
PWR OFF
MENU