


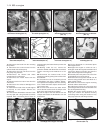
Fig. 1.20 Flywheel housing cover plate
removed (Sec 13)
Fig. 1.19 Left-hand flexible
mounting (Sec 13)
10 Disconnect the leads from the reversing
lamp switch.
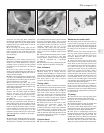
11 Disconnect the coolant hoses from the
cylinder head and coolant pump.
12 Disconnect the fuel inlet hose from the
fuel pump. Plug the hose.
13 Disconnect the throttle and choke
controls from the carburettor.
14 Disconnect the heater hoses from the
engine.
15 Disconnect the fuel return hose from the
carburettor.
16 Disconnect the exhaust downpipe from
the manifold.
17 Raise the front end of the car and support
it securely on axle stands. Remove the
roadwheels.
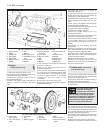
18 Unscrew the driveshaft to hub nuts. These
are very tight and a long knuckle bar will be
required when unscrewing them. Have an
assistant apply the brakes hard to prevent the
hub turning.
19 Working under the car, remove the
protective shields and disconnect the exhaust
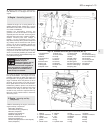
system mountings and withdraw it to the
rear.
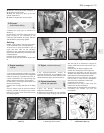
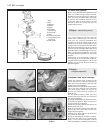
20 Disconnect the forward ends of the
gearchange rods by prising their sockets from
the ballstuds.
21 Unscrew the nuts on the steering tie-rod
end balljoints and using a suitable “splitter”
tool separate the balljoints from the steering
arms. Unbolt the brake calipers and tie them
up out of the way.
22 Unscrew and remove the bolts which
secure the hub carriers to the U-clamps at the
base of the suspension struts (photo).
23 Pull the tops of the hub carriers from the
clamps and release the driveshafts from the
hub carriers.
24 Tie the driveshafts in a horizontal plane
with lengths of wire.
25 Support the engine on a hoist or use a
trolley jack under the engine/transmission and
remove the bottom mounting and then the
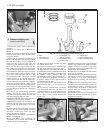
upper left and right-hand ones (photo).
26 Carefully lower the power unit to the floor
and withdraw it from under the car.
27 External dirt and grease should now be
removed using paraffin and a stiff brush or a
water-soluble solvent.
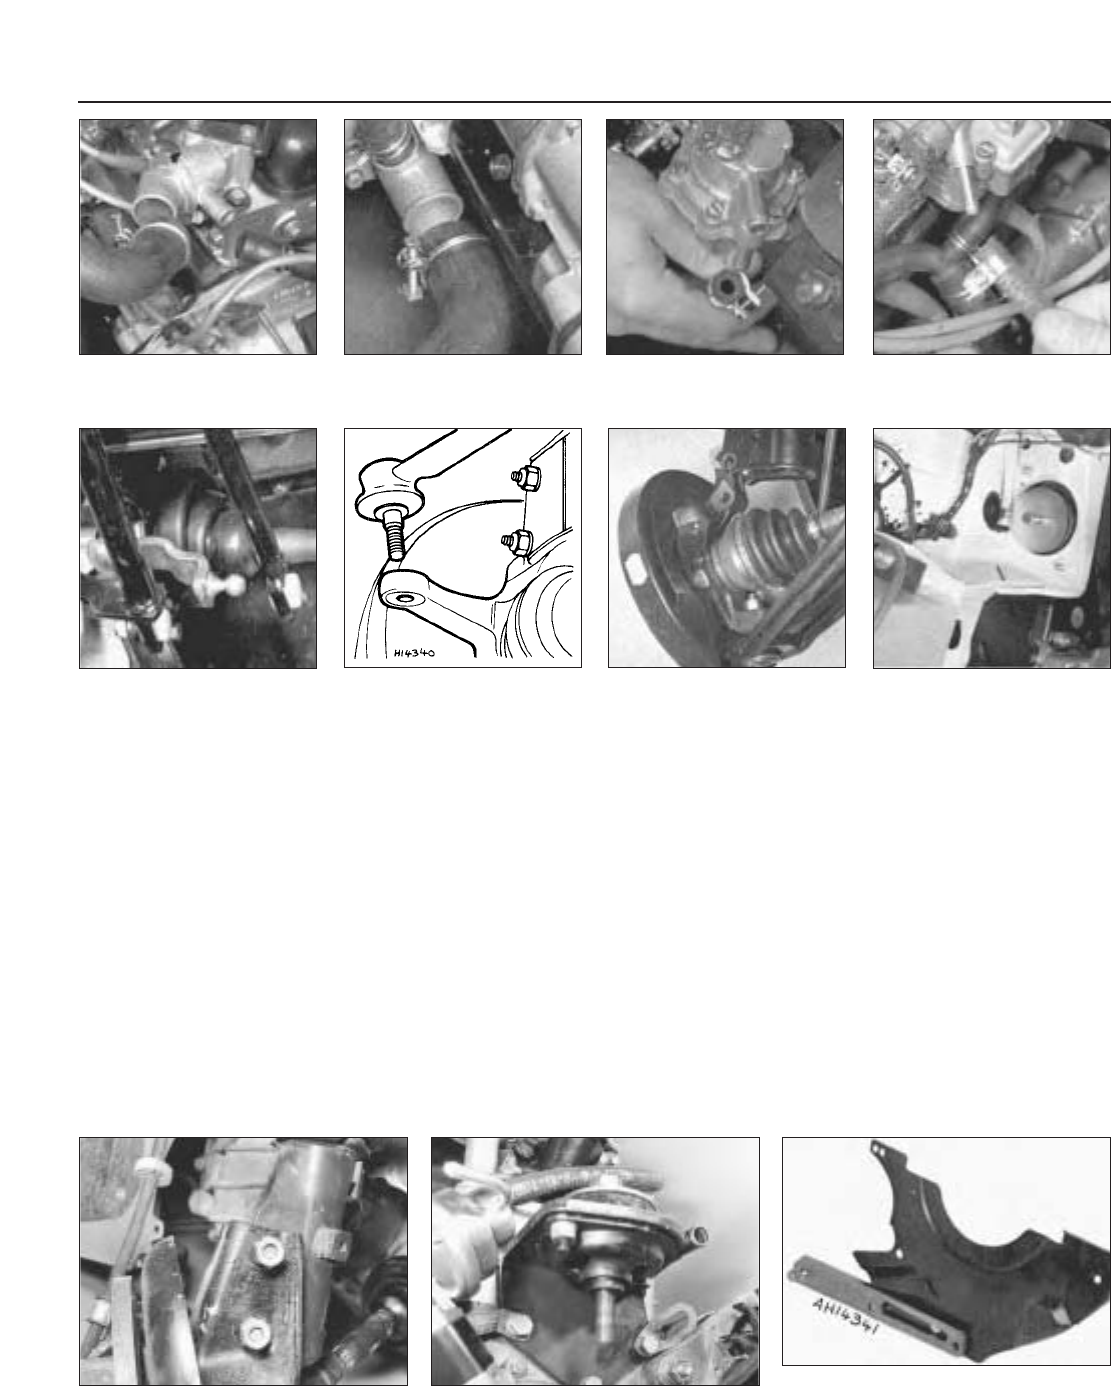
28 Unbolt and remove the engine mounting
brackets and the starter motor.
29 Unbolt and remove the cover plate and
gearchange ball stud strut from the lower front
face of the flywheel housing.
30 With the engine resting squarely on its
sump pan unscrew the flywheel housing
connecting bolts noting the location of any
lifting lugs and hose and wiring brackets.
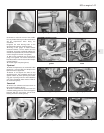
1•14 903 cc engine
13.25 Right-hand engine mounting
Fig. 1.18 Hub carrier detached
from strut clamp (Sec 13)
13.22 Hub carrier strut clamp
Fig. 1.17 Tie-rod end balljoint
disconnected (Sec 13)
Fig. 1.16 Gearchange rods
disconnected (Sec 13)
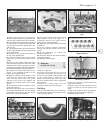
Fig. 1.15 Fuel return hose
disconnected from carburettor
(Sec 13)
Fig. 1.14 Fuel inlet hose
disconnected from pump
(Sec 13)
Fig. 1.13 Coolant hose at rear
of coolant pump (Sec 13)
Fig. 1.12 Coolant hoses at
thermostat housing (Sec 13)