20
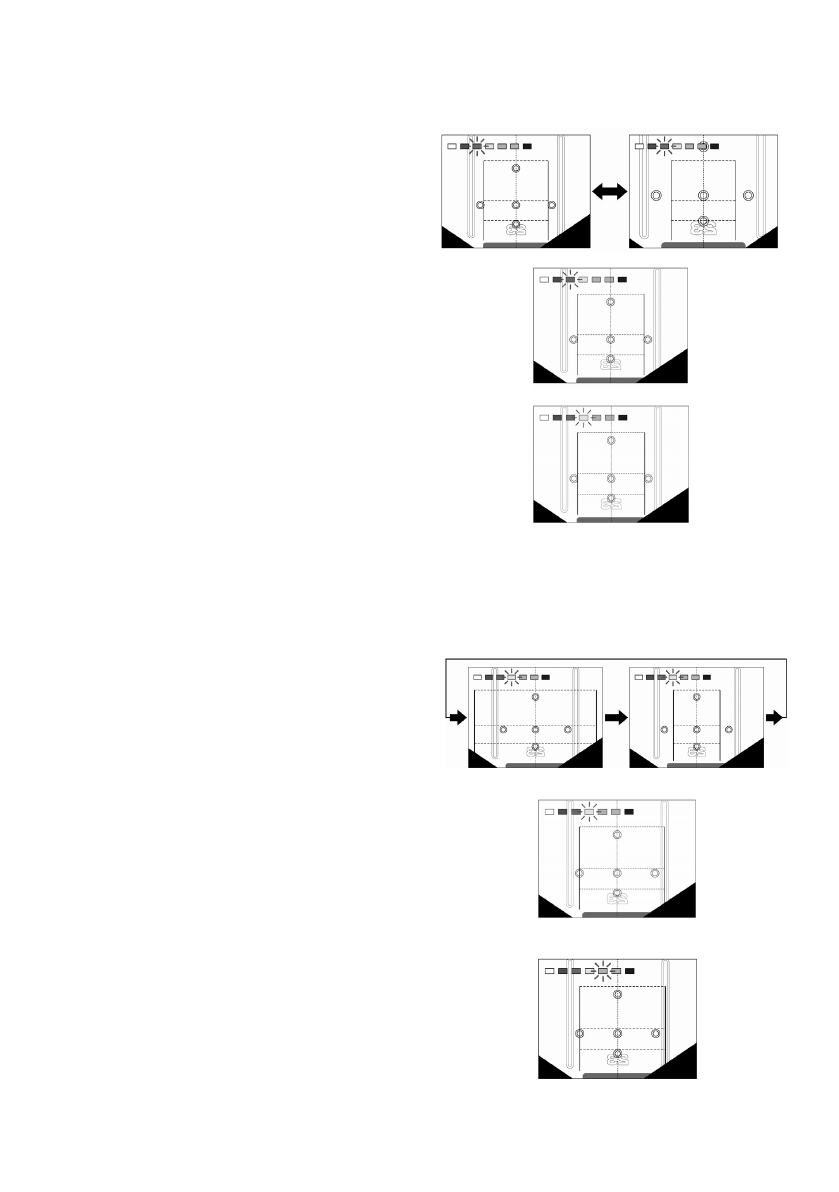
3. View-from-top height alignment (flashing violet rectangle)
3-1. Press the control switch to change to a
higher or lower view-from-top.
Select a view-from-top height so that the
markers indicating the width of the vehicle
can be seen better on the screen.
3-2. Press and hold the control switch for more
than two seconds.
The view-from-top height alignment is now
set and the screen changes to the left/right
guide lines alignment setting. Left/right guide
lines are indicated in red on the screen.
4. Left/right guide lines alignment (flashing yellow rectangle)
4-1. Each time the control switch is pressed, the
width of the guide lines becomes narrower.
Continuously pressing the control switch
sets the screen at the maximum width.
Set the left guide line to match the left-side
marker of the vehicle.
4-2. Press and hold the control switch for more than
two seconds.
The left/right guide lines alignment is now set
and the screen changes to the right guide line
alignment setting. The right guide line is
indicated in red on the screen.
