


78 – 79
SIMULATION: Simulates navigation based on the
displayed route. Simulation can only be carried out
for routes of max. 100 km. GPS reception is not
required for simulation.
TRAFFIC: Opens the TRAFFIC INFORMATION
window, in which pending reports can be listed.
i
For detailed information, please refer to chapter
“TMC
[
Traffic information
]
”, page 83.
STORE A VOICE COMMAND: Opens a window in
which a voice command for the selected destination
can be given to the device, when prompted. This
means that navigation to the destination can always
be started “on command”.
RENAME: Opens a window in which you can
change the name of the selected destination or
route.
FACTORY SETTINGS: Opens a window in which all
settings can be restored to their original factory
settings.
DELETE DESTINATION: Deletes the marked
destination from the LAST DESTINATIONS or
FAVORITES lists. The delete process must be
confirmed by means of a dialog window.
SAVE DESTINATION: Saves the given address in
the FAVORITES list.
i
For detailed information, please refer to chapter
“Saving a destination” on page 73.
ADD TO ROUTE: Opens the route planning. The
address entered will be entered as the first route stage
of a new route.
i
For detailed information, please refer to chapter
“Planning routes” on page 74.
07 Options 08 Working with the map
8.1 Maps
Even if you have stored numerous navigation maps
on the navigation system’s memory card, P´ 9611
can only work with one map at a time. In order to
see which map is currently in use, proceed as
follows:
1. Touch the OPTIONS button.
2. Select SETTINGS.
3. Touch CURRENT MAP.
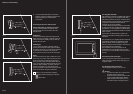
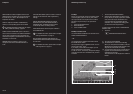
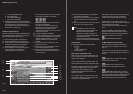
8.2 Map in Preview mode
You have entered a destination and touched on the
START NAVIGATION button.
– OR –
You have planned or loaded a route and touched
the SHOW ROUTE button.
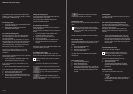
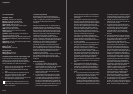
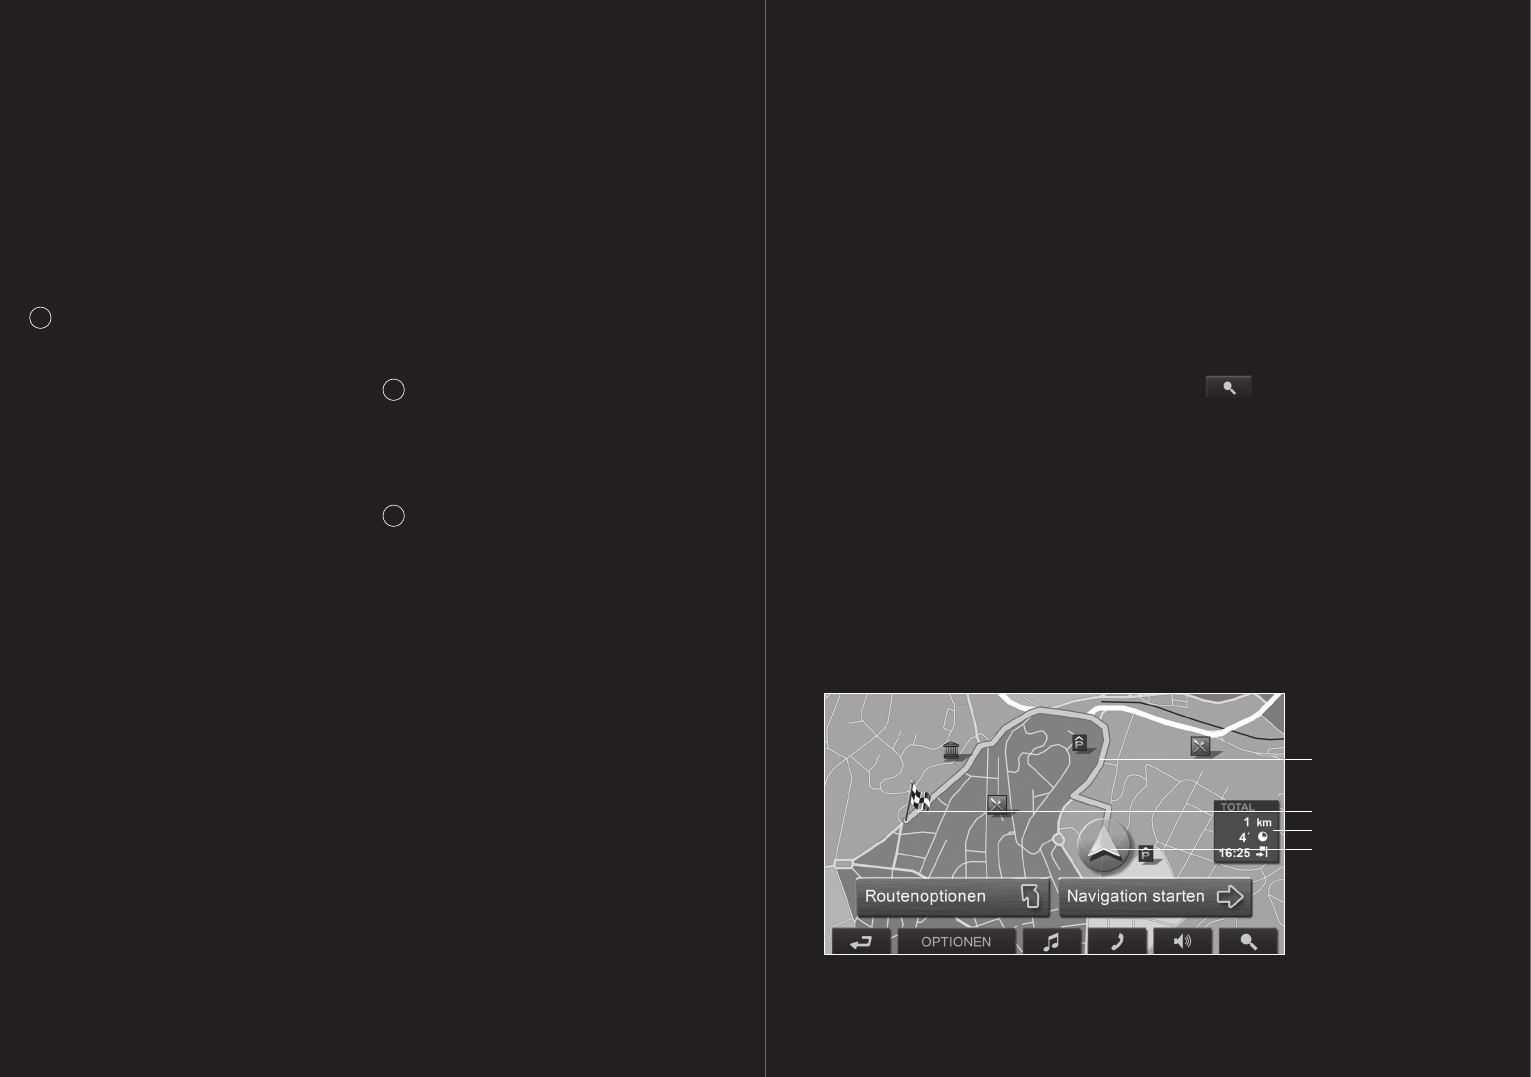
The map screen opens in PREVIEW mode. You can
see the entire route.
[
Fig. 9
]
If you display a route with several stages, you will
see this information for each stage.
In order to view or, if necessary, change the settings
which form the basis of a calculated route, proceed
as follows:
1. Touch the ROUTE PROFILE button.
2.
Select START NAVIGATION in order to begin
the trip. When you display a planned or loaded
route, the route may be recalculated. Your
current location will be integrated into the
calculation. The navigation will initially guide
you to the first route stage entered.
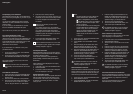
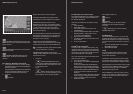
In order to open the map screen in DESTINATION
SEARCH mode:
1. Touch the
DESTINATION SEARCH button.
[
1
]
The route is marked GREEN.
[
2
]
The destination is marked with a little flag.
When you have planned or loaded a route and
displayed it, the starting points and each route
stage will be marked with a small flag.
[
3
]
You will see the entire route in a small info box,
together with the estimated trip time and the
estimated time of arrival.
This information can be displayed or hidden as
follows:
Fig. 9
[
1
]
[
2
]
[
3
]
[
4
]