4D68 ENGINE (E- W) -
Crankshaft, Cylinder Block and Flywheel
11A-12-8
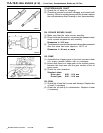
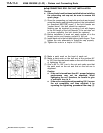
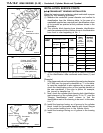
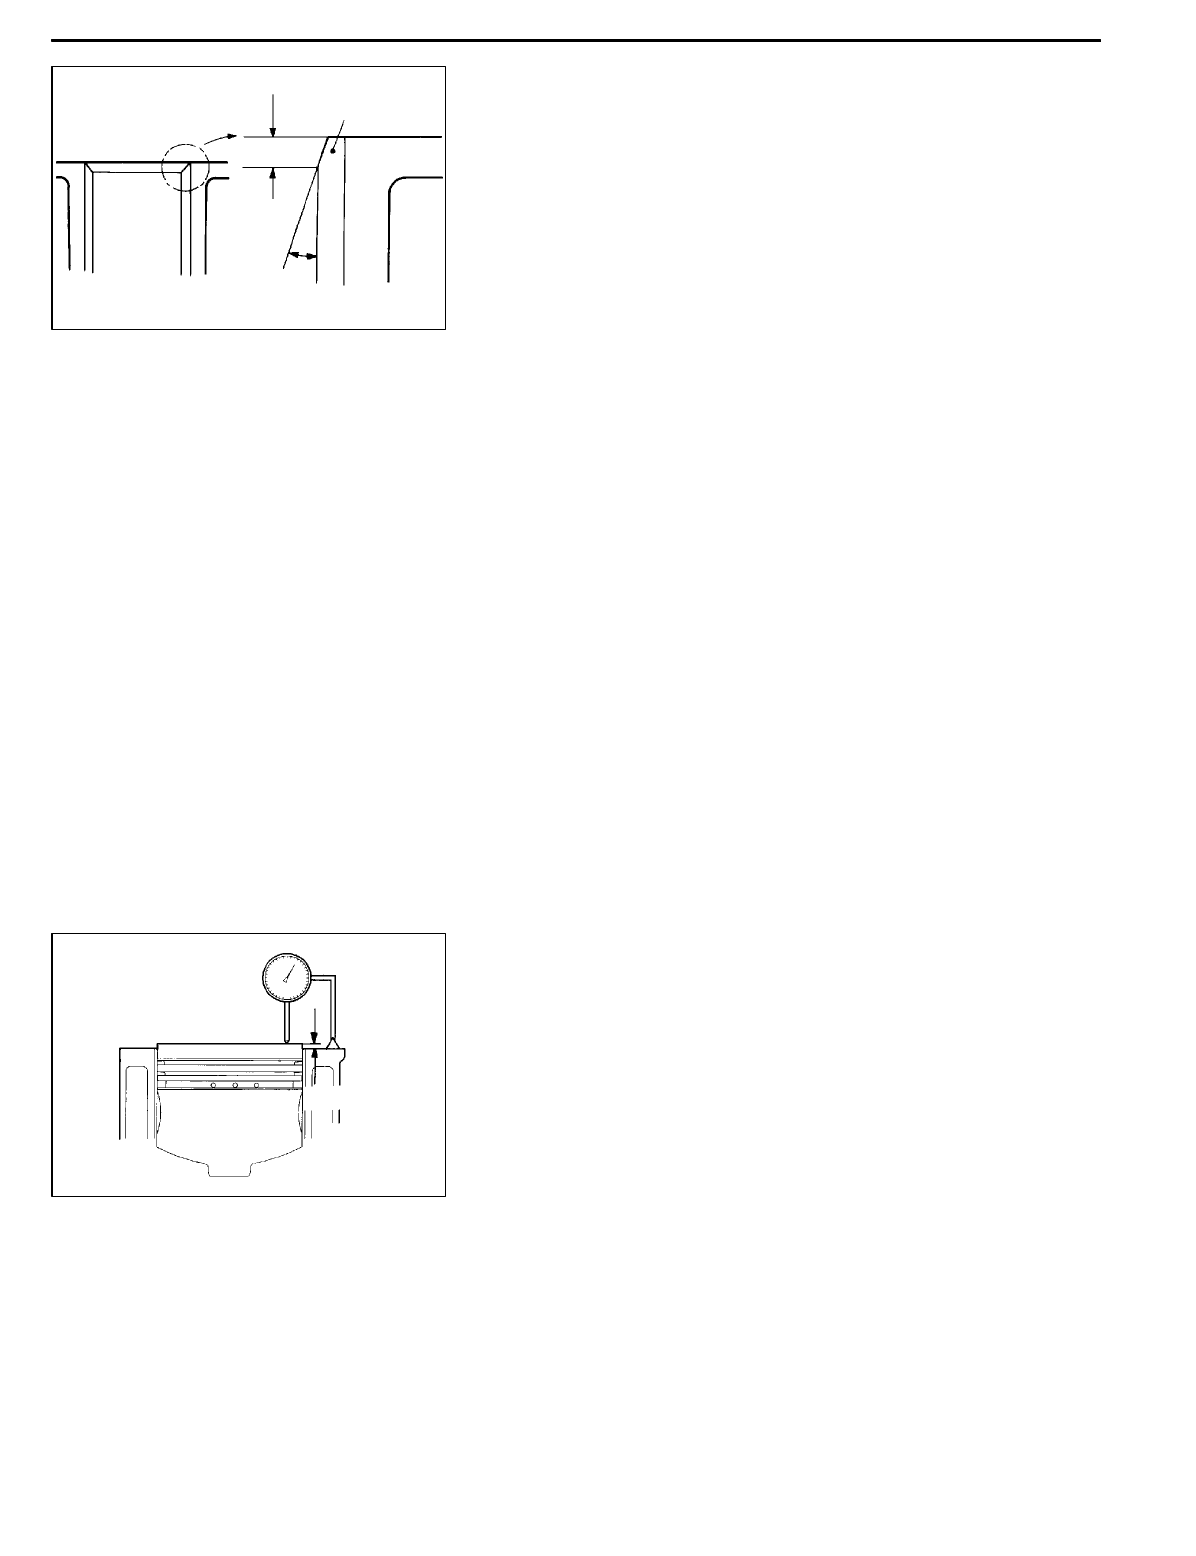
(5) Chamfer th e cylinder sleeve to p end as illustrated.
(6) The service cylinder sleeve has the I.D. machined to 81.5
to 81.7 mm. After installation of the sleeve, therefore,
hone the I.D. to the standard value.
Cylinder I.D.: 82.70 - 82.73 mm
Honing finished surface roughness: 2 - 4
m
Honing cross hatch angle: 15 - 25
°
Cylinder bore squareness: 0.05 mm
When boring the cylinder block sleeve hole
(1) Prepare a cylinder sleeveof 0 . 5 mm oversize (identification
color: red).
(2) Hone the cylinder block sleeve hole to 86.13 to 86.15
mm.
(3) Install the cylinder sleeve and finish the I.D. The installation
and machining procedures are the same as in the case
when the block sleeve hole has not been bored.
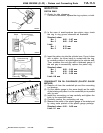
INSPECTION AFTER ASSEMBLY
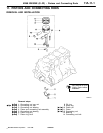
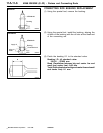
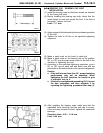
(1) After assembling the crankshaft, piston, etc., check the
piston protrusion.
If the protrusion exceeds the limit, change the piston and
connecting rod in order to reduce the protrusion to within
the limit.
(2) If the protrusion still exceeds the limit after piston
reassembly, replace the cylinder block.
Limit: 0.823 mm
PWEE9609
E
Dec. 1996Mitsubishi Motors Corporation
DEN244
Cylinder sleeve
0.5 mm
30
°
DEN0798
Protrusion


