


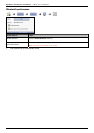

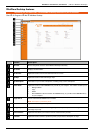


Mio Moov 200-Series, 300-Series | What is MioMore Desktop?
101
How do I install MioMore Desktop onto my computer?
Note: Before you begin:
Ensure that your computer meets the minimum system requirements for MioMore Desktop, especially:
i. Ensure that Internet Explorer 6 or higher is installed on your computer before you install MioMore Desktop, even if it is not your default
browser.
ii. Windows XP users, ensure that Windows XP Service Pack 2 or higher has been applied before you install MioMore Desktop.
1. Close all programs on your computer.
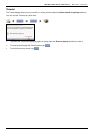
2. Insert the MioMore Desktop Application Installer DVD into your computer DVD drive.
The MioMore Desktop installer will start.
If your computer does not automatically launch the DVD, start the installation manually:
Start
Run.
Type D:\Install.exe where “D” is the letter assigned to your DVD drive, then click OK.
3. Select your preferred language for MioMore Desktop.
4. Click Install MioMore Desktop.
5. Follow the screen prompts to install MioMore Desktop:
Review and accept the Licence Agreement for MioMore Desktop when prompted.
Select a destination folder for MioMore Desktop when prompted.
When the installation has finished, click Finish.
MioMore Desktop will open.
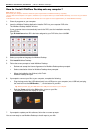
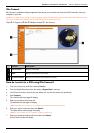
6. If prompted to connect your Mio to your computer, complete the following:
Plug the large end of the USB cable directly into a USB port on your computer (not a USB hub) and plug
the small end into the USB Socket (
) on the bottom of your Mio.
Tip: Where possible, plug the USB cable into a USB port at the back of your computer.
Push the Power switch to the ON position, to turn on your Mio.
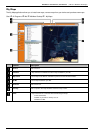
The following screen will display on your Mio.
7. If prompted to update your Mio software, follow the on-screen prompts.
You are now ready to use MioMore Desktop to install maps to your Mio.