


12
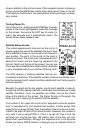
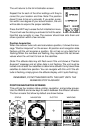
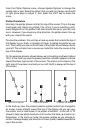
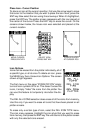
Plot-3 (see at the top of the next page) is similar to
plot-2. The major difference is the steering arrow and
waypoint information at the bottom of the screen. When
you navigate to a waypoint, the waypoint’s name and
number show at the bottom of this screen. The steer-
ing arrow always points in the direction to the waypoint.
The Z-IN and Z-OUT keys zoom-in and out all plotters
to enlarge or reduce their coverage area. The available
ranges are: 0.1, 0.15, 0.2, 0.3, 0.4, 0.6, 0.8, 1, 1.5, 2, 3,
4, 5, 6, 8, 10, 15, 20, 30, 40, 60, 80, 100, 150, 200, 300, 400, 600, 800,
1000, 1500, and 2000 miles. Pressing both the Z-IN and Z-OUT centers
the cursor’s position on the plotter screen.
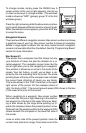
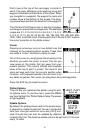
Cursor
Pressing an arrow key turns on two dotted lines that
intersect at the present position symbol. These lines
are called a “cursor” and have a variety of uses.
To turn the cursor on, simply press the arrow key in the
direction you want the cursor to move. This lets you
view areas on the plotter that are away from your
present position. The cursor’s latitude and longitude
show at the top of plot-1’s screen. The zoom-in and
zoom-out keys work from the cursor’s position when
it’s active - not the present position. You can zoom in on
any detail, anywhere. The cursor can also place icons and waypoints.
Press the EXIT key to erase the cursor.
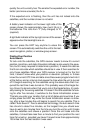
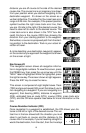
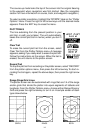
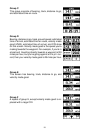
Plotter Options
This unit lets you customize the plotter using the plot-
ter options menu. To use this menu, press the MENU
key, then highlight the “Plotter Options” label. The screen
at right appears.
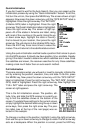
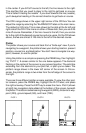
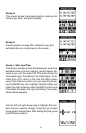
Update Options
By default, the plotter places a dot on the screen every
3 seconds to create the plot trail. You can change this
time from once per second to once every thirty min-
utes. The plot trail can also be updated by distance
instead of by time. The distance update rate can be set from 0.01 to once
every 10 miles.