advance points than the earlier system.
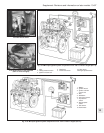
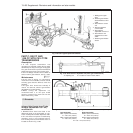
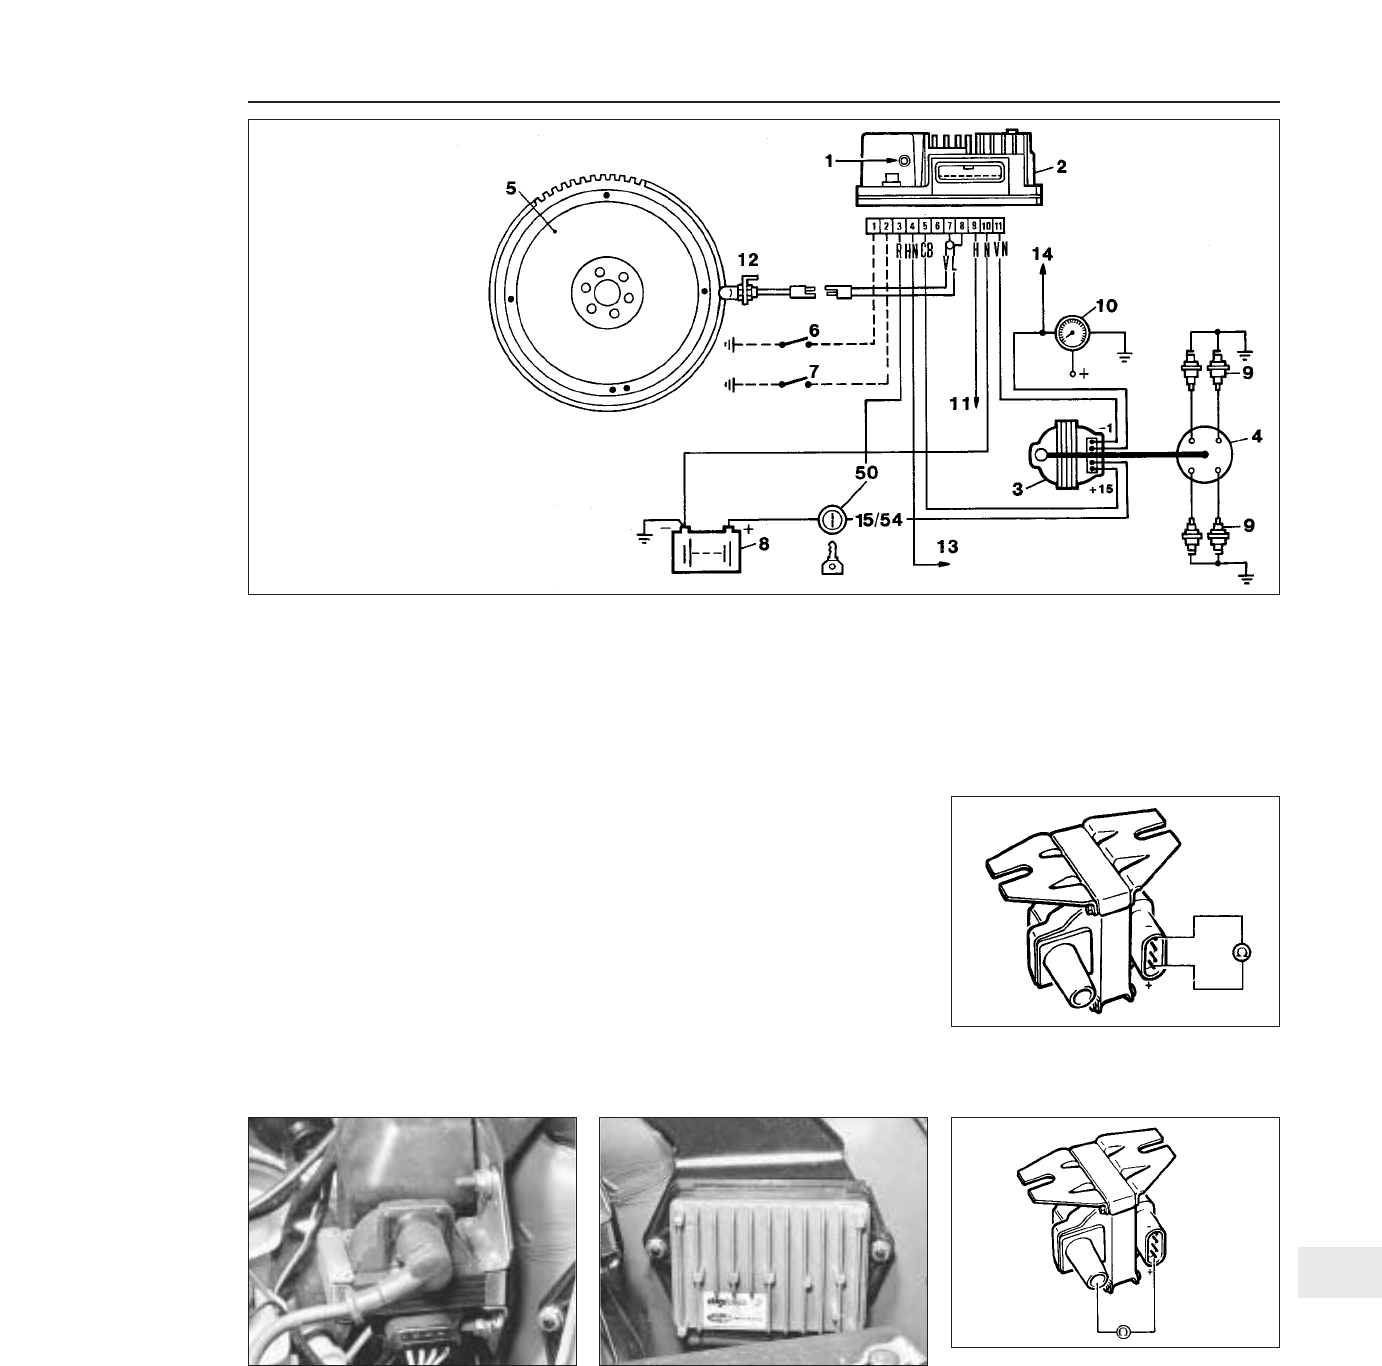
Comparison of Fig. 13.82 with Fig. 4.2
illustrates the difference in layout. Note that
the distributor is mounted on the rear end of
the cylinder head and is driven by the
camshaft.
63 When working on the Digiplex 2 ignition
system or associated components, the
precautionary notes outlined in Section 9 of
Chapter 4 must be adhered to.
64 As with the earlier system, test
procedures possible on the Digiplex 2 system
are restricted due to the need for specialised
testing equipment. The following checks are
possible, however, using a conventional test
meter.
Ignition coil check
65 To check the resistance of the coil’s
primary windings, connect the probes of an
ohmmeter between the positive terminal and
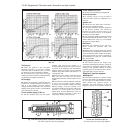
the negative terminal as shown in Fig. 13.83,
and check that the resistance reading at 18 to
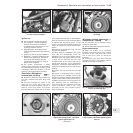
28ºC is 0.45 ohms ± 10% (photo).
66 To check the resistance of the coil’s
secondary windings, connect the probes of an
ohmmeter between the positive terminal and
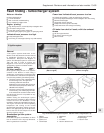
the HT lead terminal as shown in Fig. 13.84.
Check that the resistance reading at 18 to
28ºC (64 to 82ºF) is 4800 ohms ± 10%.
Ignition timing check
67 Refer to paragraph 2 in this Section.
Engine speed and TDC sensor check
68 To check the resistance between the
sensor and the ECU, detach the wiring
connector (photo). Connect the probes of an
ohmmeter to the connector terminals and
check that the resistance reading is between
600 and 760 ohms at 20ºC (68ºF). If the
reading is not as specified, the sensor must
be renewed.
69 The gap between the sensor and the pins
on the rear face of the flywheel must be
between 0.2 and 0.8 mm. Any deviation
outside of this clearance will be due to
mechanical damage to the sensor and
necessitates its renewal. The sensor is
accurately positioned during manufacture and
secured with tamperproof screws; it does not
require any adjustment during servicing. If it is
necessary to renew the sensor, a special gap
setting tool is required and the task is
therefore best entrusted to a FIAT dealer.
Supplement: Revisions and information on later models 13•91
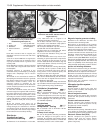
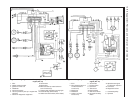
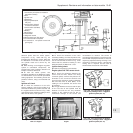
Fig. 13.82 Digiplex 2 ignition system wiring circuits and components (Sec 10)
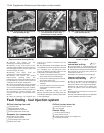
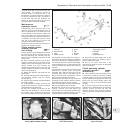
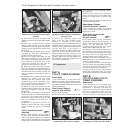
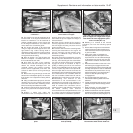
10.68 ECU location on the 1372 cc ie
engine
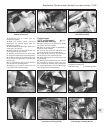
10.65 Ignition coil and connections on the
1372 cc ie engine
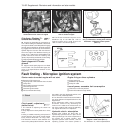
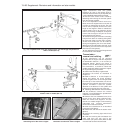
Fig. 13.84 Test connections for ignition
coil secondary windings check - Digiplex 2
ignition system (Sec 10)
Fig. 13.83 Test connections for ignition
coil primary windings check - Digiplex 2
ignition system (Sec 10)
13
1 Connection point (lines connected to
the intake manifold)
2 ECU
3 Ignition coil
4 Distributor
5 Engine flywheel (with
five pins)
6 On/off switch (if fitted)
for advance reduction
7 On/off switch 2 (if fitted)
for curves
8 Battery
9 Spark plugs
10 Tachometer
11 Diagnostic socket
12 Engine speed and TDC sensor
13 To check actuator idle speed
14 To terminal no. 1 of injection control unit
(rpm signal)


