75 If the pump is unworn, refit the rear cover
plate and tighten the screws fully.
76 Apply air pressure from a tyre pump to the
oil pump oil ducts to clear any sludge or other
material and then prime the pump by pouring
clean engine oil into its intake duct at the
same time turning the oil pump inner gear with
the fingers.
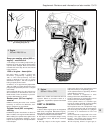
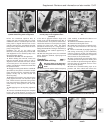
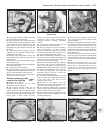
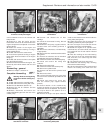
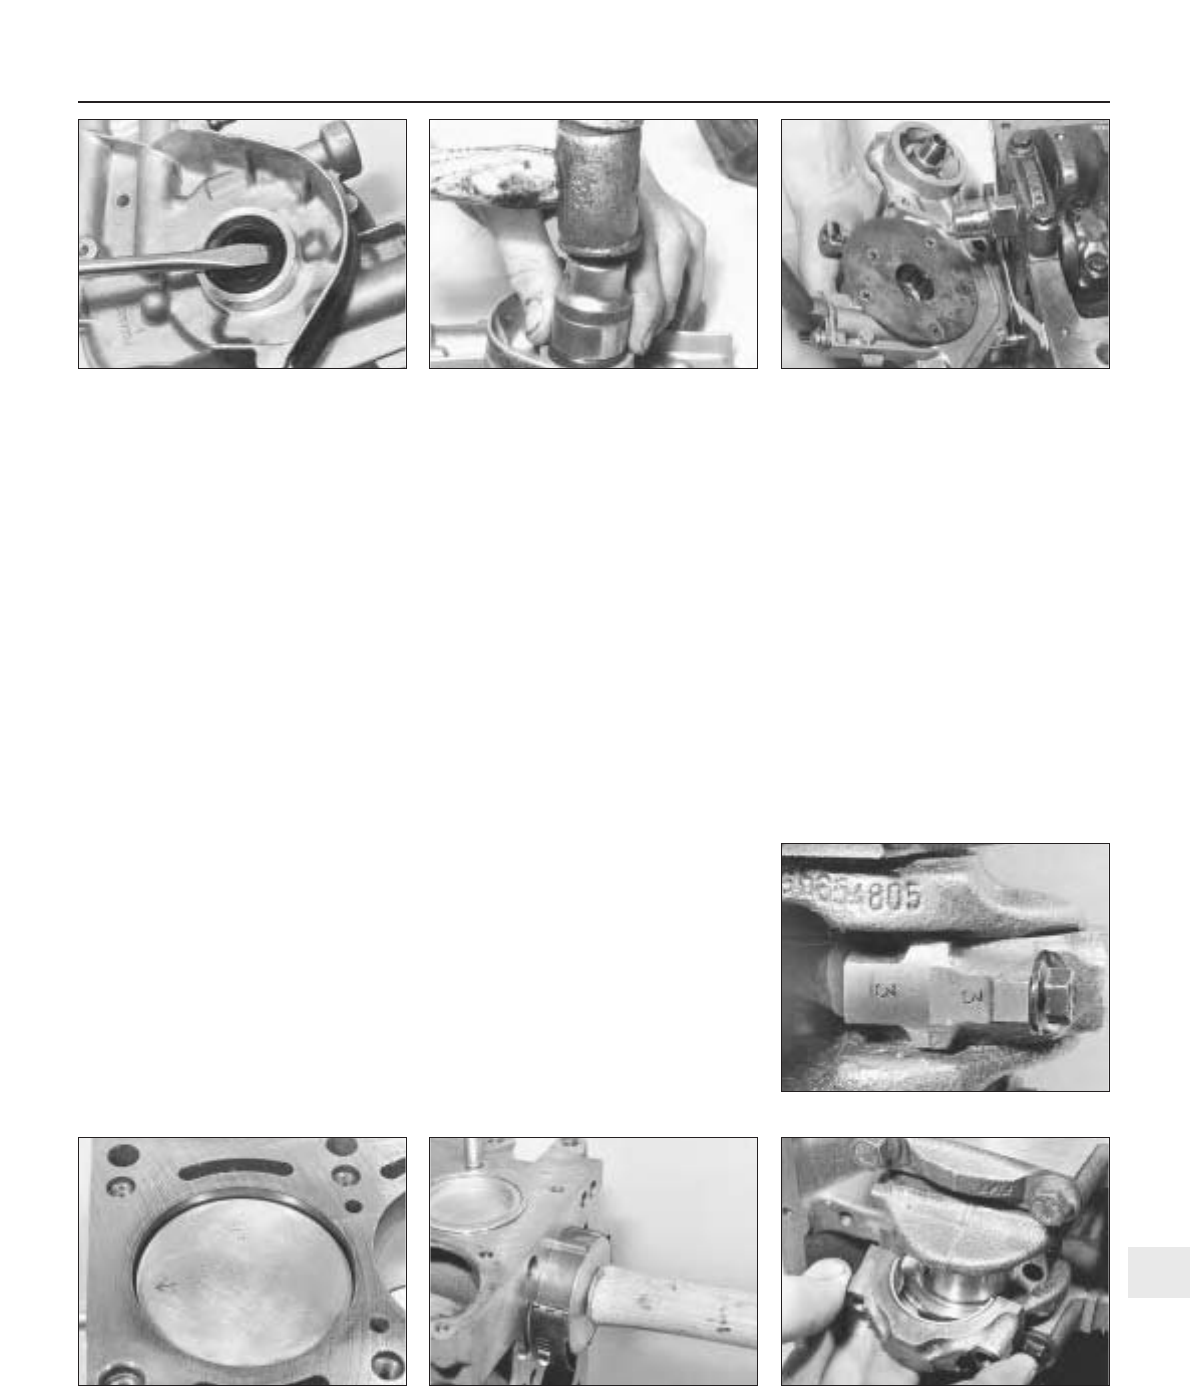
77 Lever out the oil seal and drive a new one
squarely into the oil pump casing (photos).
Lubricate the oil seal lips.
78 Bolt the pump into position using a new
joint gasket. Note one bolt is longer than the
others (photo).
79 Bolt on the oil pick-up assembly using a
new sealing washer.
80 Fit the crankshaft sprocket and tighten the
bolt to specified torque.
81 Fit and tension the timing belt.
82 Fit the sump pan. Screw on a new oil filter
cartridge. Wait for the specified period of time
(one hour) and then fill the engine with oil.
83 Run the engine for a few minutes, then
check and top up the oil level.
Pistons/connecting rods -
removal and refitting #
84 Remove the sump pan.
85 Unbolt and remove the oil pump
pick-up/filter screen assembly.
86 The big-end bearing shells can be
renewed without having to remove the
cylinder head if the caps are unbolted and the
piston/connecting rod pushed gently about
one inch up the bore (the crankpin being at its
lowest point). If these shells are worn,
however, the main bearing shells will almost
certainly be worn as well, necessitating a
complete overhaul, including crankshaft
removal.
87 To remove the piston/connecting rods,
the cylinder head must be removed.
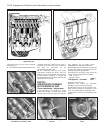
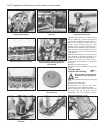
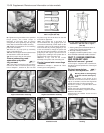
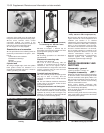
88 The big-end caps and their connecting
rods are numbered 1, 2, 3 and 4 from the
timing cover end of the engine. The numbers
are located either side of the rod/cap joint on
the engine oil dipstick tube side (photo).
89 Turn the crankshaft as necessary to bring
the first connecting rod big-end crankpin to its
lowest point, then unscrew the cap bolts and
remove the cap and shell bearing.
90 Push the connecting rod/piston assembly
up the bore and out of the cylinder block.
There is one reservation; if a wear ridge has
developed at the top of the bores, remove this
by careful scraping before trying to remove
the piston/rod assemblies. The ridge will
otherwise prevent removal, or break the
piston rings during the attempt.
91 Remove the remaining piston/connecting
rods in a similar way. If the bearing shells are
to be used again, tape them to their
respective caps or rods.
92 Removal of the piston rings and
separation of the piston from the connecting
rod is covered in the next sub-Section.
93 Fit the bearing shells into the connecting
rods and caps, ensuring that the recesses into
which the shells seat are clean and dry.
94 Check that the piston ring gaps are evenly
spaced at 120º intervals. Liberally oil the rings
and the cylinder bores.
95 Fit a piston ring clamp to compress the
rings, oiling the rings and the clamp interior
surfaces liberally.
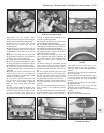
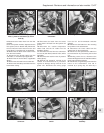
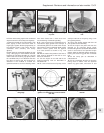
96 Insert the first piston/connecting rod into
its cylinder bore. Make sure that the assembly
is the correct one for its particular bore. The
cap and rod matching numbers must be
towards the engine oil dipstick guide tube and
the arrow on the piston crown towards the
timing belt (photo).
97 Push the piston into the bore until the
piston ring clamp is against the cylinder block
and then tap the crown of the piston lightly to
push it out of the ring clamp and into the bore
(photo).
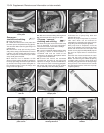
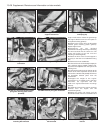
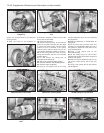
98 Oil the crankshaft journal and fit the
big-end of the connecting rod to the journal.
Check that the bearing shells are still in
position, then fit the big-end cap and bolts;
check that the cap is the right way round
(photo).
Supplement: Revisions and information on later models 13•25
5B.78 Fitting the oil pump5B.77B Using a socket to fit the new oil
pump oil seal
5B.77A Removing the oil pump seal
5B.98 Fitting a big-end bearing cap
5B.88 Connecting rod and cap numbers
5B.97 Fitting a piston/connecting rod5B.96 Piston directional arrow
13


