6 Turn the glass very carefully and withdraw it
from the door. A new glass is supplied
complete with lower mounting.
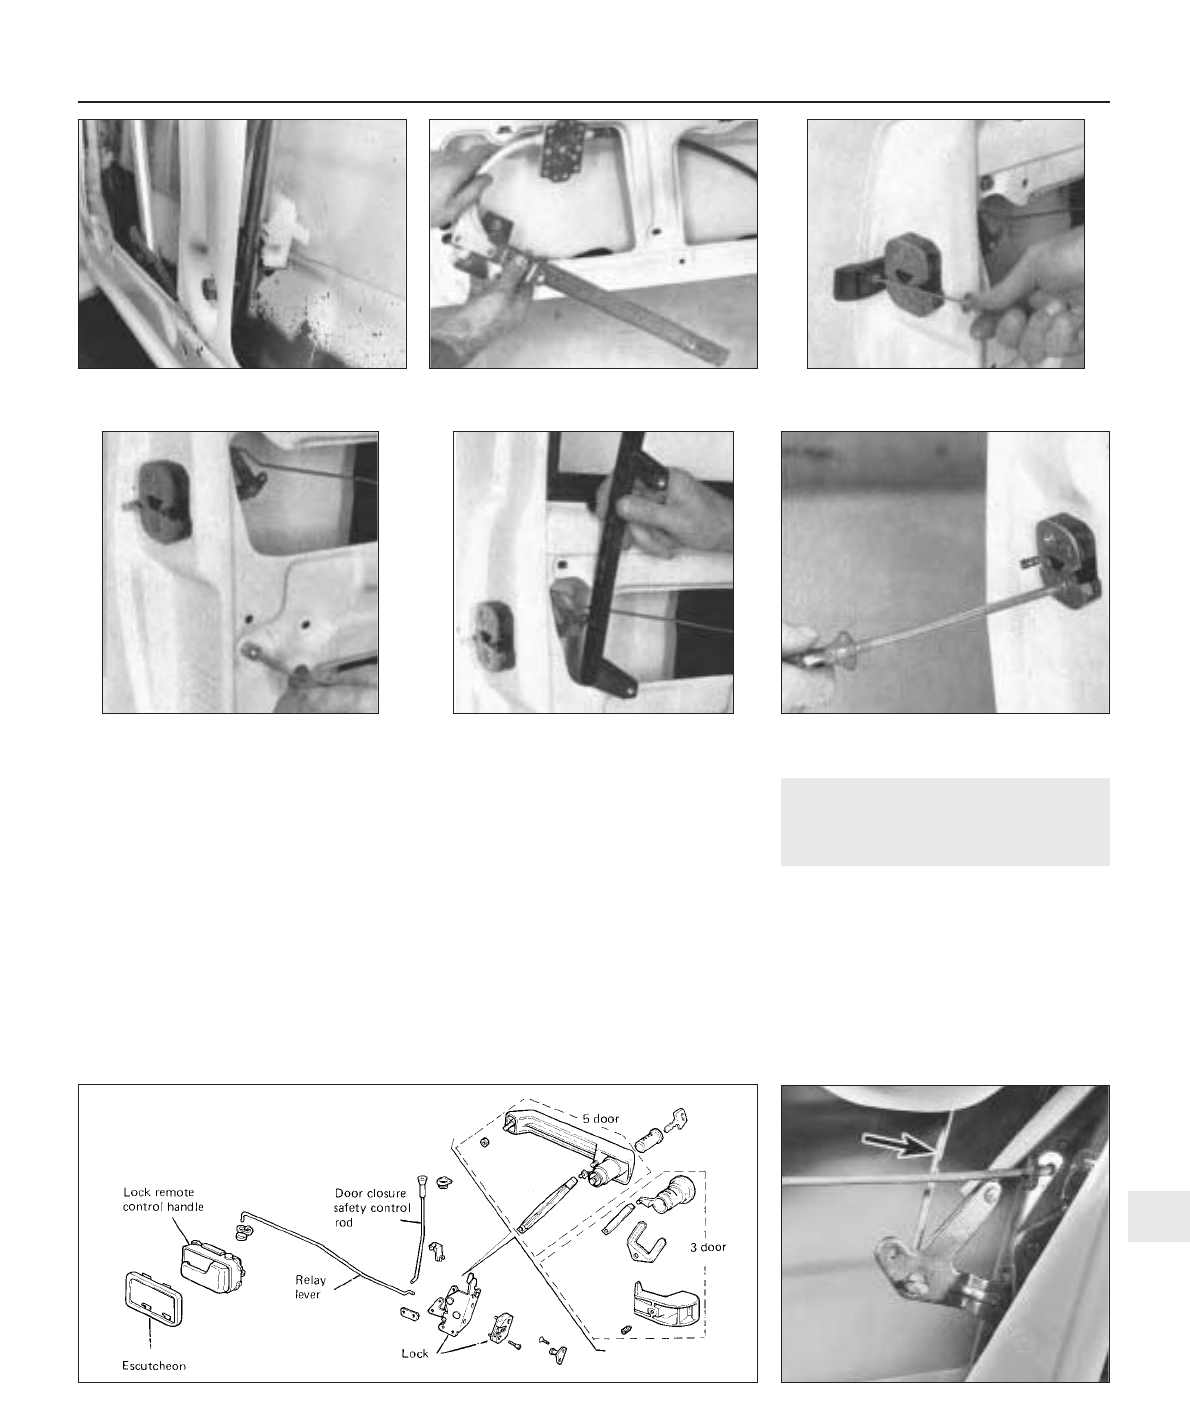
Window regulator
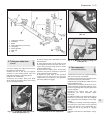
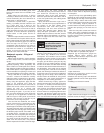
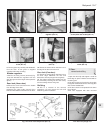
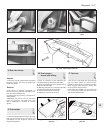
7 Extract the fixing screws (arrowed) (Fig.
12.9) and withdraw the regulator from the
door through one of the larger lower apertures
(photo).
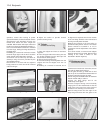
Door lock (three-door)
8 Extract the screw and remove the handle
from the edge of the door.
9 Remove the glass guide channel fixing
bolts and withdraw the channel from the door.
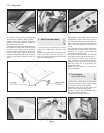
10 Extract the screws which hold the lock to
the edge of the door and remove it.
Door lock (five-door)
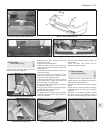
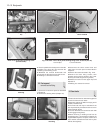
11 Extract the screws which hold the lock to
the door edge. Withdraw the lock and
disconnect the lock plunger link rod (photo).
12 The exterior handle with cylinder lock can
be removed by reaching into the door cavity
and unscrewing the two fixing nuts.
Refitting
13 This is a reversal of the removal
operations. Oil and grease the lock and
window regulator mechanism.
13 Door -
removal and refitting
1
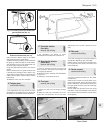
1 Open the door fully and support it under its
lower edge on jacks or blocks covered with an
insulating pad.
2 The door hinges are fixed to the doors with
hexagonal headed bolts and to the body pillar
with socket-headed bolts.
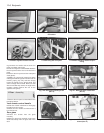
3 The door check is incorporated in the lower
hinge (photo).
4 On cars equipped with door mounted
Bodywork 12•7
Fig. 12.11 Removing door handle fixing
screw (three-door model) (Sec 12)
Fig. 12.10 Removing door window
regulator (Sec 12)
12.7 Door glass mounting
Fig. 12.14 Removing door lock fixing
screw (Sec 12)
Fig. 12.13 Removing glass guide channel
(Sec 12)
Fig. 12.12 Extracting glass guide channel
screw (Sec 12)
12
Fig. 12.15 Door lock components (Sec 12)
12.11 Door lock plunger rod


