6
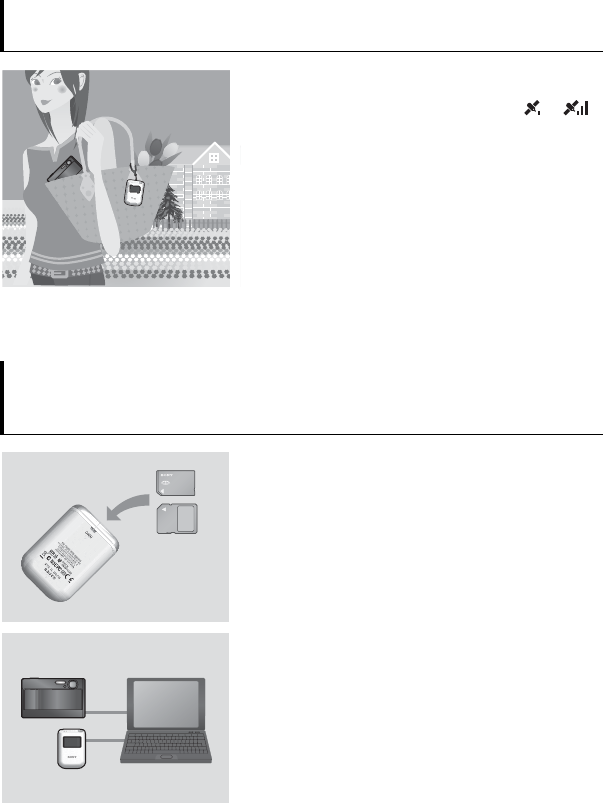
Displaying images where they were taken
and the route you traveled on a map
Step 1
Recording the traveled route
, See page 14.
1 Insert an LR6/HR6 (size AA) battery (sold separately)
into the GPS unit, and turn it on.
Make sure that the triangulating symbol ( to )
appears on the LCD screen.
2 When you use the GPS unit for the first time, the
[Time Zone] screen appears. Select the time
difference using V/v based on GMT, then press
ENTER.
See page 17 on the GMT time difference for each
country/region.
3 Set the correct time on your camera.
Refer to the operating instructions of the camera.
4 Carry the GPS unit and the camera together.
Step
2
Applying the recording positioning
information to images
, See page 20.
1 Insert the “Memory Stick Duo” media or the SD
memory card that contains the recorded images into
the GPS unit.
2 Press MENU, then select [Matching] t [Start].
When the GPS unit has applied the positioning
information to the images, [Complete] appears.
3 Install the supplied software (GPS Image Tracker,
PMB, and PMB Launcher) on your computer.
• You may apply positioning information to images using
the supplied GPS Image Tracker (p. 26).
• If you are using media other than “Memory Stick Duo”
media or SD memory cards, see page 26.
• When you want to adjust or change the location of the
images on a map, refer to the GPS Image Tracker Help.


