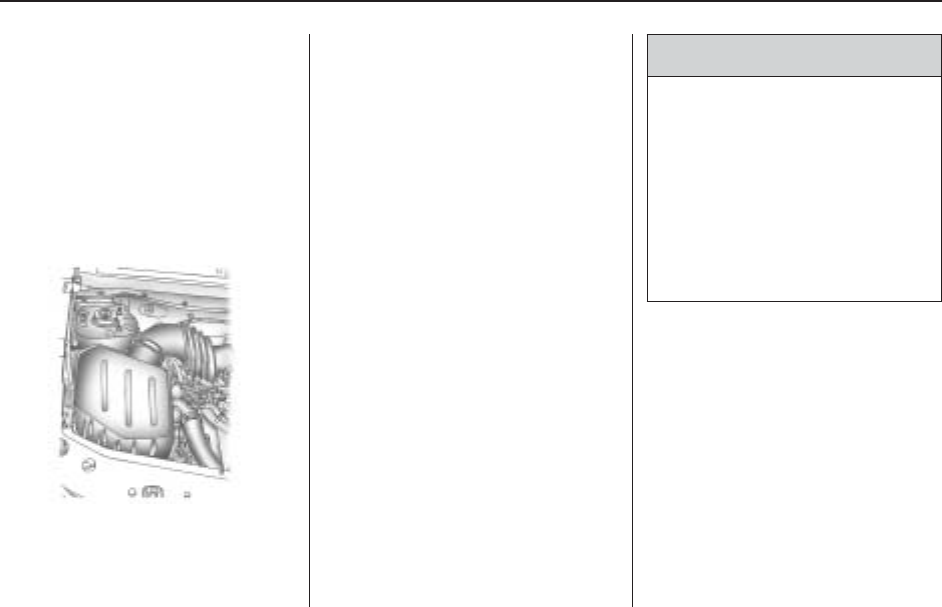
How to Inspect the Engine Air
Cleaner/Filter
To inspect the air cleaner/filter
remove the filter from the vehicle
and lightly shake the filter to release
loose dust and dirt. If the filter
remains caked with dirt, a new filter
is required.
To inspect or replace the engine air
cleaner/filter, do the following:
1. Remove the clamp on the air
duct hose.
2. Disconnect the hose.
3. Remove the four bolts on the
side of the air cleaner assembly.
4. Turn the cover upward to
disengage the cover hinges.
5. Remove the air cleaner cover
assembly and air filter element.
6. Inspect or replace the air filter
element.
If the air filter element is dirty,
you should replace it. If it is only
dusty, it may be cleaned by
blowing compressed air through
it from the clean side.
Make sure you are away from
the engine compartment
when cleaning the air filter with
compressed air.
Wipe all dust from inside of the
housing and inspect the air
cleaner and air outlet duct for
cracks, cuts and deterioration.
The air outlet duct must be
replaced if damaged.
7. Reverse Steps 1 through 5 to
reinstall the engine air cleaner/
filter cover and air duct hose.
{ CAUTION
Operating the engine with the air
cleaner/filter off can cause you or
others to be burned. The air
cleaner not only cleans the air; it
helps to stop flames if the engine
backfires. If it is not there and the
engine backfires, you could be
burned. Do not drive with it off, and
be careful working on the engine
with the air cleaner/filter off.
Notice: If the air cleaner/filter is
off, a backfire can cause a
damaging engine fire. And, dirt
can easily get into the engine,
which will damage it. Always have
the air cleaner/filter in place
when you are driving.
5-16 Service and Appearance Care


