


EN-27
ENGLISH
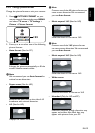
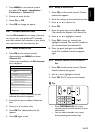
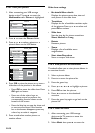
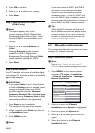
TV menu Features
Subtitle
Subtitle language
Sleeptimer
Child lock
Set/Change code
On timer
Common interface
Demo
Features
Installation
Software update
TV settings
Press 7. Î or ï to select On to display
subtitles always or On during mute to
display subtitles only when the sound is
muted with the
key on the remote
control.
Press 8. OK to return to the Features menu.
Note D
You must repeat this procedure to enable
subtitles on each analogue channel.
5�9�2 Enable subtitles on digital TV
channels
Repeat steps 5 to 8 in Section 5.9.1 Enable
subtitles on analogue TV channels.
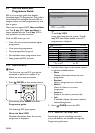
5�9�3 Select a subtitle language on
digital TV channels
Note D
When you select a subtitle language on
a digital TV channel as described below,
the preferred subtitle language set in the
Installation menu is temporarily overruled.
Press 1. MENU on the remote control and
select TV menu > Features > Subtitle
language.
Press 2. Æ to enter the list of available
languages.
Press 3. Î or ï to select a subtitle language.
Press 4. OK.
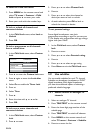
5�10 View photos and listen to
music
Connect an external USB storage device and
view pictures (JPEG format only) or listen to
music (MP3 or Linear PCM formats only).
Note D
Philips will not be held responsible if your
USB storage device is not supported nor
shall Philips accept any liability for damage
or loss of stored data.
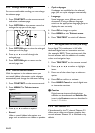
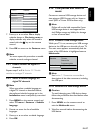
5�10�1 Connect a USB storage device
While your TV is on, connect your USB storage
device to the USB port on the side of your TV.
The main menu appears automatically and the
name of the USB device is highlighted next to
Multimedia.
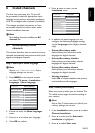
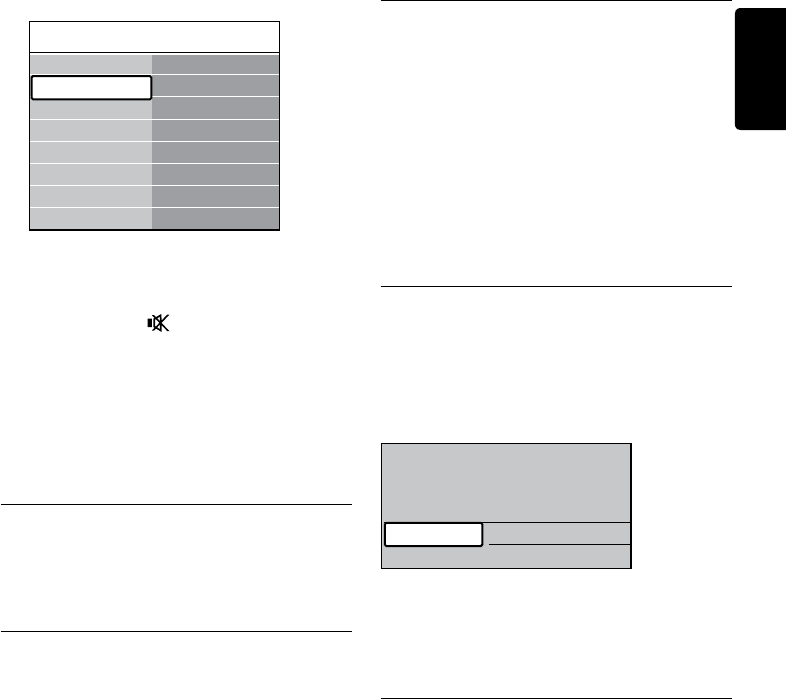
Television
Multimedia
TV menu
Channel list
Programme guide
Note D
See Section 7.1 Connection overview for a
description of the side connectors, including
the USB port.
5�10�2 Disconnect a USB storage device
Caution C
To avoid damaging your USB device, always
follow the procedure described below when
disconnecting.
Press 1. MENU on the remote control to
exit the Multimedia menu.
Wait five seconds before disconnecting the 2.
USB device.