


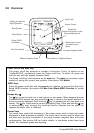


Tracker500/500i User Manual10
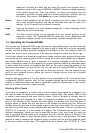
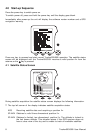
5.0 Moving Around the Screens
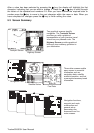
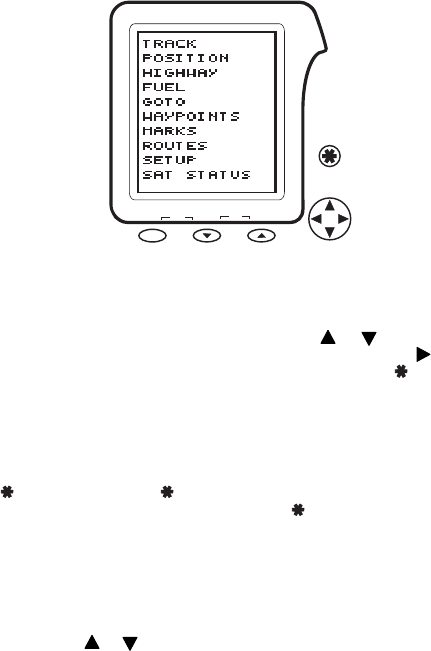
After the power-up sequence has completed, as described in the previous section, the Main
Selection screen will be displayed, as shown below.
All Tracker500/500i screens are accessed from this screen. Graphical screens showing boat
position and navigation data are available from this screen, along with waypoint and route
management features and instrument setup screens. The Satellite Status screen, displayed
at power-up, can also be viewed using this menu.
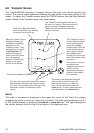
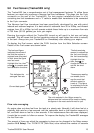
zoom-outzoom-in
mark
ctr
MOB
on
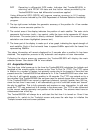
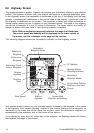
5.1 Menus
The cursor keys are used to highlight menu items on screens such as the Main Selection
screen, Setup, Waypoints and Routes screens. Press the or key to step up/down the
menu items to highlight the item you wish to change or view. Press the key to select the
highlighted item and move to the associated sub-screen. Press the
key to return to the
previous level.
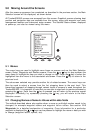
The sub-screen selected may provide another list of related screens. The cursor keys can
then be used to select a screen from the list, stepping down to the next level. This
hierarchical approach of stepping through various levels of screens is used throughout the
Tracker500/500i. It is important to note that you are able to step back to previous screens by
pressing the
key. Each time the key is pressed you will return to the previous screen
displayed. Eventually, by repeatedly pressing the
key, you will return to the Main
Selection screen.
5.2 Changing Names or Numeric Values within data fields
The method described above also applies when a name or multi-digit number needs to be
changed, for example waypoint names and waypoint lat/lon values. See section 11.0
Waypoints for a detailed explanation of waypoints. Once information for a particular
waypoint is displayed the or keys can be pressed to highlight the name or data you wish
to change (waypoint lat/lon, symbol, etc).