


26
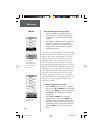
There are two ways to create a route:
1. Use existing waypoints that reside in the eTrex.
Choose ‘ROUTE’ on the ‘MENU’ Page, then add
a waypoint into the route from a list of available
waypoints.
2. Plan a ‘ROUTE’ in MapSource on a PC, and upload
the ‘ROUTE’ to the eTrex. See your GARMIN
dealer for more information on using MapSource
(MapSource is an optional accessory, and is not
included with the eTrex).
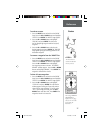
In either case, you can navigate to a destination using
‘ROUTE’ if a route has more than two waypoints. A single
waypoint route is only a normal waypoint, not a route.
The eTrex will not allow the ‘FOLLOW’ button to be
highlighted if there is only one waypoint in the route.
When you select the ‘FOLLOW’ button, a list with two
items is displayed letting you choose where to go. The list
will always show the FIRST (BEGINNING) and the LAST
(END) waypoint in the route. The eTrex will guide you
to the selected fi nal destination following each waypoint
in the route (eTrex has one route). There are two ways
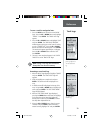
to insert a waypoint into a route. One way is to insert
the waypoint before an existing waypoint in a route. The
other way is to insert the waypoint at the end of the
waypoint list in a route.
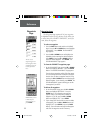
To insert a waypoint into a route:
1. Press the PAGE Button and switch to the ‘MENU’
Page. Press the UP or DOWN Button and highlight
‘ROUTE’. Press ENTER. The ‘ROUTE’ Page appears.
Press ENTER. The ‘ADD WAYPOINT TO ROUTE’
Page appears.
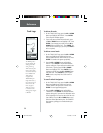
2. Press the UP or DOWN Button to select the
waypoint of your choice and press ENTER. The
waypoint you selected is placed in the fi rst fi eld on
the ‘ROUTE’ Page. Repeat this process until all of
the waypoints you want are entered into the route
list. Press PAGE to get back to the page of your
choice.
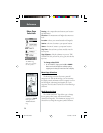
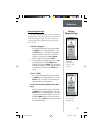
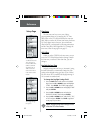
You can insert a
waypoint before an
existing waypoint in the
list or at the end of the
waypoint list.
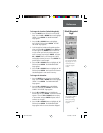
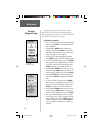
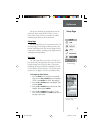
Press ‘FOLLOW’ to
activate a route.
Reference
Routes
etrex manual.indd 10/12/00, 11:17 AM26