


User's manual OnCourse Navigator | 4
Additional software: MapExport - 92 -
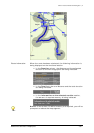
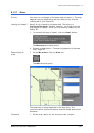
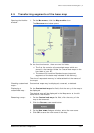
Shifting the area… 1. Point at the middle of the area.
2. Keep the left mouse button pressed and draw the rectangle to
the desired position.
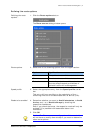
Exporting the area
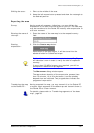
Survey Having made all necessary indications, you may initiate the
exportation of the area to the hard disc of your PC. The new map
may be transferred to the Pocket PC instantly after exportation or
at a later moment.
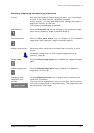
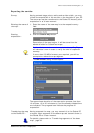
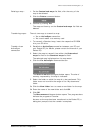
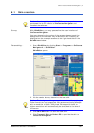
Entering the name of
the map…
1. Enter the name of the new map into the respective entry
field:
Starting
exportation…
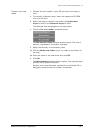
2. Click the Create map button.
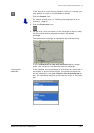
Exportation of the map begins. It will be stored into the
standard folder for Customized maps.
Notice: If the route has not been calculated yet, MapExport
will calculate it now in order to verify the size of requested
memory.
If more than 150 MB of memory are required, you will be
prompted to reduce the map segment.
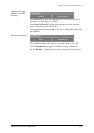
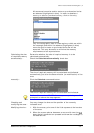
The M
AP EXPORT dialog window opens.
The approximate duration of the exportation process (less
than 10 minutes, 10 to 30 minutes etc.) and the already
elapsed time are indicated. Two progress bars indicate the
progress of exportation.
Transferring the map
to the Pocket PC…
Having exported the map, you may transmit it to the Pocket PC
or export other segments of the base map and transmit them to
the Pocket PC at a later moment.
For details, please refer to “Transferring segments of the base
map”, page 93