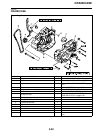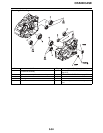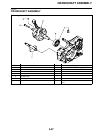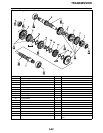
CRANKSHAFT ASSEMBLY
5-58
EAS25990
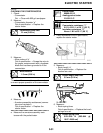
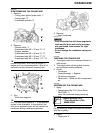
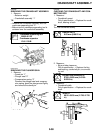
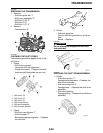
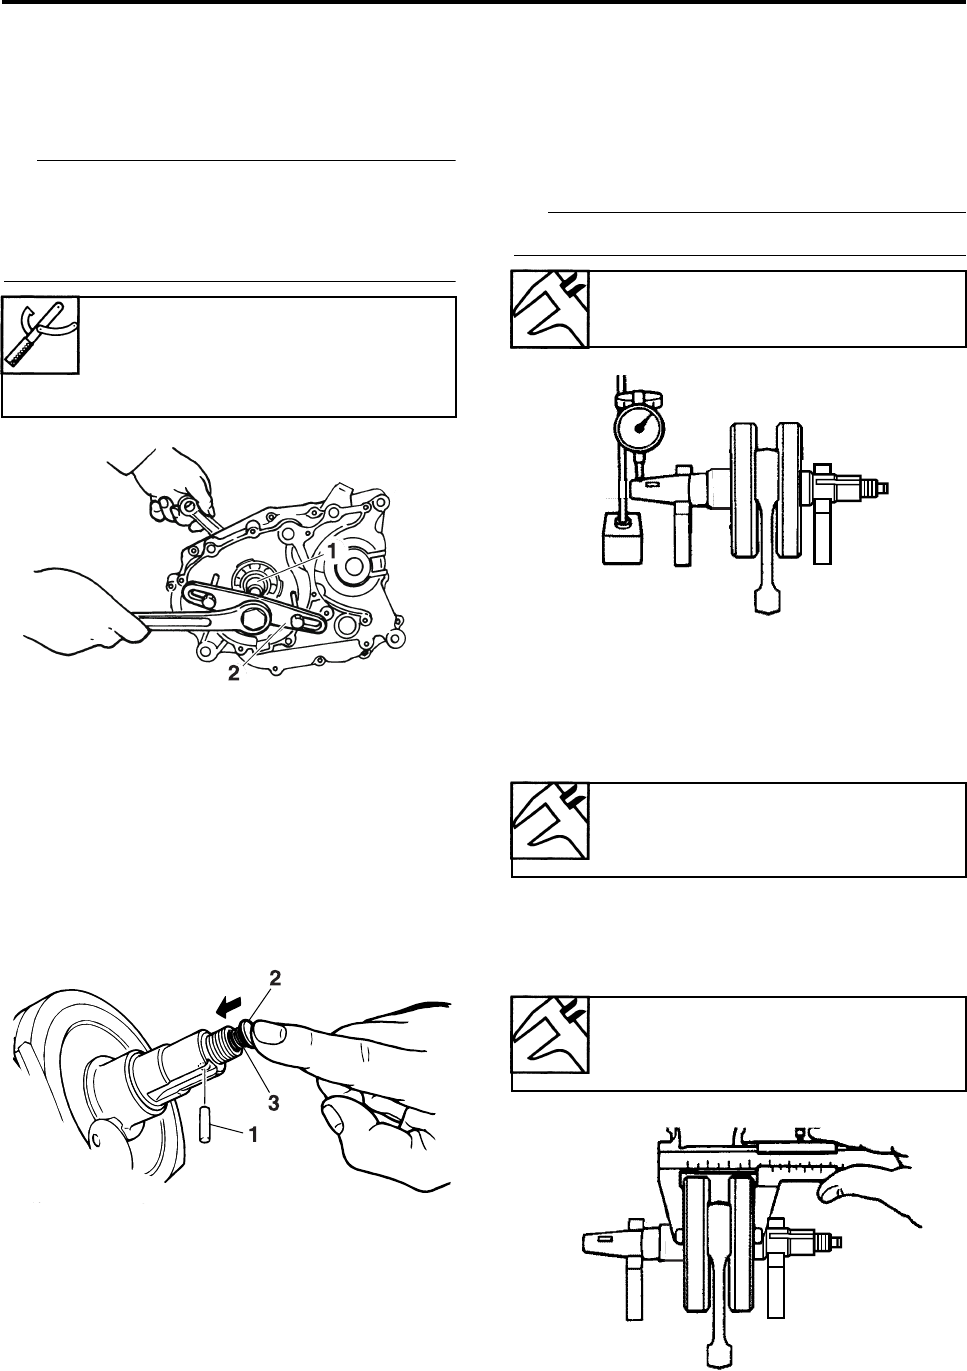
REMOVING THE CRANKSHAFT ASSEMBLY
1. Remove:
• Balancer weight
• Crankshaft assembly “1”
TIP
• Remove the crankshaft assembly with the
crankcase separating tool “2”.
• Make sure the crankcase separating tool is
centered over the crankshaft assembly.
EAS4D3F021
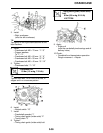
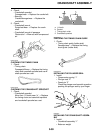
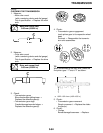
REMOVING THE PLUNGER SEAL
1. Remove:
• Dowel pin “1”
• Plunger seal “2”
• Compression spring “3”
Remove the plunger seal and compres-
sion spring, push the plunger seal lightly
and remove the dowel pin.
EAS26060
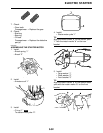
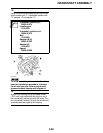
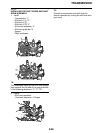
CHECKING THE CRANKSHAFT AND CON-
NECTING ROD
1. Measure:
• Crankshaft runout
Out of specification → Replace the crank-
shaft, bearing or both.
TIP
Turn the crankshaft slowly.
2. Measure:
• Big end side clearance
Out of specification → Replace the big
end bearing, crankshaft pin, or connect-
ing rod.
3. Measure:
• Crankshaft width
Out of specification → Replace the crank-
shaft.
Crankcase separating tool
90890-01135
Crankcase separator
YU-01135-B
Runout limit C
0.03 mm (0.0012 in)
Big end side clearance D
0.350–0.650 mm (0.0138–
0.0256 in)
Width A
69.25–69.30 mm (2.726–2.728
in)


