


PM-15
PERIODIC MAINTENANCE SERVICES
Timing Belt
ST 499987500 CRANKSHAFT SOCKET
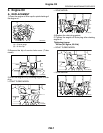
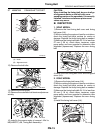
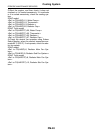
13) Remove the belt idler.
14) Remove the timing belt.
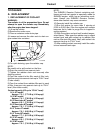
15) Remove the automatic belt tension adjuster as-
sembly.
16) Install in the reverse order of removal. <Ref. to
ME(H4DOTC)-58, Timing Belt Assembly.>
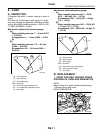
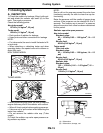
CAUTION:
When installing the timing belt, be sure to align
all alignment marks on the belt with corre-
sponding marks on the sprockets. If incorrectly
installed, interference between pistons and
valves may occur.
B: INSPECTION
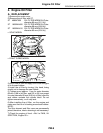
1. SOHC MODEL
1) Remove the front timing belt cover and timing
belt cover (LH).
2) While cranking the engine at least four rotations,
check the timing belt back surface for cracks or
damage. Replace the faulty timing belt as needed.
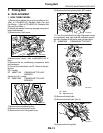
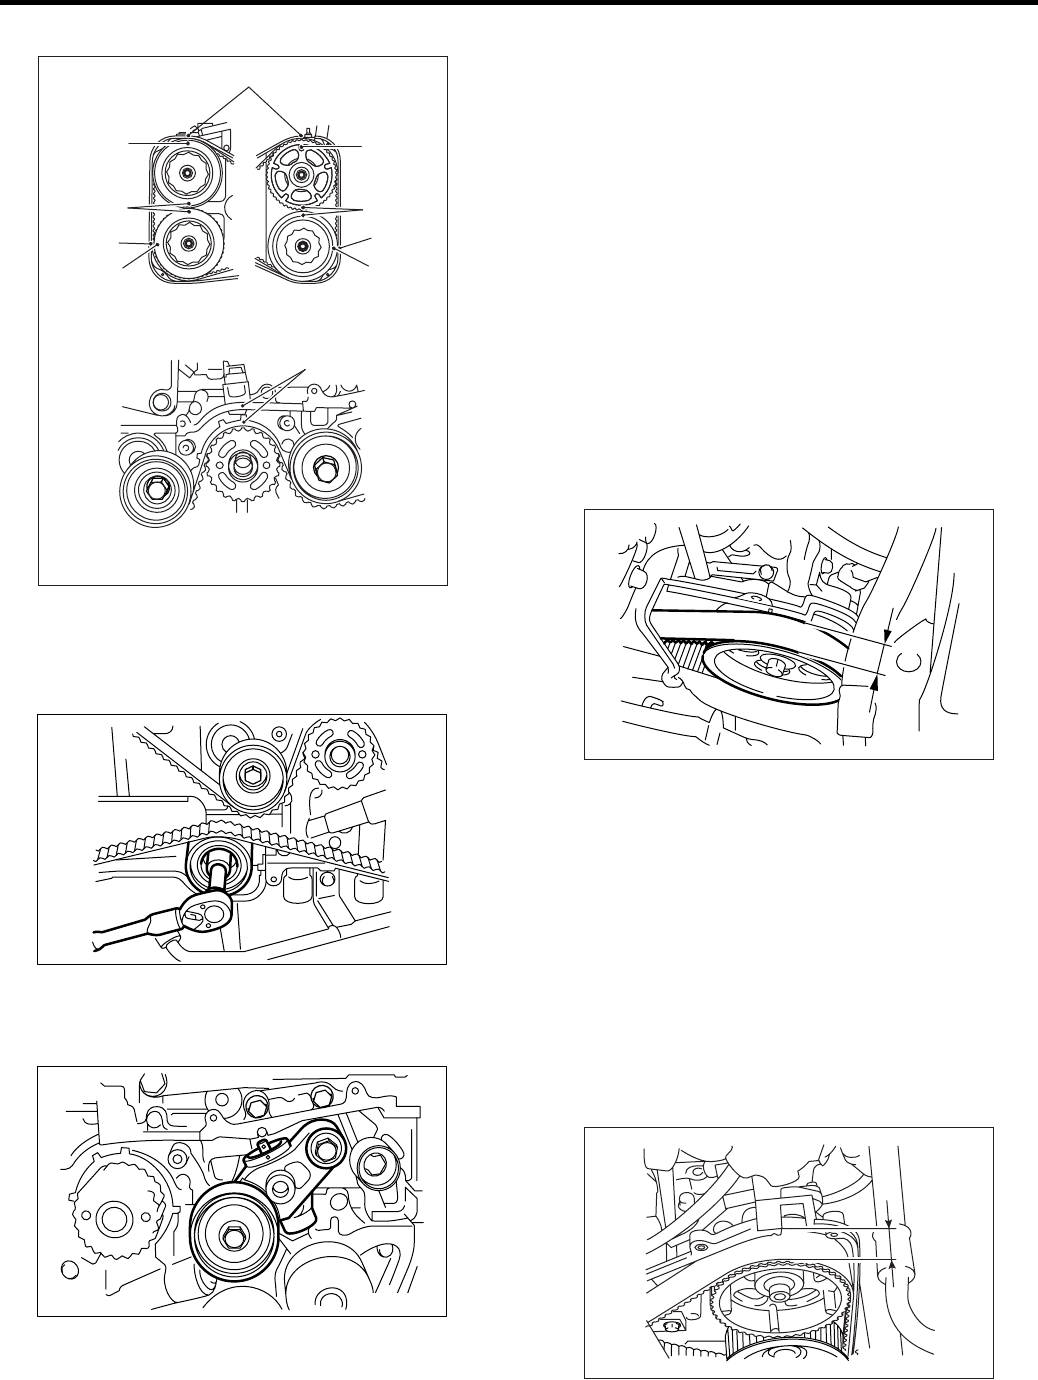
3) Measure the timing belt width W. If it is less than
27 mm (1.06 in), check idlers, tensioner, water
pump pulley and cam sprocket to determine idler
alignment (squareness). Replace the worn timing
belt.
4) Install the front timing belt cover and timing belt
cover (LH).
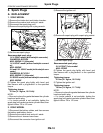
2. DOHC MODEL
1) Remove the timing belt cover (LH).
2) While cranking the engine at least four rotations,
check the timing belt back surface for cracks or
damage. Replace the faulty timing belt as needed.
3) Measure the timing belt width W. If it is less than
30 mm (1.18 in), check idlers, tensioner, water
pump pulley and cam sprocket to determine idler
alignment (squareness). Replace the worn timing
belt.
4) Install the timing belt cover (LH).
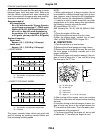
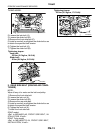
(A) Notch
(B) Alignment mark
PM-00156
(A)
(B)
(B)
(B)
(A)
(B)
(B)
(B)
(A)
(B)
PM-00095
PM-00096
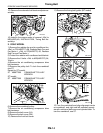
W
PM-00016
W
PM-00097