Listening to the radio
These are the basic steps necessary to operate
the radio. More advanced tuner operation is
explained starting on the next page.
Important
If you are using this unit in North, Central or
South America, reset the AM tuning step (see
Setting the AM tuning step on page 81).
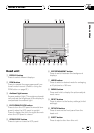
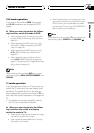
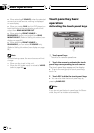
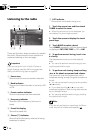
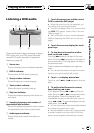
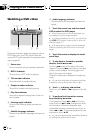
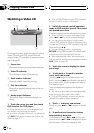
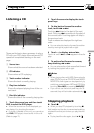
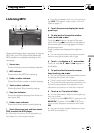
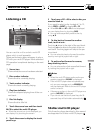
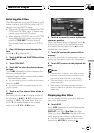
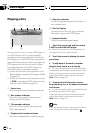
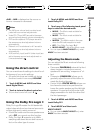
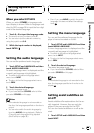
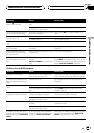
1 Source icon
Shows what the source has been selected.
2 Band indicator
Shows which band the radio is tuned to, AM
or FM.
3 Preset number indicator
Shows what preset has been selected.
4 Frequency indicator
Shows to which frequency the tuner is
tuned.
5 Preset list display
Shows the preset list.
6 Stereo (5) indicator
Shows that the frequency selected is being
broadcast in stereo.
7 LOC indicator
Shows when local seek tuning is on.
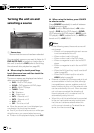
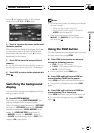
1 Touch the source icon and then touch
TUNER to select the tuner.
# When the source icon is not displayed, you
can display it by touching the screen.
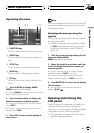
2 Touch the screen to display the touch
panel keys.
3 Touch BAND to select a band.
Touch BAND repeatedly until the desired band
is displayed, FM1, FM2, FM3 for FM or AM.
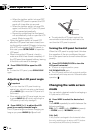
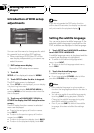
4 To perform manual tuning, touch c or
d shortly.
The frequencies move up or down step by
step.
# You can also perform manual tuning by mov-
ing the joystick left or right.
5 To perform seek tuning, keep touching
c or d for about one second and release.
The tuner will scan the frequencies until a
broadcast strong enough for good reception is
found.
# You can cancel seek tuning by touching either
c or d shortly.
# If you keep touching c or d you can skip
broadcasting stations. Seek tuning starts as soon
as you release the keys.
# You can also perform seek tuning by holding
the joystick left or right.
Note
If you do not use the touch panel keys for 30 sec-
onds, they will be hidden automatically.
Tuner
En
24
Section
05