


19
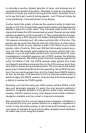
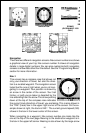
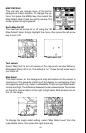
position. It points in the direction you’re travelling. The solid line extending
from the arrow is your plot trail, or path you’ve taken. The plotter’s range
shows in the lower left corner of the screen. In this example, the plotter’s
range is four miles from the left edge of the map to the right.
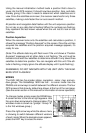
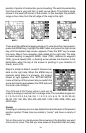
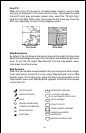
MAP-1 MAP-2 MAP-3
There are three different mapping screens. To view the other map screens,
press the PAGES key, highlight the MAP label, and press the right arrow
key until the desired map screen appears. Press the EXIT key to erase
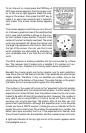
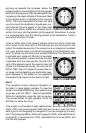
the menu. Map-2 has navigation data added at the right side. The data
includes bearing to waypoint (BRG), track (TRK), distance to waypoint
(DIS), ground speed (GS), a steering arrow (shows the direction to the
destination when the top of the screen is pointing in your direction of
travel), and a CDI.
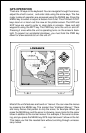
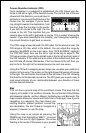
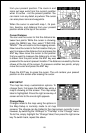
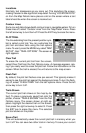
Map-3 is similar to Map-2, except it shows sonar
data on the right side. When the MENU key is
pressed while Map-3 is showing, the screen
shown at right appears. The "ACTIVE MODE"
menu at the top of this screen lets you switch the
arrow and zoom keys between the GPS side and
the sonar side of Map-3.
The Z-IN and Z-OUT keys zoom-in and out all
maps to enlarge or reduce their coverage area. The available ranges are:
0.1, 0.15, 0.2, 0.3, 0.4, 0.6, 0.8, 1, 1.5, 2, 3, 4, 5, 6, 8, 10, 15, 20, 30, 40,
60, 80, 100, 150, 200, 300, 400, 600, 800, 1000, 1500, 2000, 3000, and
4000 miles.
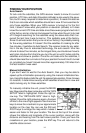
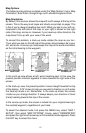
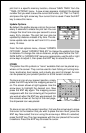
Cursor
Pressing an arrow key turns on two dotted lines that intersect at the present
position symbol. These lines are called a “cursor” and have a variety of
uses.
To turn the cursor on, simply press the arrow key in the direction you want
the cursor to move. This lets you view areas on the plotter that are away