


42
English
Notes:
• To enjoy the software encoded
with Dolby Digital, you must
connect the source
component using the digital
terminal on the rear of this
receiver.
• When the signals come into
this receiver through the
analog connection from the
source component, “PRO
LOGIC” is automatically
selected.
• The Surround mode is not
used with the other DSP
modes such as the DAP mode
and 3D-PHONIC mode. When
the Surround mode is turned
on, the other DSP mode, if
used, will be turned off.
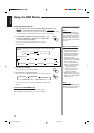
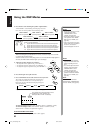
On the front panel:
You can also use the buttons on the front panel to adjust the Dolby Digital and Dolby
Pro Logic modes. However, no test tone is available when using the buttons on the front
panel. So, make adjustments while listening to the sound of the source played back.
1. Select and play the source encoded with Dolby Digital (bearing the mark
DIGITAL
) or with Dolby Surround (bearing the mark
DOLBY SURROUND
).
• When you play back the source encoded with Dolby Digital and select the digital
input for that source, the Ÿ DIGITAL indicator lights up on the display.
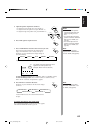
2. Press DOLBY SURROUND so that the lamp on the button
lights up.
“SURROUND ON” appears on the display.
Dolby Digital or Dolby Pro Logic is automatically selected
according to the source being played back.
When Dolby Pro Logic is selected, the lamp on the DOLBY SURROUND button
lights red.
When Dolby Digital is selected, the lamp on the DOLBY SURROUND button lights
green.
If you need to make any adjustment, go to the following steps.
3. Adjust the speaker output levels as follows.
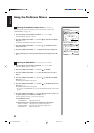
1) Press BALANCE/SURROUND ADJUST repeatedly
until one of the indications appears on the display.
“CENTER LEVEL”: To adjust the center speaker level.
“REAR L LEVEL”: To adjust the left speaker level.
“REAR R LEVEL”: To adjust the right speaker level.
2) Turn MULTI JOG to adjust the selected speaker output
level (from –10 dB to +10 dB), while the indicator of the
previous step is still on the display.
3) Repeat 1) and 2) to adjust the other speaker output
levels.
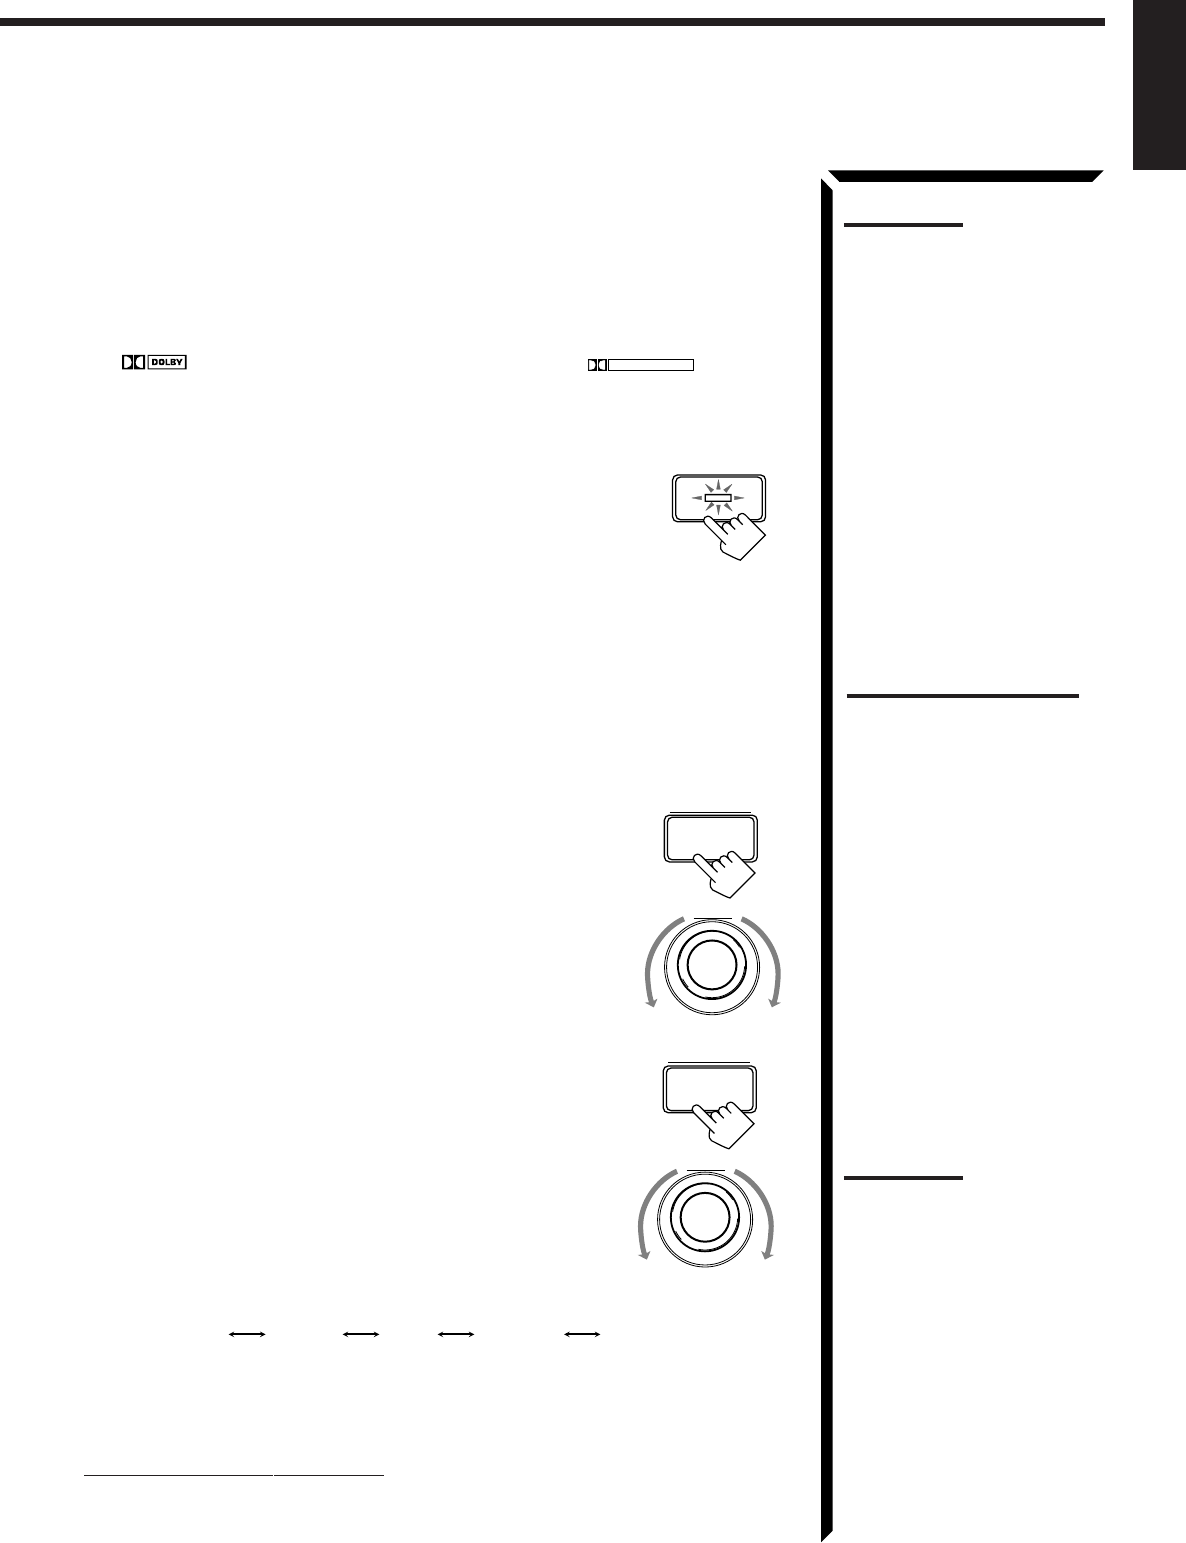
4. Press BALANCE/SURROUND ADJUST repeatedly until
“CENTER TONE” appears on the display.
The display changes to show the current setting.
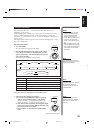
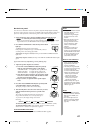
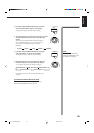
5. Turn MULTI JOG to select the center tone level you want,
while the indication of the previous step is still on the
display.
The center tone adjustment affects the mid-frequency
range, which the human voice is mostly made up of.
As you turn it, the display changes to show the
following:
To make the dialogue clearer, select “SHARP1” (little) or “SHARP2” (much).
To make the dialogue softer, select “SOFT1” (little) or “SOFT2” (much).
When “FLAT” is selected, no adjustment is applied.
To cancel the Surround mode
Press DOLBY SURROUND again so that “SURROUND OFF” appears.
MULTI JOG
BALANCE/SURROUND
ADJUST
DOLBY SURROUND
BALANCE/SURROUND
ADJUST
MULTI JOG
Notes:
• You cannot adjust the center
speaker level when “CENTER
SPK” is set to “NONE” (see
page 20).
• You cannot adjust the rear
speaker levels when “REAR
SPK” is set to “NONE” (see
page 20).
SHARP1 SHARP2FLATSOFT2 SOFT1
Notes on the indications:
• The PRO LOGIC indicator
lights up when the Dolby Pro
Logic decoder built in this
receiver is activated.
• The Dolby Pro Logic decoder
is used not only for the analog
sources but also for the
sources encoded with Dolby
Digital in the following cases:
– When only front channel
signals are encoded.
– When front channel and
monaural rear channel
signals are encoded.
While the Dolby Pro Logic is
activated for this type of Dolby
Digital source, the
Ÿ
DIGITAL
indicator goes off.
EN34_46.RX-884R[E]/1.PM5 98.3.26, 0:59 PM42