


11
GETTING STARTED
Battery
Installation
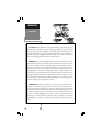
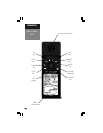
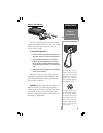
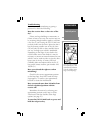
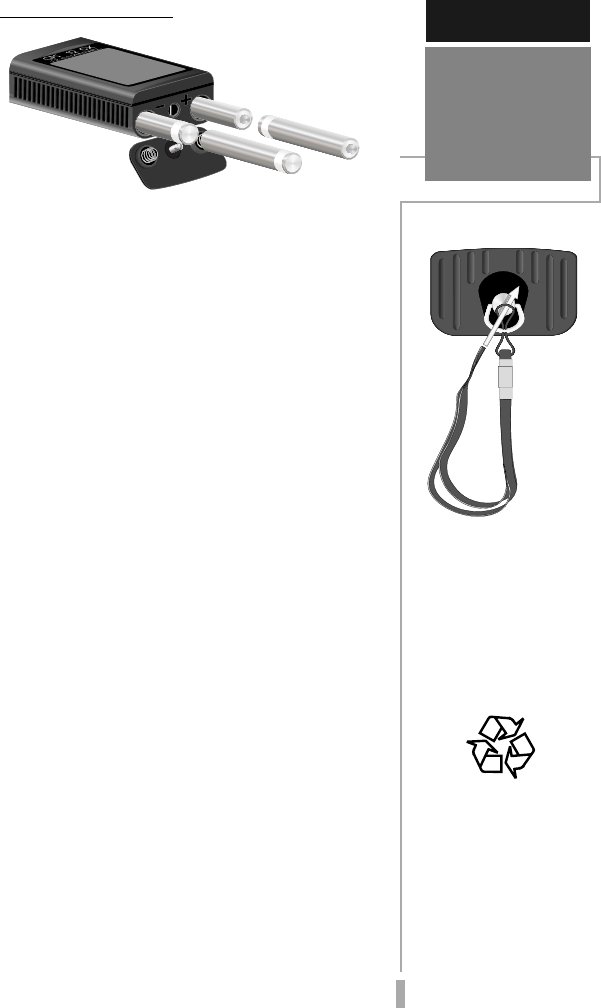
To install the carrying
lanyard, place the loop
at the end of the lanyard
through the D-ring on the
battery cover, route the
lanyard back through the
loop and pull tight.
Battery Installation
The GPS 12 MAP operates on 4 AA batteries,
which are installed a the base of the unit. These
batteries provide up to 36 hours of use in
“Power Saver” mode.
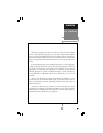
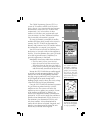
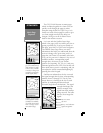
To install the batteries:
1. Remove the battery cover by turning the D-ring at
the bottom of the unit 1/4 turn counter-clockwise.
2. Insert the batteries into position. Use only new
batteries. Do not mix battery types (i.e., alkaline,
NiCad, Lithium). The battery pole that you can still
see should match the symbol (+ or -) marked on the
case.
3. Replace and secure the battery cover by turning the
D-ring 1/4 turn clockwise.
Battery life varies due to a variety of factors,
including temperature and backlighting. You
may find that lithium batteries provide longer
life in colder conditions.
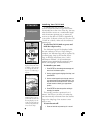
WARNING: Be certain that the batteries are
installed correctly by observing the polarity
markings on the bottom of the unit. An improp-
erly installed battery (reversed polarity) can
rupture, leaking the contents of the battery into
the battery compartment.
If using rechargeable
NiCad or Lithium batter-
ies, use proper methods
of disposal of used bat-
teries. Many states and
cities require environ-
mentally sound collection
and recycling of these
battery types.