


34
Reference
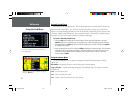
Using the Routes Menu
To Save a Route:
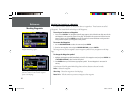
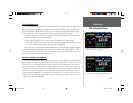
1. Press the ROUTE key to view the Routes Menu. Select Save and press ENTER. The Route Saved
window appears, showing the active route.
2. Press ENTER (‘OK button’) to confi rm the name and save the route (the name can be edited here).
There can be up to 50 saved routes.
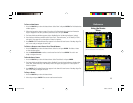
Deleting and Renaming Routes
You can delete all of the routes that exist in the unit or you can delete a single route. You can
also rename a route.
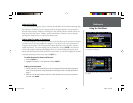
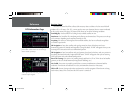
To Delete all Routes:
1. Press the ROUTE key to view the Routes Menu. Select ‘List’ and press ENTER. The Route List
appears with all routes. Press the MENU key (‘delete all’ is selected). Select ‘Yes’ in the verifi cation
window and press ENTER.
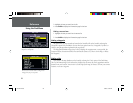
To Delete a single Route:
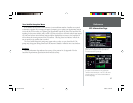
1. Press the ROUTE key to view the Routes Menu. Select ‘List’ and press ENTER. The Route List
appears with all routes. Select the single route to delete and press the MENU key. Select ‘Delete’ and
press ENTER. Select ‘Yes’ in the verifi cation window and press ENTER.
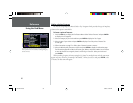
To Rename a Route:
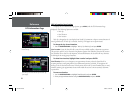
1. Press the ROUTE key to view the Routes Menu. Select ‘List’ and press ENTER. The Route List
appears with all routes. Select the single route to rename and press the MENU key. Select ‘Rename’
and press ENTER. Use the Rocker Keypad and enter the new route name.
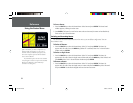
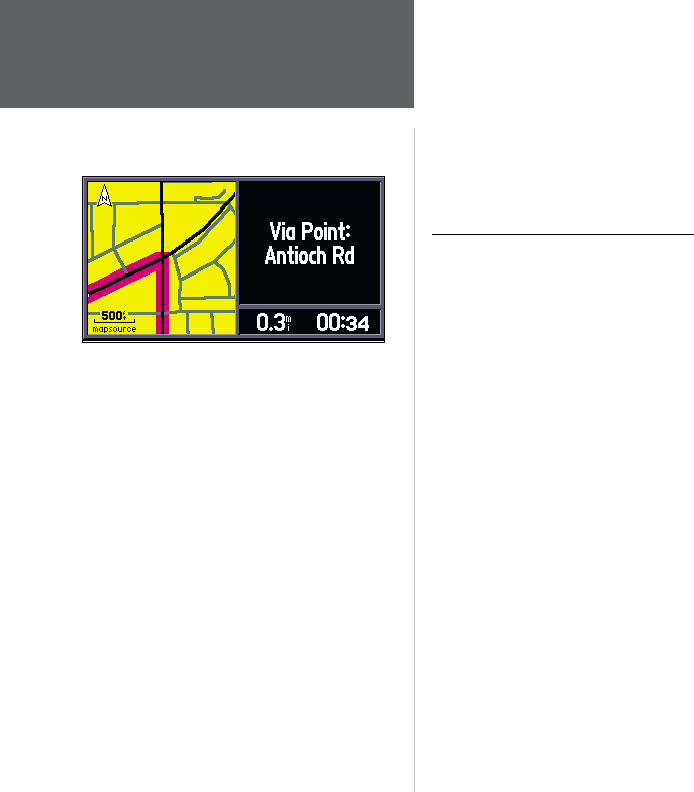
To create a route for the StreetPilot III with multiple
points or destinations, you must use MapSource City
Navigator. With City Navigator, you can create an
auto-route with any combination of waypoints, cities,
intersections and points of interest and download the
route to the StreetPilot III.
Any intermediate point in an auto-route calculated
in City Navigator is called a ‘via’ point in the StreetPilot
III. Refer to the MapSource Owner’s Manual for
instructions on creating routes.
OM REV B.indd 6/28/01, 9:43 AM34