


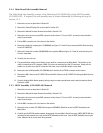

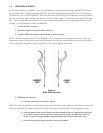
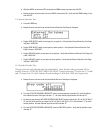

d. Using a slight downward pressure, rotate the tool away from the chip carrier until the corner of the
chip lifts away from the chip carrier socket.
e. Repeat on opposite extraction slot and lift chip out of chip carrier socket.
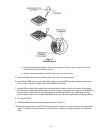
5. Inspect the ROM socket to ensure that the contacts and case are in good condition.
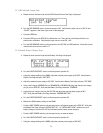
6. Insert the new ROM into the socket so that the beveled corner of the ROM chip aligns with the beveled corner
of the socket (see Figure 6). Make certain that the ROM is well seated!
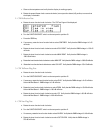
7. Hold the CLR key down while rotating the power/dimmer knob clockwise from the ‘off’ position. Verify that the
Self Test Page is displayed (shows the software version number and copyright notice). Also, press the MSG key
to verify that the “Stored data lost” message appears on the Message Page and the “ROM failed” message
does not appear. (Failure to clear memory after ROM replacement can cause unpredictable operating problems.)
8. Turn the GPS 155 off.
9. Install the bottom cover by reversing the steps followed in Section 3.1.
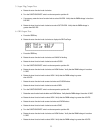
10. Connect an outside antenna to the GPS 155, turn the unit on and allow it to recollect almanac data as described
above. This process is complete when the “Collecting data” message is no longer displayed on the Message
Page.
18
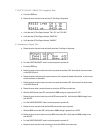
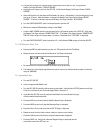
Figure 9
ROM Removal