4-1
4. TRACK
4.1 Displaying Track
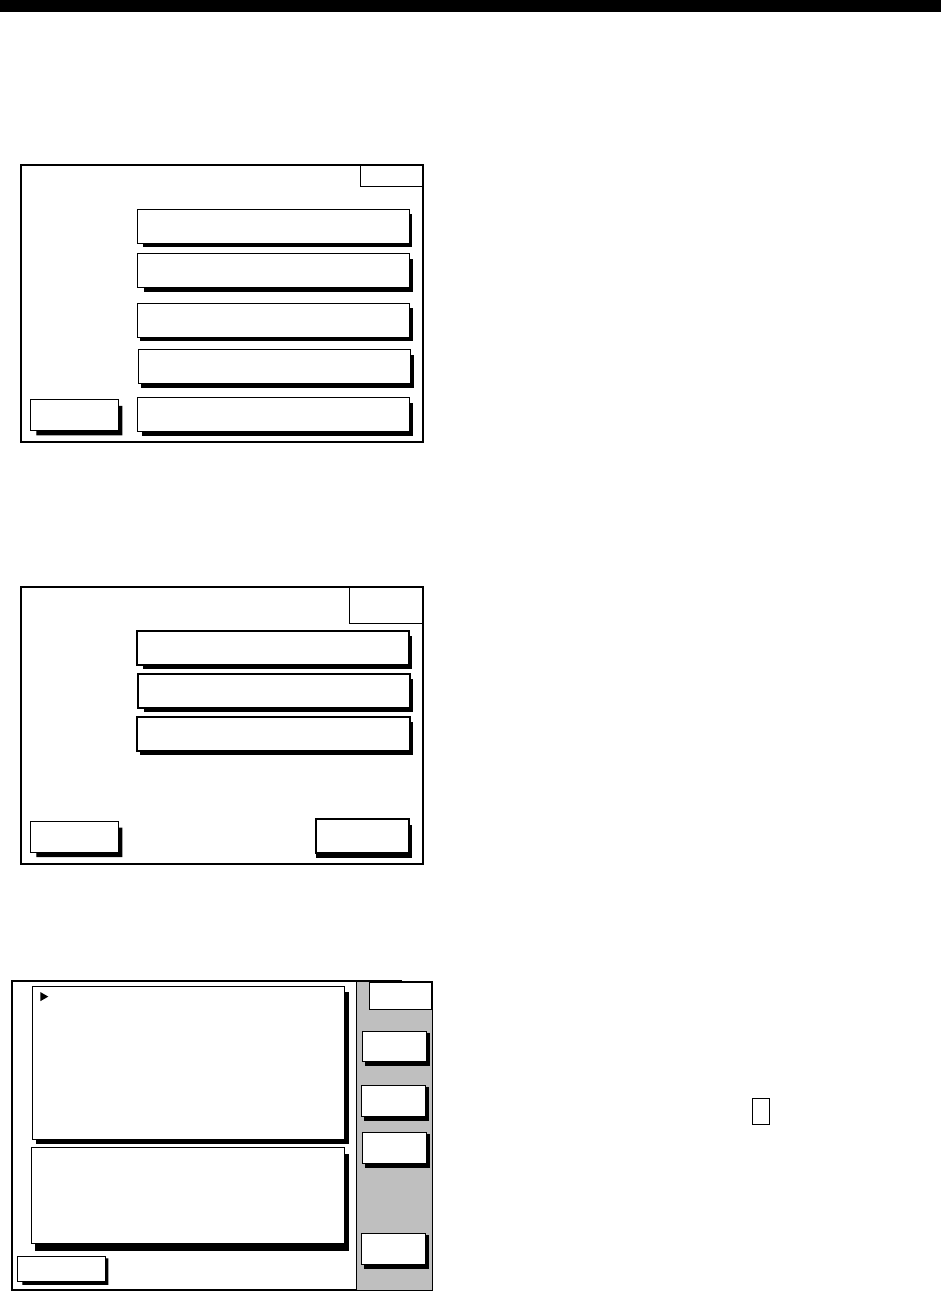
1. Press the [MENU] key to open the main
menu.
MENU
DGPS 3D
CHART SETUP OPTIONS
GPS/DGPS/TD OPTIONS
DISPLAY OPTIONS
CONFIGURATION
SOUNDER SETUP OPTIONS
Main menu
2. Press the CHART SETUP OPTIONS soft
key to open the CHART SETUP
OPTIONS menu.
CHART
SETUP
DGPS 3D
CHART OFFSET
CHART DETAILS
TRACK CONTROL
RETURN
Chart setup menu
3. Press the TRACK CONTROL soft key to
open the TRACK CONTROL menu.
DGPS 3D
TRACK
CONTROL
DISPLAY TRACK ON
TRACK COLOR WHITE
PLOT TIME
TIME INTERVAL 01m00s
DIST INTERVAL 00.10 nm
TRACK MEMORY 2000 POINTS
(MARK MEMORY) (3000) POINTS
TRACK : 1000 / 2000 PTS used
MARK : 5 / 3000 PTS used
EDIT
ERASE
T & M
RETURN
TRACKING
TRACK STATUS
STOP
TRACK
Track control menu
4. Press ▲ to select DISPLAY TRACK.
5. Press the EDIT soft key to show the
display track window.
6. Press ▲ or ▼ to select ON or OFF as
appropriate.
7. Press the ENTER soft key or the
[ENTER] key.
8. Press the [PLOT] key to close the menu.
The default setting is ON, which traces ship’s
track in accordance with ship’s movements.
Number of track and mark points used
appears in the TRACK STATUS window on
the TRACK CONTROL menu. Using the
illustration at the bottom of the page as an
example, it shows that 1000 out of 2000
track points and 5 out of 3000 mark shave
been used.
4.2 Stopping/Restarting
Plotting of Track
When your boat is at anchor or returning to
port you probably won’t need to record its
track. You can stop recording the track, to
conserve the track memory, as follows:
1. Press the [MENU] key followed by the
CHART SETUP OPTIONS and TRACK
CONTROL soft key.
2. Press the STOP TRACK soft key. The
indication “TRACKING” in the TRACK
STATUS window changes to “NOT
TRACKING”.
On the plotter display, H icon appears.
To restart recording the track, press the
START TRACK soft key at step 2 in the
above procedure.


