Quick Start — MGP 464, cont’d
QS-3
MGP 464 • Quick Start
PRELIMINARY
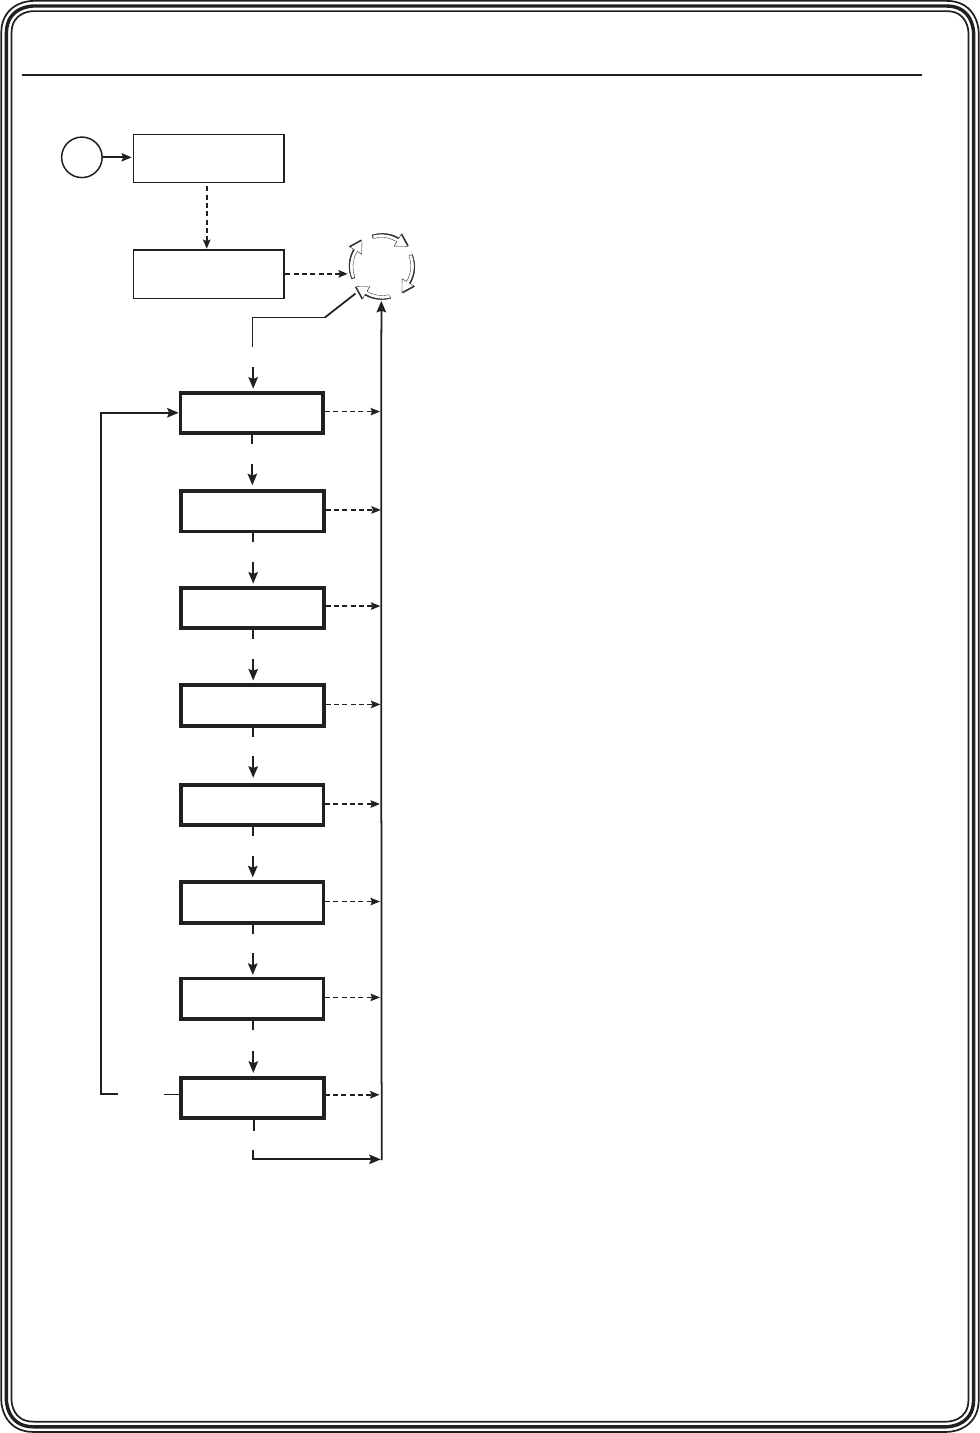
Main menu
Step 4
From the Advanced Configuration menu, change
the test pattern to Crop, and adjust your display’s
positioning until all four sides of the crop pattern
are visible.
Adjusting the picture controls
Step 5
Use the Window Conguration menu to select a
window border color for each window. This will
aid in window sizing and positioning.
Step 6
Select input 1 for windows 1, 2, 3, and 4.
Step 7
Adjust windows 1, 2, 3, and 4 to full screen.
N
If your MGP is set to factory defaults,
you can select default window preset #1,
31, 61, 91, or 121 to set the windows to
full screen size. See “Recalling a window
preset” in chapter 3, “Operation,” for
instructions on selecting one of these
presets.
a
. Press one of the Window Select buttons to
select the window to adjust.
b
. Press the Window/Image Position button
once, and turn the Adjust knobs until both
the H and V values = 0000.
c
. Press the Window/Image Size button once,
and turn the Adjust knobs to the right until
they stop. The window size setting displays
the same resolution as the output.
d
. Repeat steps a through c for the remaining
windows.
N
When all the windows are at full size, you
must mute the other three windows while
adjusting the first.
Step 8
For each input, size and position the image
within all four windows as follows:
a
. Press one of the Window Select buttons to
select a window to adjust.
b
. Press one of the 19 input buttons.
N
If a virtual input (5 through 19) is wired
to two or three input connectors (S-video
or component video, respectively), you
can press any of the buttons to which it is
connected to select it.
c
. Press the Window/Image Size or the
Window/Image Position button twice.
The LCD window displays the number of
the input whose image you are sizing or
positioning.
Power
on
Multi-Graphic
Processor
Input
Configuration
2 sec.
Menu
Menu
Output
Configuration
Menu
20 sec.
Window
Configuration
Menu
20 sec.
20 sec.
Default
Cycle
Extron
MGP 464 V1.00
2 sec.
Advanced
Configuration
20 sec.
Menu
Menu
Next
Exit Menu
Press Next
Menu
20 sec.
Comm. / IP
Configuration
Menu
20 sec.
Auto
Image
Menu
20 sec.
20 sec.
Background
Capture
