Operation, cont’d
MGP 464 • Operation
3-8
PRELIMINARY
Auto Image menu
The Auto Image menu causes the MGP 464 to perform an automatic image
adjustment in the selected window. Auto Image measures where the active area
starts and stops, and adjusts input sampling accordingly, so that the image fills the
window.
When an input is connected, the processor measures the sync frequencies of
the incoming video source and sets the active image area, total image area, and
sampling frequency according to a table stored on the MGP. If an unknown input
is connected to the MGP, the processor measures and estimates the resolution of the
incoming video. If the estimate proves not to be accurate, the Auto Image function
makes measurements to more accurately set up the input sampling.
Auto
Image
Menu
Auto Image
<NA> W1 W2 W3 W4
Use either Adjust knob
to select a submenu option.
Next
Perform Auto Image
Select the window on which
to perform an Auto Image.
Select NA to exit the menu
without performing the
Auto Image adjustment.
Default
Cycle
Next
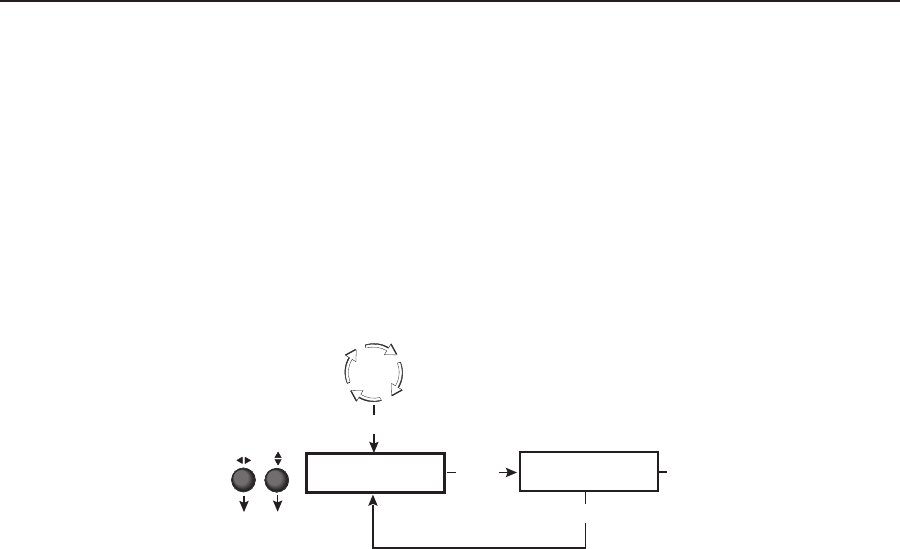
Auto Image menu flow
To perform an Auto Image adjustment,
1
. Press the Menu button once to display the Auto Image menu.
2. Press the Next button once to display the available option.
3. Rotate the horizontal (
[
) or vertical ({) Adjust knob to select the window for
which you want to perform Auto Image.
4
. Press Next again to perform the Auto Image.
5. If desired, repeat steps 3 and 4 for any other windows for which you want to
perform an automatic image adjustment.
6
. When nished with Auto Image, do one of the following:
• Select NA and press Next.
• Press the Menu button.
• Do nothing and wait for the menu to time out.
