Eclipse User Manual
Eclipse User Manual Page 12 of 58 Release 1.10.1
Quickstart
Pressing keys is fine, but if that’s all you wanted to do you’d have been better off buying an infant’s “activity center” from a
second-hand store. No, the whole point is to get some of that Eventide goodness into your music, and that’s just what we’re
gonna do now…
Hooking Up To the Outside World
The Eclipse will sum analog and digital inputs and will output both analog and digital signals at all times.
! see the separate “Eclipse System Signal Flow” sheet for all the gory details
Analog Connections
Insert either an unbalanced 1/4-inch cable (at –10dB) or a balanced XLR
cable (at +4dB) into one or both analog inputs
(see page 7). Such a signal
could come from a mixer or a preamplifier. You can plug a guitar directly
into the Eclipse, but you’ll have to crank the gain (LEVELS {IN GAIN}).
Even then, the signal may not be optimal.
Connect balanced 1/4-inch or XLR cables to the analog outputs (both will be operational). These could lead
to a mixer or an amplifier. Using an unbalanced 1/4-inch cable at the output will halve (-6dB) the output
level.
! see page 7
Digital Connections
OK, this is meant to be a Quickstart section, so we’re going to keep things as simple as possible. If some-
thing doesn’t make sense or if things aren’t working as you expect them to,
go to page 22.
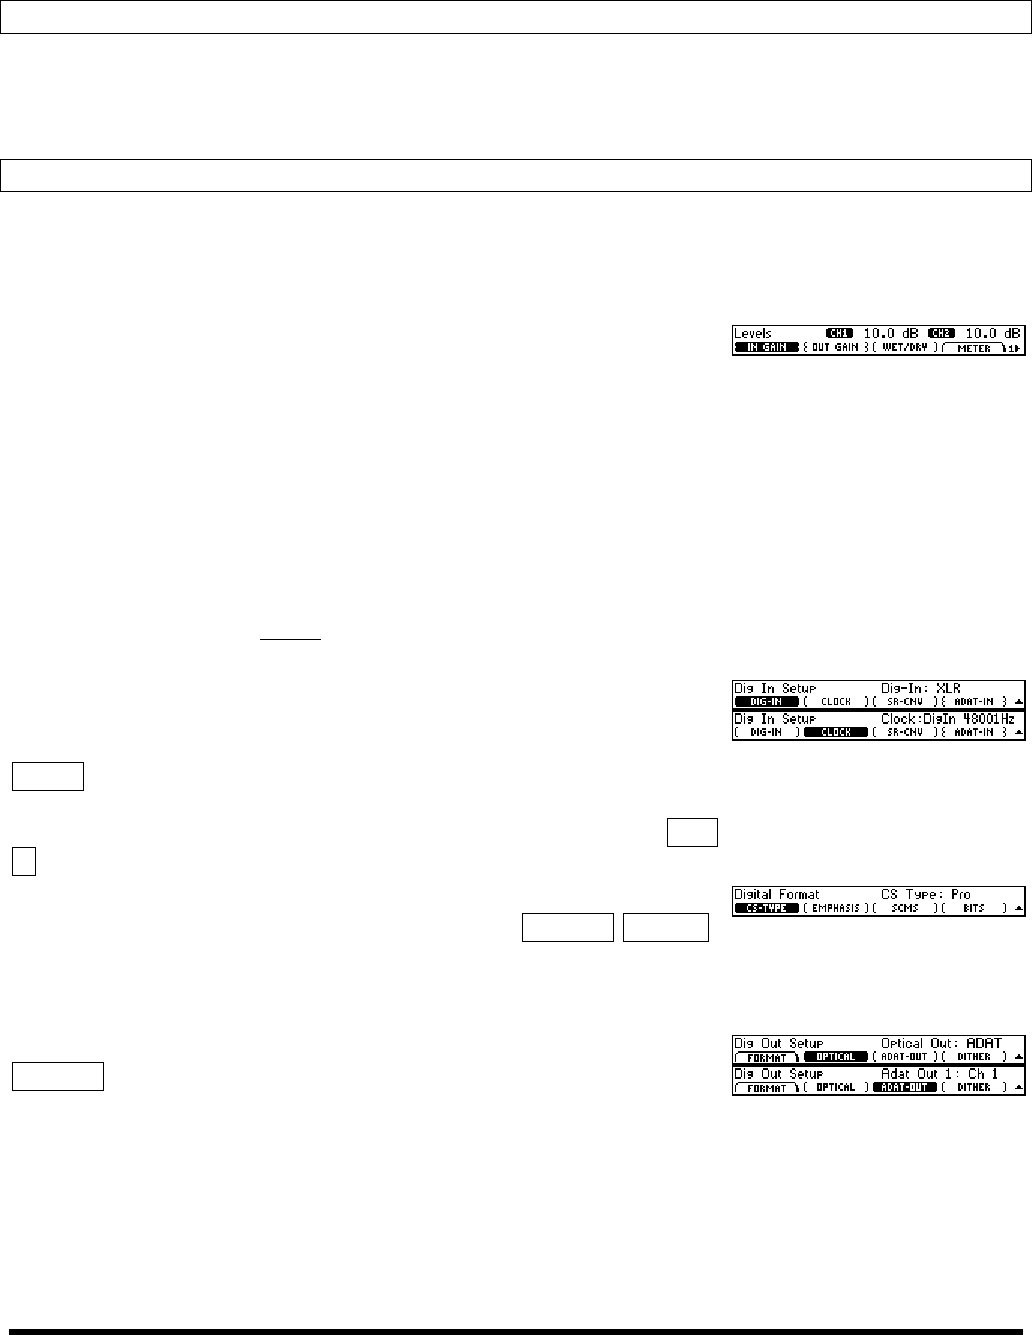
To input digital audio, first plug a cable into an appropriate port on the
back panel. Next, select from
XLR, RCA, Optical, or ADAT under SETUP
DIG-IN (DIG-IN)
. If you select ADAT, use the {ADAT-IN} soft key to select
which two channels the Eclipse will use to process by repeatedly pressing
the {ADAT-IN} soft key. Next, you will probably want to set SETUP DIG-
IN (CLOCK) to DigIn.
All of the digital outputs send live signals all of the time! However, they only
send one protocol. Select that protocol under SETUP DIG-OUT FORMAT.
Under (CS-TYPE) select Pro if you are primarily interested in using the
XLR digital outputs and
Cns if you are primarily interested in using the
RCA or optical (non-Adat) digital outputs.
To output the ADAT protocol through the optical output, set
SETUP
DIG-OUT (OPTICAL) to ADAT. Then use the (ADAT-OUT) soft key to se-
lect which channels will receive processed audio (Ch 1 or Ch 2), which will
receive the signal supplied at the Adat input (
Thru), and which will be
muted.


