


Periodic maintenance and adjustment
107
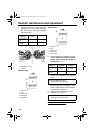
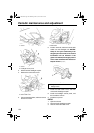
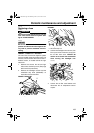
11. Install the headlight unit bolts and wind-
shield stay bolts, and then tighten them to
their specified torques.
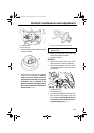
12. Install the top cover and the shroud.
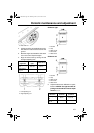
ESU14150
Adjusting the headlight beams
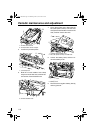
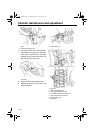
RS90GT / RS90LTGT / RST90GT
1. Remove the top cover. (See page 63 for
removal procedures.)
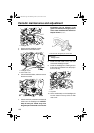
2. Use a Phillips screwdriver to turn the
headlight beam adjusting screw and ad-
just the headlight beams. To lower the
headlight beams, turn the headlight
beam adjusting screw in direction (a). To
raise the headlight beams, turn the head-
light beam adjusting screw in direction
(b).
3. Install the top cover.
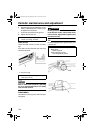
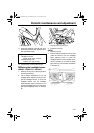
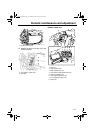
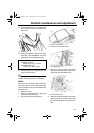
RST90
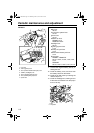
1. Open the shroud.
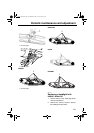
2. Insert a Phillips screwdriver into the hole
under the shroud to turn the headlight
beam adjusting screw. To lower the
headlight beams, turn the Phillips screw-
driver in direction (a). To raise the head-
light beams, turn the Phillips screwdriver
in direction (b).
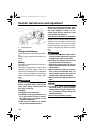
1. Weatherstrip
Tightening torques:
Headlight unit bolt:
3.0 Nm (0.30 m·kgf, 2.2 ft·lbf)
Windshield stay bolt:
14 Nm (1.4 m·kgf, 10 ft·lbf)
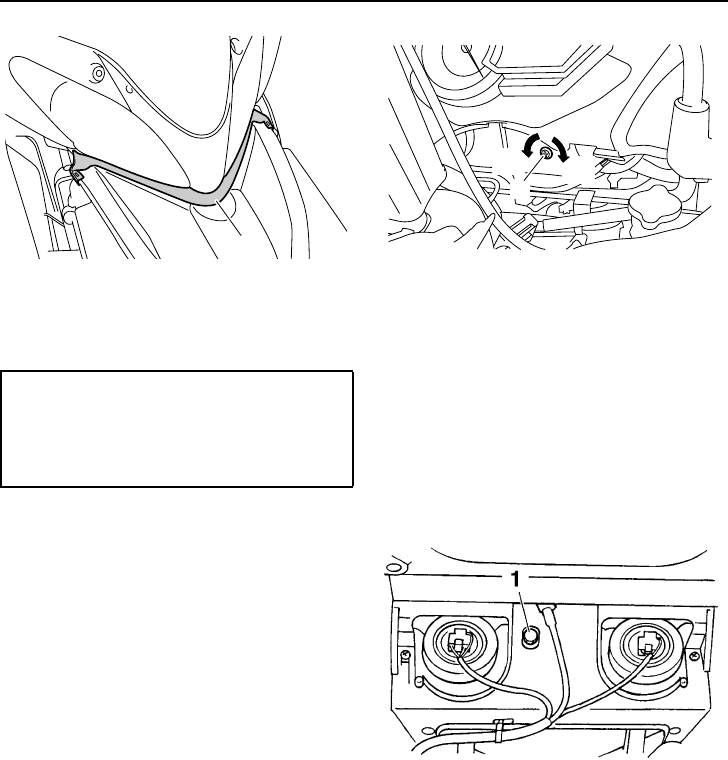
1
1. Headlight beam adjusting screw
1. Headlight beam adjusting screw
1
(b)
(a)
U8JA11E0.book Page 107 Monday, June 14, 2010 10:22 AM