4 - Firmware Upgrades & Updates
34 DL™ User Manual Rev 3
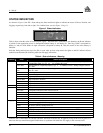
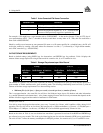
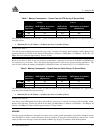
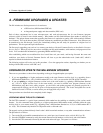
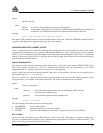
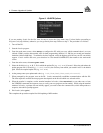
Figure 9: LOADER Options
If you are running Loader for the first time, be sure to access the Setup menu (step 3 below) before proceeding to
Program Card (step 4 below); otherwise, you can go directly from step 2 below to step 4. The procedure is as follows:
1. Turn off the DL.
2. Start the Loader program.
3. From the main menu screen, select Setup to configure the PC serial port over which communication is to occur
(default: COM1), and the data transfer rates for both programming (default: 115 200 bits per second) and terminal
emulation (default: 9600 bps). To minimize the time required, select the highest serial bit rate your PC can reliably
support. Loader verifies and saves your selections in a file named LOADER.SET, then returns to the main menu
screen.
4. From the main screen, select Program Card.
5. Select the disk drive (e.g., A, B, C, D) in which the update file (e.g. 442.BIN) is located. Select the path where the
update program file is located
(e.g., C:\GPS\LOADER); the directory from which you started Loader is the default
path. Select the required update file (e.g. 442.BIN).
6. At the prompt, enter your update auth-code (e.g. 17b2,32df,6ba0,92b5,e5b9,millenrt2).
7. When prompted by the program, turn on the DL. Loader automatically establishes communications with the DL.
The time required to transfer the new program data depends on the bit rate which was selected earlier.
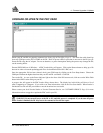
8. When the transfer is complete, use the terminal emulator in Loader (select Terminal), or any other one, to issue
the VERSION command; the response serves to verify your new program version number. When using the terminal
emulator in Loader, a prompt does not initially appear; you need to enter the command first, which then produces a
response, after which a prompt appears.
9. Exit Loader (select Quit).
This completes the procedure required for field-updating a MiLLennium.


