CD/AUX BUTTON
Ⅲ Press the CD/AUX button to play a CD loaded into the CD changer.
Ⅲ Press the CD/AUX button again to play a compatible device such as an MP3 player
when it is plugged into the auxiliary jack (cable not included).
NOTE: You may need to adjust the volume on any compatible device plugged into the
auxiliary jack to find the most desired sound level of the audio system.
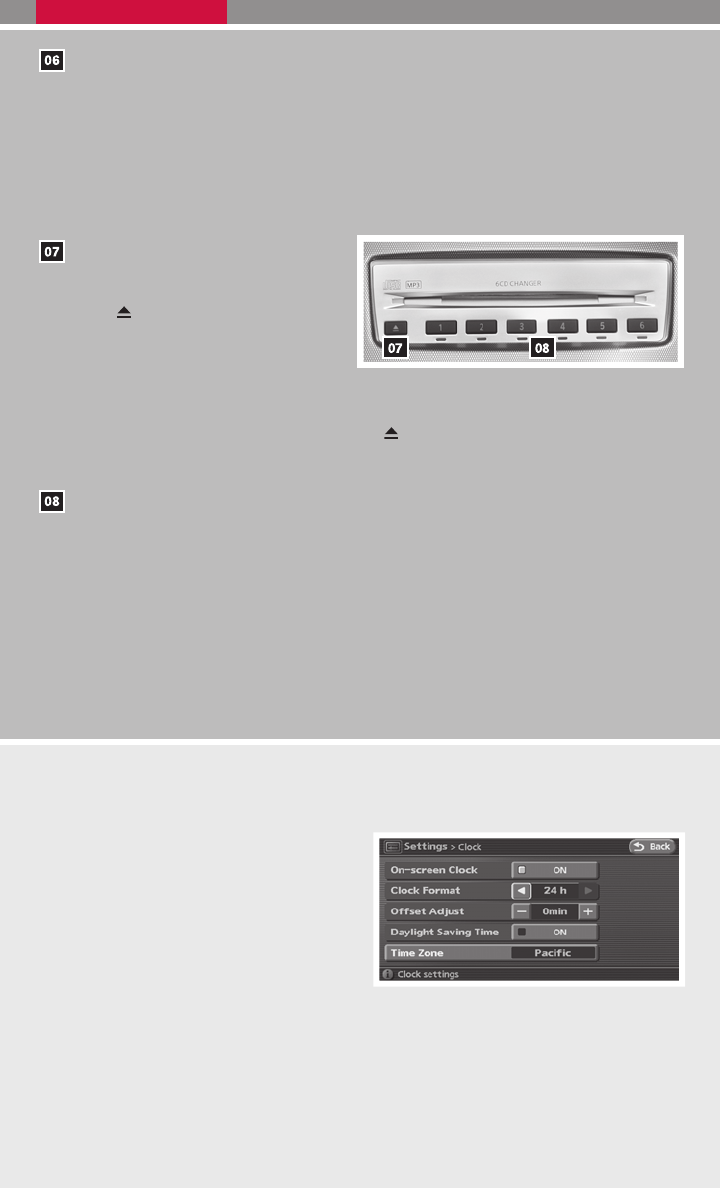
EJECT BUTTON
Ⅲ EJECT A SINGLE DISC - Press
the
button for less than 1.5
seconds. Select the eject slot by
pressing one of the CD insert se-
lect buttons (1 - 6 ). The CD will
then eject.
Ⅲ EJECT ALL DISCS - Press and hold the
button for more than 1.5 seconds. The
CDs will be ejected one after another.
CD SELECT/LOAD BUTTONS
Ⅲ LOAD A SINGLE DISC - Press one of the CD insert select buttons (1 - 6 ) for less
than 1.5 seconds, wait for the CD slot door to open, then insert the CD.
Ⅲ LOAD UP TO 6 DISCS - Press and hold one of the CD insert select buttons (1 - 6)
for more than 1.5 seconds. Wait for the CD slot door to open before loading each
disc. The slot numbers (1-6) will illuminate on the display when CDs are loaded into
the changer
*XMா Satellite Radio is only available on vehicles equipped with optional XMா satellite
subscription service.
CLOCK SET/ADJUSTMENT
NAVIGATION SYSTEM ONLY (if so equipped)
Press the SETUP button, then touch the
“Clock” key to access the following clock
settings:
Ⅲ On-screen Clock – When this item is
turned to ON, a clock is always dis-
played in the upper right corner of the
screen. The clock is automatically ad-
justed by the GPS system.
Ⅲ Clock Format – Choose either the 12-hour clock display or the 24-hour clock display.
Ⅲ Offset Adjust – Adjust the time by increasing or decreasing per minute.
Ⅲ Daylight Saving Time – Turn this item to ON for daylight savings time application.
Ⅲ Time Zone – Choose the time zone.
9
