


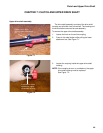


AC3 Series of Engines
58
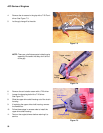
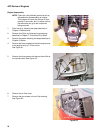
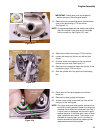
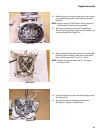
27. Slide the connecting rod off of the crank pin.
NOTE: On engines equipped with the electric start
feature, the crank pin will be longer so that it
can fit into the coupler in the crank case
cover. See Figure 8.12.
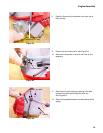
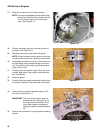
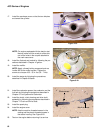
28. Remove the plastic cap from the wrist pin bore of
the piston. See Figure 8.13.
29. Withdraw the wrist pin and remove the piston.
NOTE: If there has been metal transfer from the pis-
ton skirt to the cylinder wall, replace the short block.
30. Immediately reinstall the wrist pin in the small end of
the connecting rod to prevent damage to the bear-
ing. The wrist pin can be held in place temporarily
using a hair pin clip.
31. Carefully remove the piston rings. If they are to be
re-used, keep track of the original order and direc-
tion of installation.
32. Clean the piston.
33. Carefully clean any gasket and sealant residue from
the mating surfaces on the crankcase and cylinder.
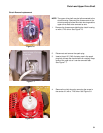
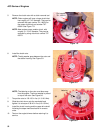
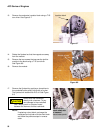
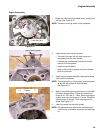
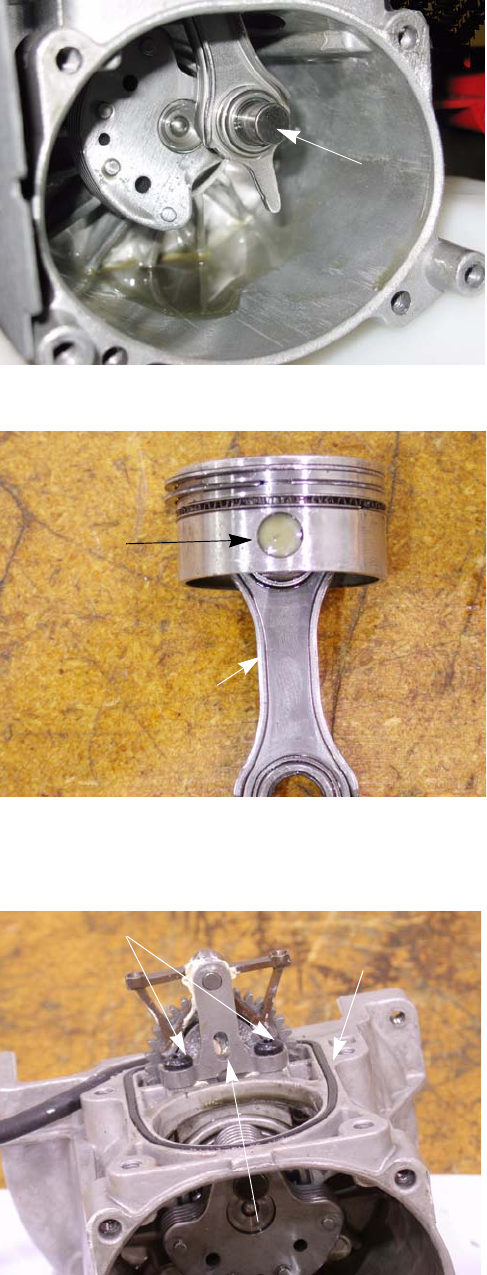
34. Remove the cam bracket assembly using a T-20
torx driver. See Figure 8.14.
IMPORTANT: The crank shaft and cam gear are
pressed into the crankcase. Do not
try to remove the crankshaft. If the
crank shaft needs to be replaced,
replace the whole crankcase assem-
bly.
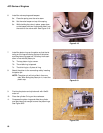
35. Remove the crankcase O-ring and clean the sealing
surface.
Figure 8.12
Crank pin
Figure 8.13
Connecting rod
Wrist pin
plastic cap
Figure 8.14
Cam bracket screws
Cam bracket assembly
Crankcase
O-ring