AC3 Series of engines
6
Spark plugs
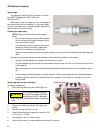
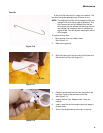
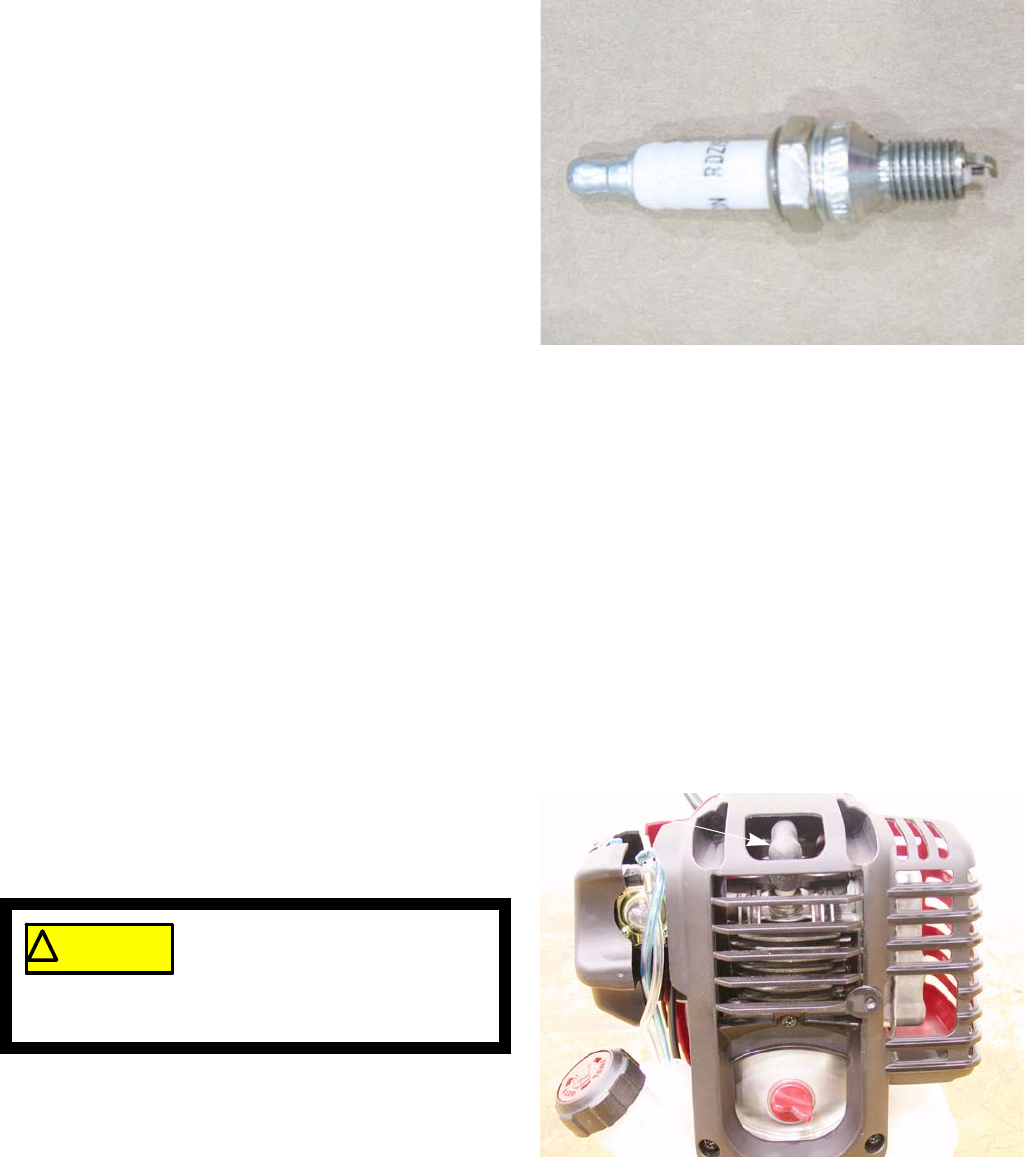
The spark plug used in the 32cc trimmer is a Cham-
pion RDZ19H gapped to 0.025” (.655 mm).
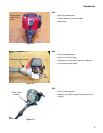
See Figure 2.3.
Wear rate will vary with severity of use. If the edges of
the center electrode are rounded-off, or any other appar-
ent wear / damage occurs, replace the spark plug before
operating failure (no start) occurs.
Cleaning the spark plug:
NOTE: We do not recommend cleaning spark
plugs.
• Use of a wire brush may leave metal deposits
on the insulator that causes the spark plug to
short out and fail to spark.
• Use of abrasive blast for cleaning may cause
damage to ceramic insulator or leave blast
media in the recesses of the spark plug.
• When the media comes loose during engine operation, severe and non-warrantable engine damage may
result.
Inspection of the spark plug can provide indications of the operating condition of the engine.
• Light tan colored deposits on insulator and electrodes is normal.
• Dry, black deposits on the insulator and electrodes indicate an over-rich fuel / air mixture (too much fuel or
not enough air)
• Wet, black deposits on the insulator and electrodes indicate the presence of oil in the combustion cham-
ber.
• Heat damaged (melted electrodes / cracked insulator / metal transfer deposits) may indicate detonation.
• A spark plug that is wet with fuel indicates that fuel is present in the combustion chamber, but it is not
being ignited.
Spark plug removal and installation
To replace a spark plug:
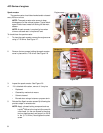
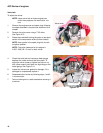
1. Disconnect the spark plug wire. See Figure 2.4.
2. Remove the spark plug using a 5/8” spark plug
socket.
3. Gap a new plug at 0.025” (.6 mm).
4. Install the spark plug and tighten to a torque of 100 -
110 in. lbs.(11 -12 Nm).
5. Follow steps 1 and 2 in reverse order.
6. Test run the trimmer in a safe area before returning it to service.
Figure 2.3
Figure 2.4
Spark plug wire
! CAUTION! CAUTION
Do not grab the spark plug wire
with pliers. Damage to the spark-
plug boot will result. A damaged
spark plug boot will weaken the spark of the spark
plug.


