18 PREPA
RATION
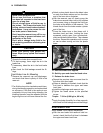
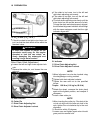
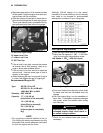
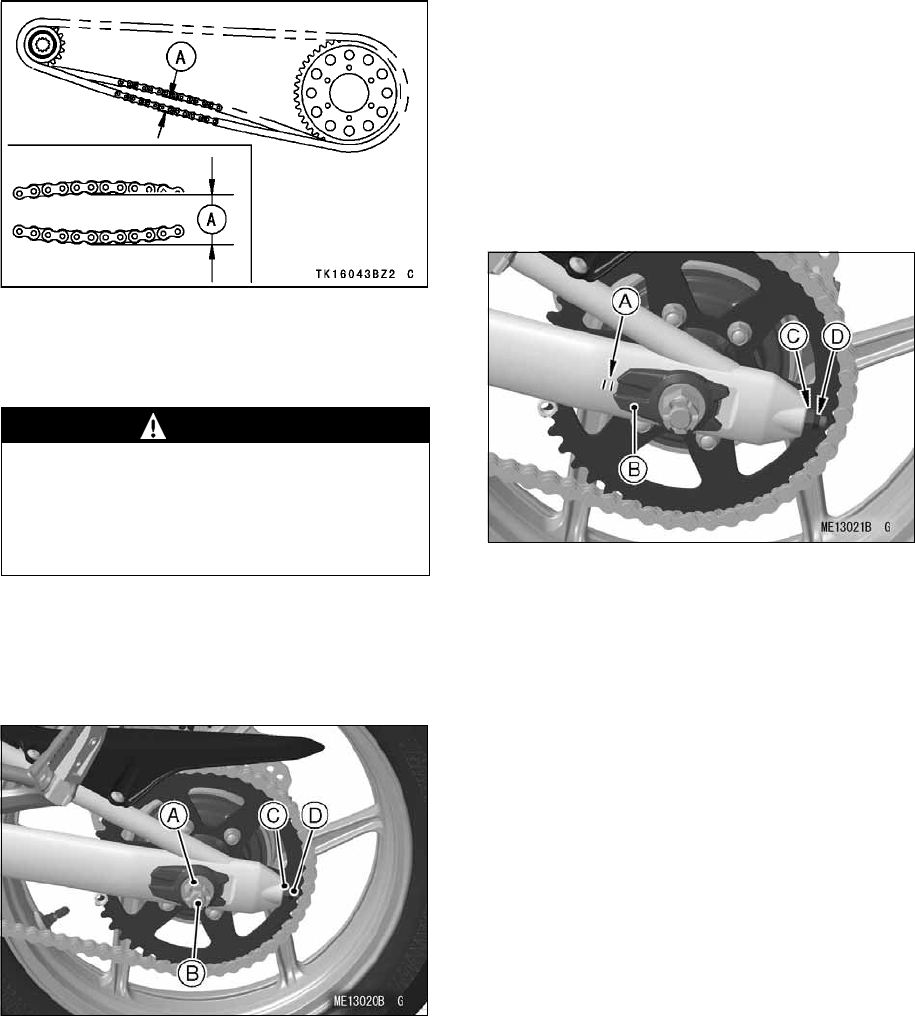
A. 25
a
35 mm (1.0
a
1.4 in.)
•
If the drive chain is too tight or too loose, ad-
just it so that the chain slack will be within the
standard value.
WARNING
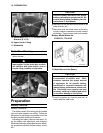
A chain that breaks or jumps off the
sprockets could snag on the engine
sprocket or lock the rear wheel, se-
verely damaging the motorcycle and
causing it to go out of control.
Drive Chain Slack Adjustment
•
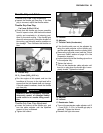
Loosen the left and right chain adjuster lock-
nuts.
•
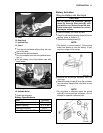
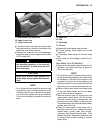
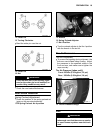
Remove the cotter pin, and loosen the rear
axle nut.
A. Rear Axle Nut
B. Cotter Pin
C. Drive Chain Adjusting Nut
D. Drive Chain Adjuster Locknut
•
If the chain is too loose, turn in the left and
right chain adjusting nuts evenly.
•
If the chain is too tight, turn out the left and
right chain adjusting nuts evenly.
•
Turn both chain adjusting nuts evenly until the
drive chain has the correct amount of slack.
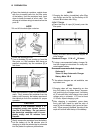
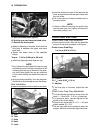
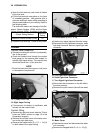
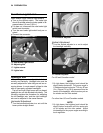
To keep the chain and wheel properly aligned,
the left wheel alignment indicator should align
with the same swingarm mark that the right
indicator aligns with.
A. Chain Adjuster Alignment Marks
B. Indicator
C. Drive Chain Adjusting Nut
D. Drive Chain Adjuster Locknut
NOTE
żWheel alignment can also be checked using
the straightedge or string method.
•
Tighten both chain adjuster locknuts.
•
Tighten the rear axle nut to the specified
torque.
Torque: 108 N·m (11.0 kgf·m, 80 ft·lb)
•
Rotate the wheel, measure the chain slack
again at the tightest position, and readjust if
necessary.
•
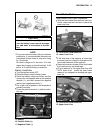
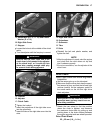
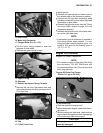
Install a new cotter pin.
NOTE
żWhen inserting the cotter pin, if the slots in the
nut do not align with the cotter pin hole in the
axle, tighten the nut clockwise up to the next
alignment.
żIt should be within 30 degrees.
żLoosen once and tighten again when the slot
goes past the nearest hole.


