PREPARA
TION 13
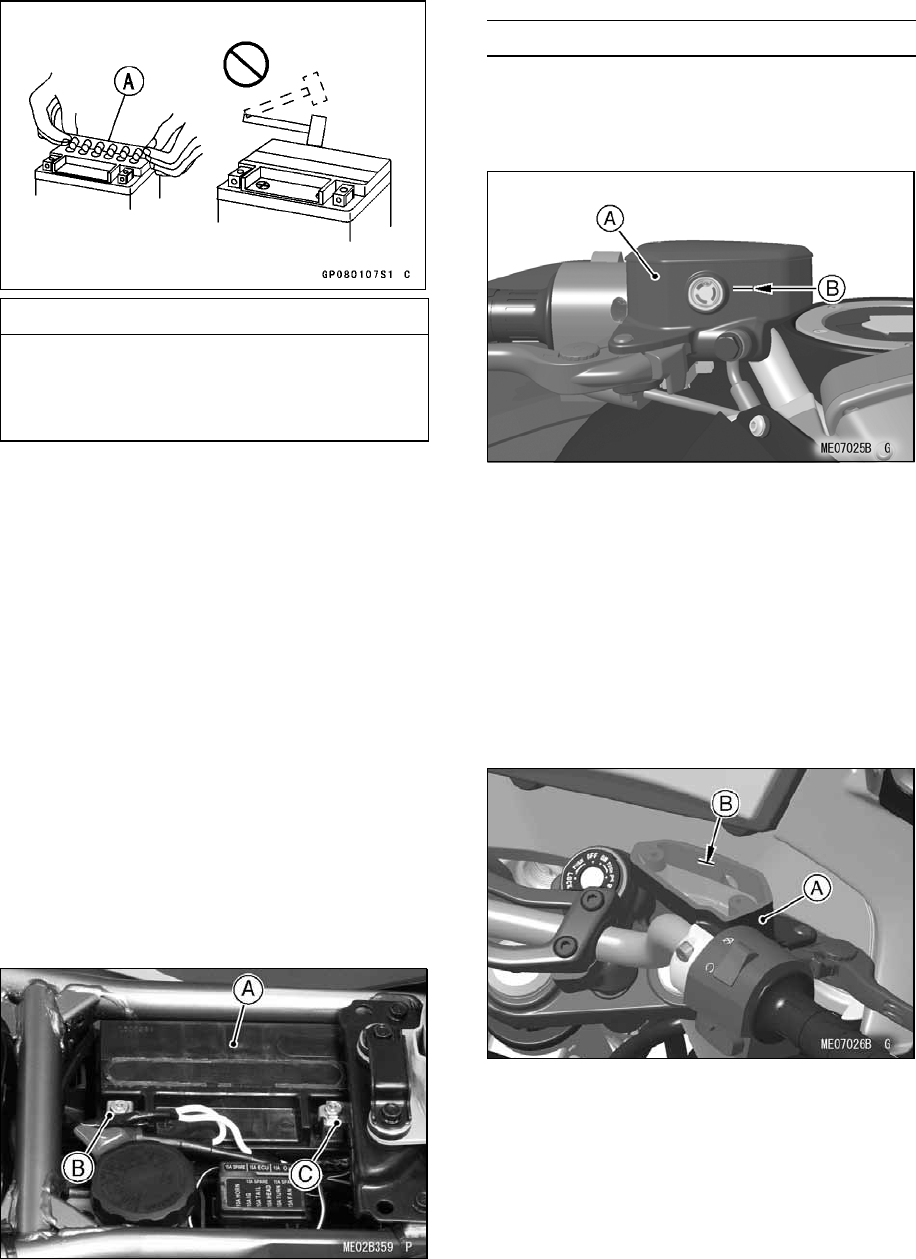
CAUTION
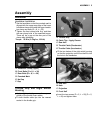
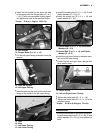
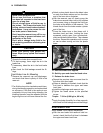
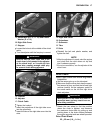
Once the strip of the caps [A] is installed
onto the battery, never remove the caps,
nor add water or electrolyte to the bat-
tery.
NOTE
żTo ensure maximum battery life and customer
satisfaction, it is recommended the battery be
loa
d tested at three times its amp-hour rating
for 15 seconds.
Re-check voltage and if less than 12.6 volts
re
peat the charging cycle and load test. If still
below 12.6 volts the battery is defective.
Battery Installation
•
Tu
rn the ignition switch OFF.
•
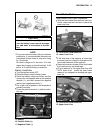
Place the battery into the battery case.
•
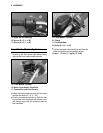
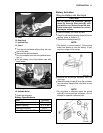
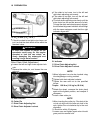
Route the battery cables as shown, and first
c
onnect the red capped cable to the positive
terminal (+), and then connect the negative
cable to the negative terminal (–).
•
P
ut a light coat of grease on the terminals to
prevent corrosion.
•
Cover the positive terminal (+) with its protec-
tive cap.
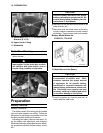
A. Battery
B. Positive Cable (+)
C. Negative Cable (–)
Front Brake Fluid
Front B
rake Fluid Level Inspection
•
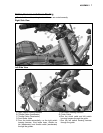
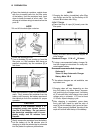
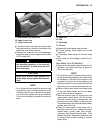
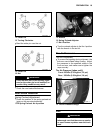
With the front brake fluid reservoir held hori-
zontal, check that the fluid level is above the
lower l
evel line.
A. Front Brake Fluid Reservoir
B. Lower Level Line
•
If the fluid level in the reservoir is lower than
the lower level line, check for fluid leaks in the
front brake lines and fill the reservoir.
•
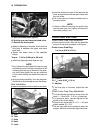
Remove the screws to take off the front brake
fluid reservoir cap and diaphragm.
•
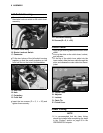
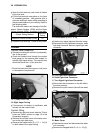
Fill the reservoir to the upper level line with
DOT4 brake fluid. Inside the front brake
reservoir is a stepped line showing the upper
level line.
A. Front Brake Fluid Reservoir
B. Upper Level Line


