that the bulb and bulbholder cannot be
separated - they are replaced as an assembly.
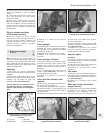
9 Refitting is a reversal of the removal
procedure.
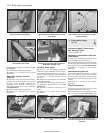
Cigarette lighter illumination
10 Remove the cigarette lighter, as described
in Section 12.
11 Pull the bulbholder from its location in the
illuminated surround, then pull the bulb out of
the bulbholder.
12 Refitting is a reversal of the removal
procedure.
Heater facia illumination
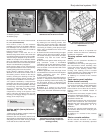
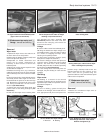
13 Pull the heater fan motor control knob off,
then move the air distribution and
temperature controls fully to the right. Unclip
and remove the heater slide facia towards the
left-hand side of the vehicle, removing the
slide control knobs only as necessary, and
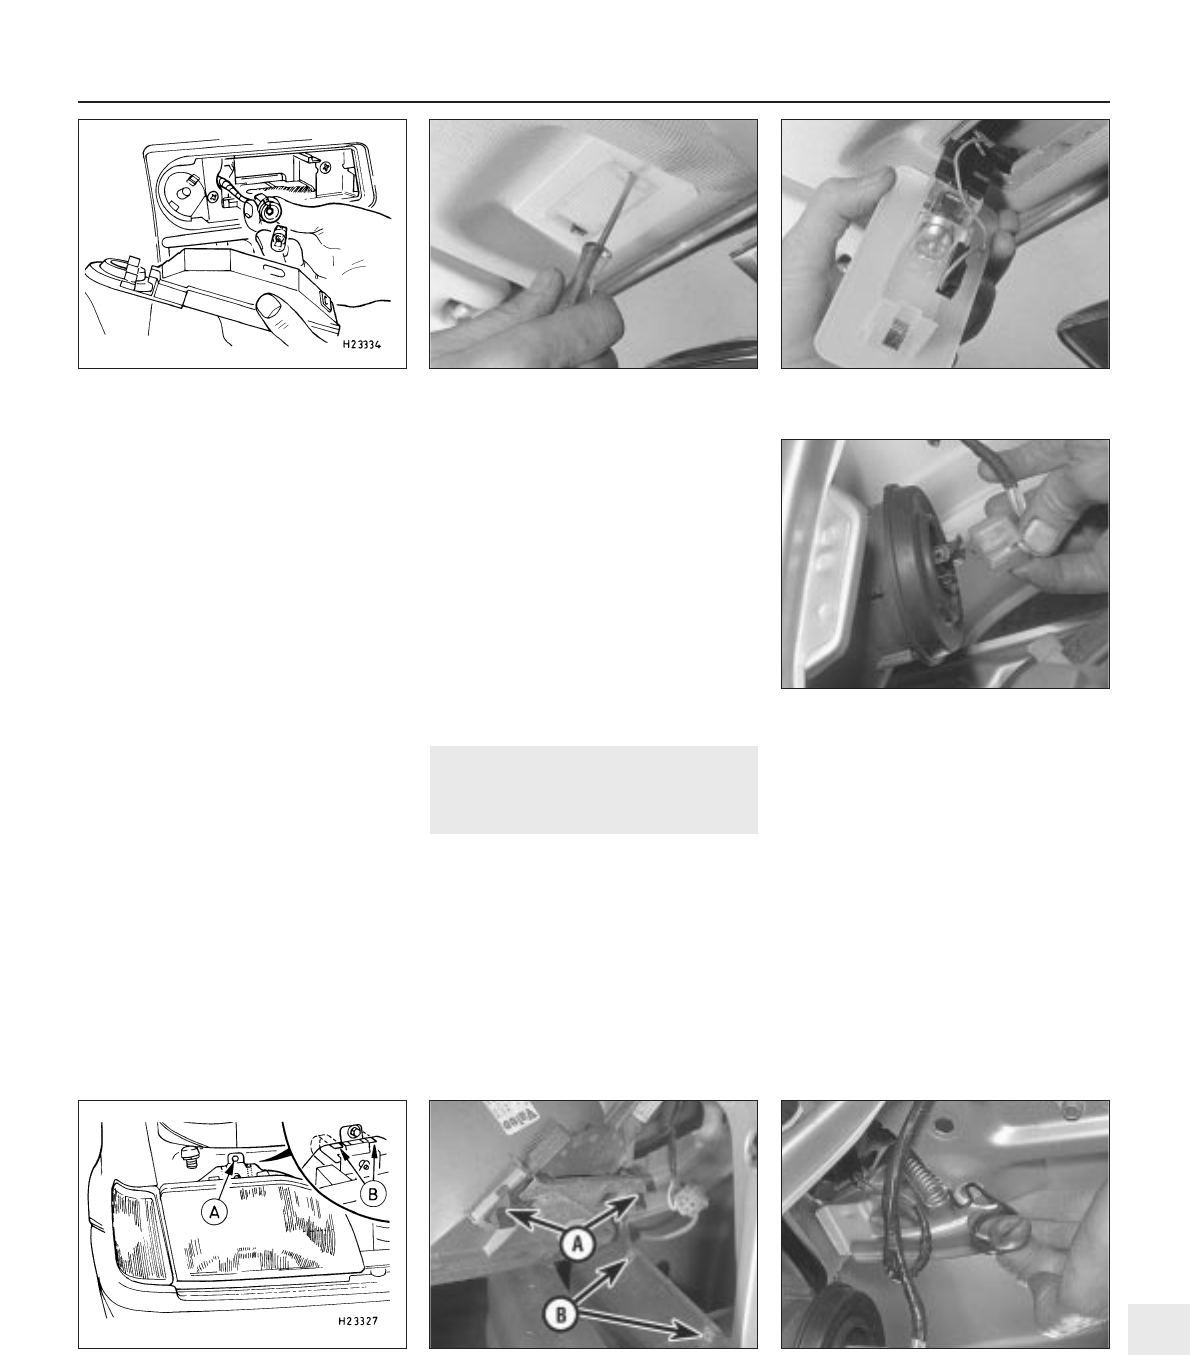
disconnecting its bulbholder (bayonet type) as
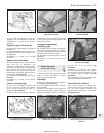
it is withdrawn (see illustration).
14 The bulb is removed by pulling it from its
bulbholder.
15 Refitting is a reversal of the removal
procedure.
Interior (courtesy) light
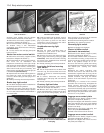
16 Insert a thin flat-bladed screwdriver into
the slot in the light assembly, and carefully
lever it out of its aperture. The bulb is a
bayonet fit (see illustrations).
17 Refit the bulb by reversing the method of
removal, then insert the switch end of the light
to the aperture, pivot the light upwards and
push home to secure.
Luggage compartment
(courtesy) light
18 Carefully prise the luggage compartment
(courtesy) light assembly out of its location,
using a thin flat-bladed screwdriver. Twist the
bulbholder anti-clockwise to remove.
19 The bulb is removed by pulling it from its
bulbholder.
20 Refitting is a reversal of the removal
procedure.
7 Exterior light units -
removal and refitting
2
1 Disconnect the battery negative (earth) lead
(refer to Chapter 5A, Section 1), before
removing any of the light units.
Headlight
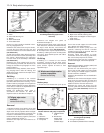
2 Disconnect the multi-plug from the back of
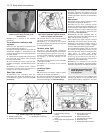
the headlights (see illustration).
3 Twist the sidelight bulb holder to release,
then withdraw it.
4 Remove the headlight securing bolt and
depress the headlight retaining spring, to
allow the headlight assembly to be hinged
forwards and out of its location (see
illustration).
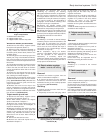
5 Refitting is a reversal of the removal
procedure, ensuring that the lower headlight
mounting guide is inserted correctly, and that
the retaining spring engages fully (see
illustration).
6 On completion, check the headlight beam
alignment as described in Section 8.
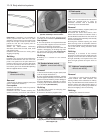
Front direction indicator
7 To remove, release the indicator light
retaining spring from its body location, then
pull the light assembly forwards and
disconnect its multi-plug as it is withdrawn
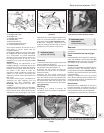
(see illustrations).
Body electrical systems 12•9
6.16b Interior (courtesy) light pivoted for
access to the bulb
7.2 Disconnecting the multi-plug from the
back of the headlight
6.16a Releasing the interior (courtesy)
light from its location
6.13 Heater fan illumination arrangement
7.7a Release the front direction indicator
light retaining spring from its body
location . . .
7.5 Refitting the headlight. Mounting
guides (A) to fit to panel (B)
7.4 Headlight retaining bolt (A), and
retaining spring arrangement (B)
12
1595Ford Fiesta Remake


