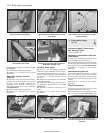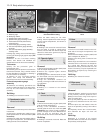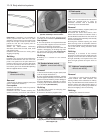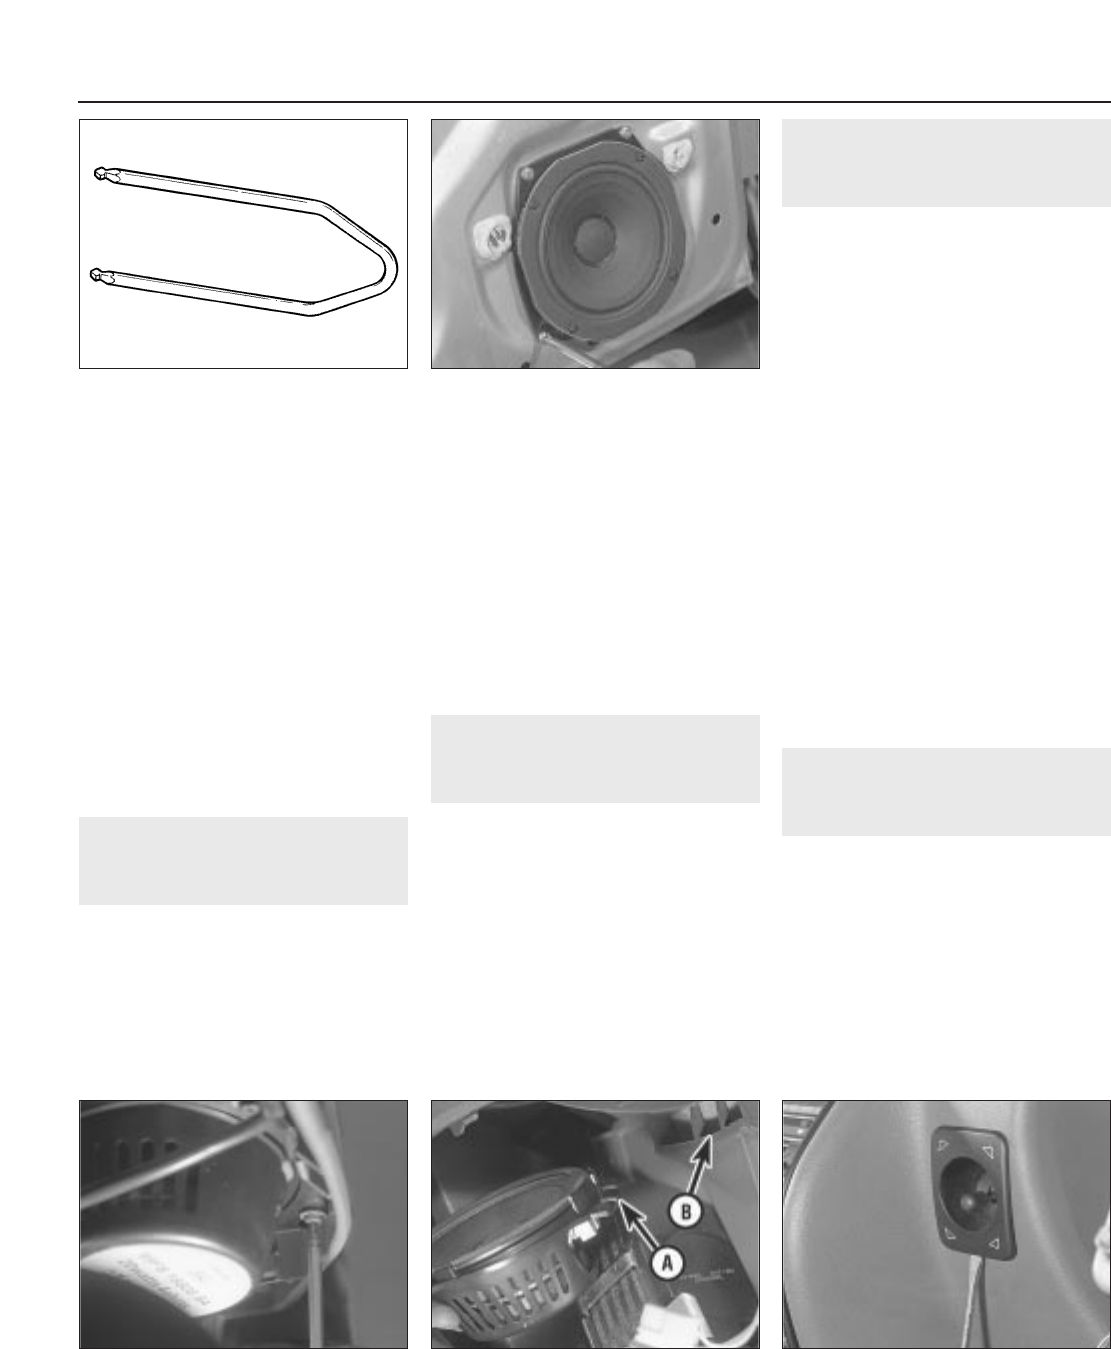
illustration). If possible, it is preferable to
obtain purpose-made rods from an audio
specialist, as these have cut-outs which snap
firmly into the clips so that the radio can be
pulled out. Pull the unit squarely from its
aperture, or it may jam.
4 With the radio/cassette sufficiently
withdrawn, disconnect the feed, earth, aerial
and speaker leads.
5 Remove the tools from the unit by gently
wiggling and pulling.
Refitting
6 Refitting is a reversal of removal. When the
leads are reconnected to the rear of the unit,
press it into position to the point where the
retaining clips are felt to engage. Reactivate
the unit in accordance with the code and the
instructions given in the Ford Audio Operating
Manual supplied with the vehicle.
23 Speakers -
removal and refitting
3
Removal
1 Disconnect the battery negative (earth) lead
(refer to Chapter 5A, Section 1).
Front speaker
2 Remove the side door inner trim panel as
described in Chapter 11.
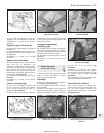
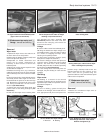
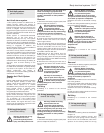
3 Remove the four screws securing the
speaker assembly to the door and withdraw
the speaker from the door. Disconnect its
multi-plug as it is withdrawn (see illustration).
Rear speaker
4 The rear speakers are suspended beneath
the parcel shelf supports and are secured in
position by locating tags and screws.
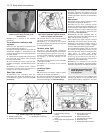
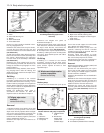
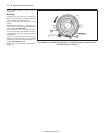
5 Remove the securing screws then lower the
speaker, disengaging its locating tags from
the parcel shelf support (see illustrations).
Disconnect its multi-plug as it is withdrawn.
Refitting
6 Refitting is a reversal of the removal
procedure.
24 Speaker balance control
joystick - removal and refitting
1
Removal
1 Disconnect the battery negative (earth) lead
(refer to Chapter 5A, Section 1).
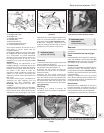
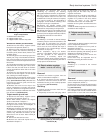
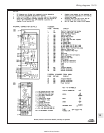
2 Using a thin flat-bladed screwdriver, carefully
prise the joystick assembly out of the facia. Use
a piece of card or similar to prevent damage to
the facia. Withdraw the assembly so that its
multi-plug may be disconnected, then remove it
from the vehicle (see illustration).
Refitting
3 To refit, first connect its multi-plug then
push home to secure.
4 Reconnect the battery negative lead.
25 Radio aerial -
removal and refitting
2
Note: The roof-mounted aerial mast section
should be removed prior to using an
automatic carwash. This is achieved by
unscrewing it from the aerial base.
Removal
1 Disconnect the battery negative (earth) lead
(refer to Chapter 5A, Section 1).
2 Unscrew the aerial mast section, then
remove the base section as follows. Insert a
thin flat-bladed screwdriver into the slot in the
interior (courtesy) light assembly and carefully
lever the assembly out.
3 Through the resultant opening, the aerial
base securing screw is accessible. Remove
the screw and detach the aerial base from the
roof of the vehicle, having noted the aerial
lead fitment.
Refitting
4 Refitting is a reversal of the removal
procedure, ensuring that the aerial base sits
squarely on the roof. Insert the switch end of
the light assembly to its aperture first, then
pivot the light upwards and push home to
secure.
26 “Lights-on” warning module
- removal and refitting
1
Removal
The “lights-on” warning feature is fitted to
certain models from 1993 onwards. The
warning module, which resembles an ordinary
relay, is located behind the facia, between the
steering column and radio/cassette player. It
can be removed by reaching up behind the
facia and unclipping it from its mounting.
Refitting
Refitting is a reversal of removal.
12•16 Body electrical systems
24.2 Carefully prise the speaker balance
control joystick from its location
23.5b . . . then disengage the locating
tags (A) from their location on the parcel
shelf support (B)
23.5a Remove the rear speaker securing
screws . . .
23.3 Remove the screws securing the
speaker assembly to the front door
22.3 Radio/cassette player extractor tool
1595Ford Fiesta Remake


