Rosemount Model 8800C Vortex Flowmeter with FOUNDATION
™
Fieldbus
6-18
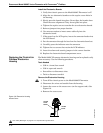
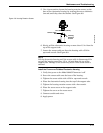
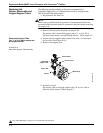
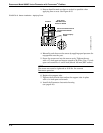
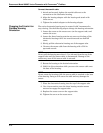
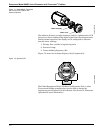
3. Sensor should remain as close to vertical as possible when
applying force to seat. See Figure 6-15.
FIGURE 6-15. Sensor Installation – Applying Force.
4. Manually push down on the sensor by applying equal pressure for
engagement onto the post.
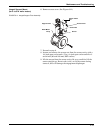
5. Screw the sensor nut into the sensor cavity. Tighten the nut
with a 1
1
/8-inch open end torque wrench to 32 ft-lbs. (Use a
3
/4-inch
open end wrench for 3- and 4-inch [80 and 100 mm] SST wafers.)
NOTE
The sensor nut must be tightened to 32 ft-lbs. for accurate
flowmeter operation.
6. Replace the support tube.
7. Tighten the four bolts that anchor the support tube in place
with a
7
/16-inch open end wrench.
8. Install the flowmeter electronics housing
(see page 6-10).
Pressure
Sensor centerline must be
aligned with flowmeter
centerline
Sensor properly
seated
Apply Force
With Hand Until
Sensor is Seated
SENSORS-sens05c.EPS


