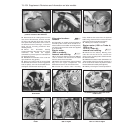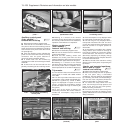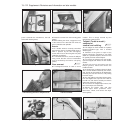
push it towards the windscreen; the ball
socket will release (photo).
5 Extract the screws from the mounting plate
(photo).
6 When refitting the mirror, engage the front
of the socket on the ball and then twist the
mirror rearwards and upwards.
Exterior
7 On models without remotely-controlled
type exterior mirrors, the ball-jointed mirror is
held in position by the two self-tapping
screws which secure the triangular trim plate
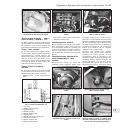
inside the car (photos).
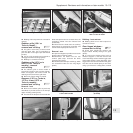
8 To dismantle the mirror, extract the balljoint
fixing screw, but take care as considerable
force is exerted by the interior coil spring
(photo).
Door armrest ¡
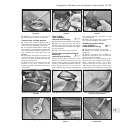
9 A redesigned armrest is used on some
models. This is simply secured by two
self-tapping screws (photo).
Tailgate (Turbo ie model) -
component
removal and refitting ¡
10 The tailgate on these models is of plastic
injection-moulded type, with a bonded
window glass.
11 Renewal of the glass or repair of the
tailgate should be entrusted to your FIAT
dealer or a specialist repairer, due to the need
for special products and techniques.
12 To remove the tailgate lock and handle,
open the tailgate and extract the lock handle
screws.
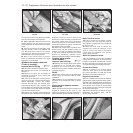
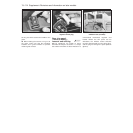
13 Prise off the link rod socket from the
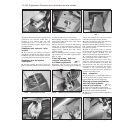
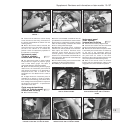
ball-pin (photos). Unbolt and remove the
handle and lock.
14 A remote type of tailgate release is fitted,
with a control handle located by the driver’s
seat. Access to the handle can be obtained by
removing the seat and sill trim, and peeling
back the carpet.
15 If a new cable is to be fitted, disconnect it
from the tailgate latch, tape the new cable to
the old one, and draw it carefully around the
side panel and sill trim (photo).
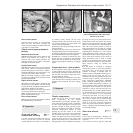
16 To remove the tailgate wiper motor, first
take off the wiper arm and blade.
17 Extract the plastic clips and take
off the wiper motor protective cover.
Disconnect, unbolt, and remove the wiper
motor (photo).
13•112 Supplement: Revisions and information on later models
17.17 Tailgate wiper motor17.15 Tailgate release cable (arrowed)17.13 Tailgate handle link rod (arrowed)
17.9 Door armrest17.8 Extracting the mirror balljoint screw
17.7B Withdrawing the exterior mirror
17.7A Exterior mirror trim plate17.5 Interior mirror mounting plate17.4 Interior mirror base


