


2001 Edelbrock Corporation
Brochure No. 63-0020
©
Rev. 10/01
Page 10 of 27
2.4 Nitrous Bottle Installation
After you have determined the location and orientation of the nitrous bottle, use the following procedure
to install the bottle:
2.4.1 Street Car Installations
1. Disconnect vehicle’s battery.
2. Determine the location of the bottle within the confines of the rear of the vehicle.
3. Once a mounting location has been determined, raise the vehicle (following all safety practices
involved in working on a vehicle from under the vehicle) and verify that there are no fuel lines, fuel
tank(s), brake lines, emissions equipment, or structural members in the way of potential mounting
bolt locations.
Note: It may be necessary to remove the fuel tank depending on the location where you install the
bottle.
4. Install the rubber insulators within the bottle brackets.
5. Slip bottle into the mounting brackets.
6. Using the mounting bracket bolt holes as templates, mark an area for each of the brackets with
chalk, metal marking pen, scribe, or marking pen to locate the bolt placements for drilling.
7. Drill two (2) 3/8” mounting holes for each bracket.
8. If heater blanket is used, brackets must be installed 8 1/2 inches apart from each other.
9. Install the bottle mounting brackets using “Grade 8” bolts, nuts and flat washers (not included with
kit). Use fender washer underneath the vehicle for sheet metal mounting.
10. Tighten the mounting bolts using a thread locking compound (not included with kit).
11. Mock up Safety Blowdown tube on bottle to find where tube will go through floor.
12. Mark floor where tube appears it will go.
13. Using a 1/2” drill bit, drill through floor on mark.
14. Install Safety tube on bottle and cut off excess tube so that only 1 to 2 inches are protruding below
floor.
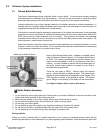
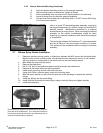
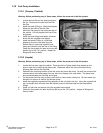
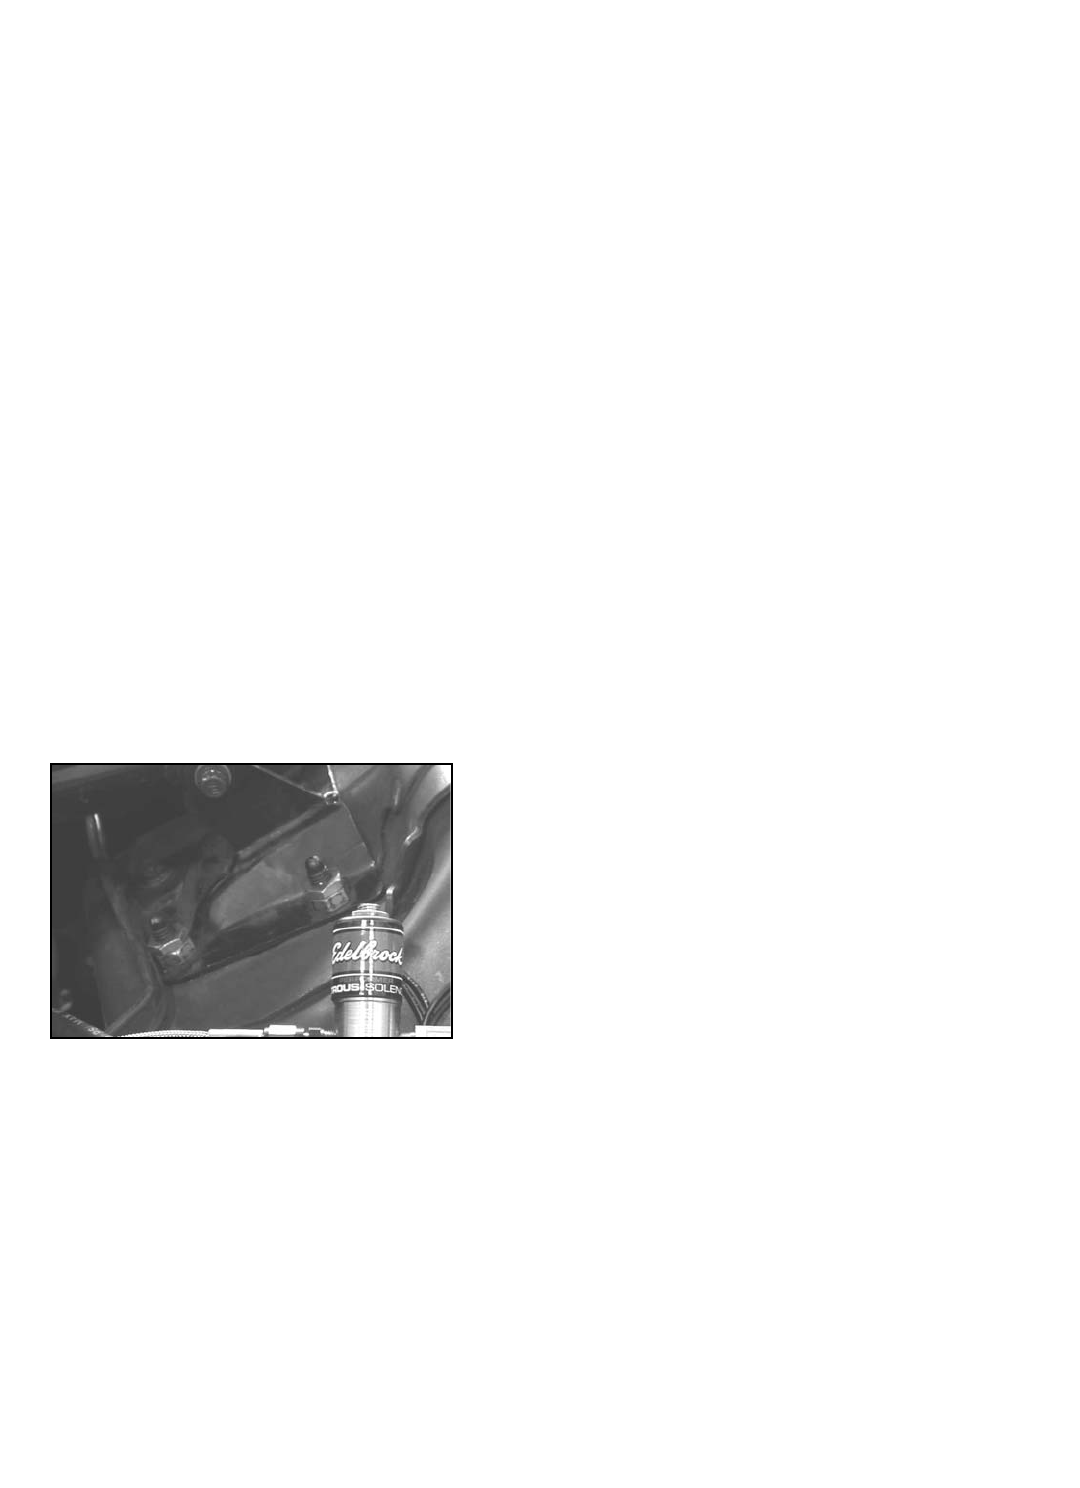
Shown here is a bottle with a bottle bracket properly installed with
the rubber insulator. The distance between the bottle brackets is
somewhat adjustable. Remember, mount the short bottle bracket
at least 1” from the bottom of the bottle, and never cover any of
the bottle label with a bottle bracket.
Do not attempt to install the bottle in the bracket without the
rubber insulator. The bottle hoop on the bracket is designed to
include the thickness of the insulator.
2.4.2 Race Car Nitrous Bottle Installations
Install the bottle brackets in accordance to race track and/or sanctioning body rules. Contact the
factory for assistance with meeting sanctioning body rules.
2.4.3 Nitrous Bottle Installations For Vehicles With Hatchbacks Or Trunk Areas That Are
Connected With The Passenger Compartment.
Please contact Edelbrock for more information.