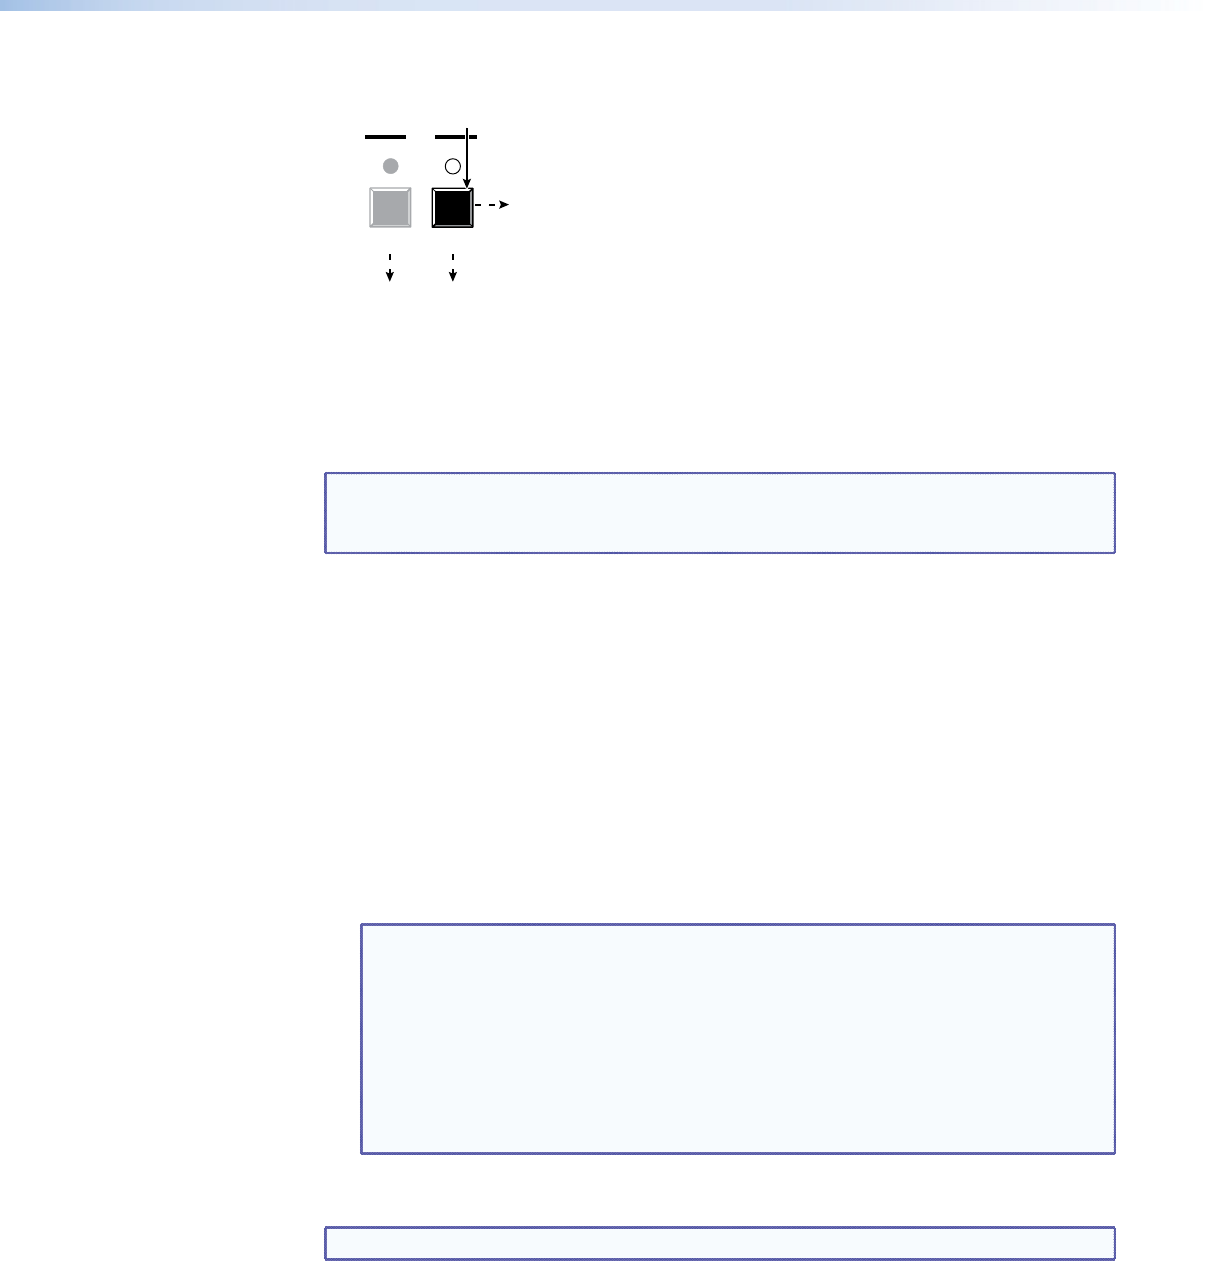
5. Exit the Audio mode: Press and release the Audio button.
AUDIO
I/O
VIDEO
The Audio LED stops blinking and lights steadily.
The Video button lights.
Press the Audio button to exit audio mode.
All input LEDs and output LEDs
return to the unlit state.
Viewing and Adjusting the Output Volume
The audio level of each output can be displayed and adjusted through a range of 100% (no
attenuation) to 0% (maximum [76 dB] attenuation). The audio level can be adjusted from
the front panel or under RS-232 or Ethernet control.
NOTE: Output volume is protected when front panel Lock mode 2 is selected. You can
view the volume in Lock mode 2 but you cannot adjust it from the front panel
(see “Setting the Front Panel Locks (Executive Modes)” on page 47).
1. Press the Esc button to clear any input LEDs, output LEDs, or control LEDs that may be lit.
2. To enter Audio mode, press and hold the Audio button until the LED begins to blink,
then release the button.
3. Press and release an output button to select an output. The input LEDs display the
volume level for the selected output. The more buttons that are lit, the higher the
volume. The fewer buttons that are lit, the lower the volume.
For a more detailed analysis of decoding the displayed value, see “Reading the
displayed volume,” below.
4. Press and release the View (
<
) and Esc (
>
) buttons to increase and decrease the audio
volume.
5. Press and release the Audio button to save the audio settings and exit the Audio mode.
The Audio LED stops blinking.
NOTES:• There is one audio volume level setting per output. The audio level setting
is shared by the left and right audio inputs.
• Theaudiovolumelevelsarestoredinnon-volatilememory.Whenpower
is removed and restored, the audio level settings are retained.
• Exiting Audio mode by pressing the Audio button always returns the I/O
LEDs to the Video and Audio lit (video and audio selected for configuration).
• PressingtheEnterorPresetbuttonalsoexitsAudio mode. Pressing the
Preset button changes to Recall Preset mode.
Reading the displayed volume
TIP: Skip this section if you do not need to read the exact value of the volume setting.
There are 65 steps of volume attenuation, with 1 dB per step (button push), except for 0-to-1,
which is 13 dB. At maximum attenuation, no input LEDs are lit, 76 dB of attenuation is applied,
and the audio is effectively muted. At no attenuation, all input LEDs are lit and the output
volume is equal to the input signal plus any applied gain or attenuation using the input
audio level adjustment (see “Viewing and Adjusting the Input Audio Level”).
MPX 866 A Media Presentation Matrix Switcher • Operation 44


