


Pole Track © 2003, Hayton Systems Page 7
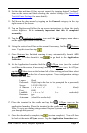
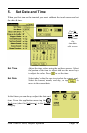
10. Set the date and time (if they are not correct) by tapping desired “outlined”
item on the screen and then selecting the correct settings (See
Start
Pole
Track
&
Enter
Settings
for more details).
11. Pull down the drop menu by tapping on the General category in the top
right corner of the screen.
12. Tap on Digitizer and follow the on-screen instructions to align the touch
screen digitizer. It is extremely important that this is completed
accurately.
13. Tap the
Application
Launcher
icon until the
All
category name shows
on the upper right corner of the screen.
14. Using the vertical scroll bar on the screen if necessary, find the
Restorer
icon. Tap this icon then tap .
15. Once
Restorer
has finished running it may automatically launch ATS
Register. If it does launch it, tap to go back to the Application
Launcher.
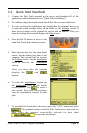
16. At the Application Launcher find the
ATSync
icon (use the vertical
scroll bar on the screen, if necessary) and tap the
ATSync
icon. In ATSync
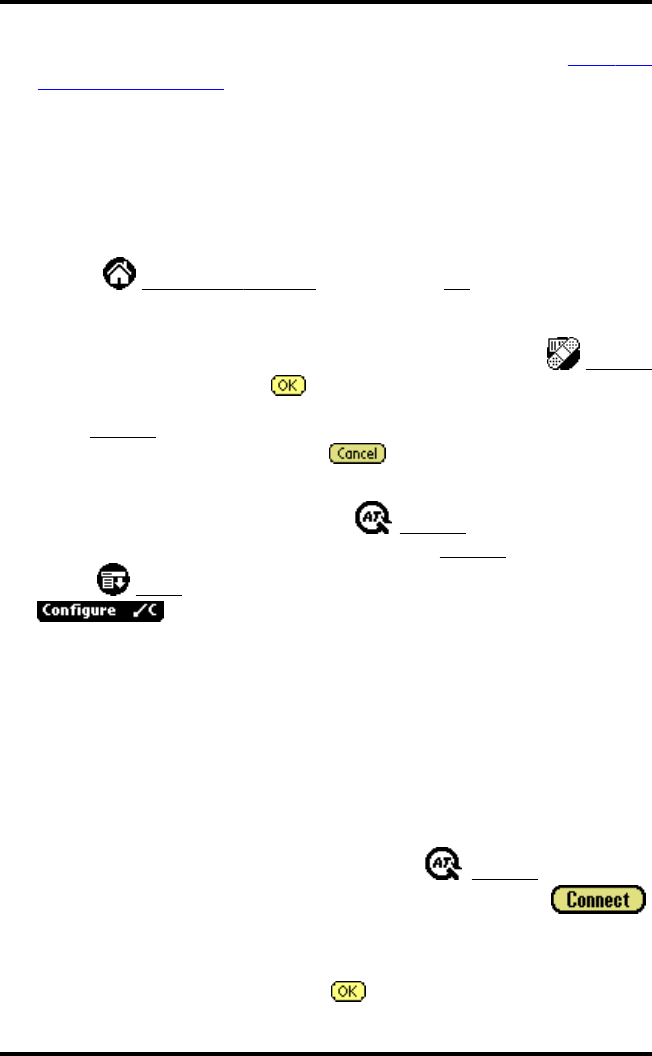
tap the
Menu
icon on the bottom left of the writing pad and then select
from the list of menu options. Your configuration settings
should look like this:
Logon: floyd
Password: floyd (tap in the box to be prompted for a password)
Server: 143.091.038.150
Alt Server: (should be blank)
Port: 4040
LoadBal: (should be unchecked)
Resource: gps
Autoconn: (should be unchecked)
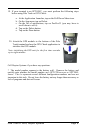
17. Place the terminal in the cradle and tap the
ATSync
icon on the
application launcher. Place the terminal in the cradle and tap .
Note: To set a pre-dialing string contact Hayton Systems and we will walk
you through that process.
18. Once the download is complete, tap (session complete). You will then
be back at the main ATSync screen. Tap the Application Launcher icon.