


300
Controls in detail
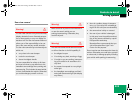
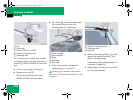
Loading
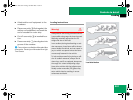
̈ Pull cover strip c out of groove until
you see screws b on each end of the
crossbar.
̈ Turn screws b on both sides counter-
clockwise approximately 2 rotations.
̈ Place the crossbar at designated loca-
tions (
୴ page 298) on roof rails.
̈ On both sides, make sure the clamping
claws 5 lie flush against the roof rails.
If necessary pull out or push in the
clamping claws 5.
̈ Tighten screws b. Observe a
tightening torque of 4 lb-ft (6 Nm).
The width of the clamping claws is
correctly adjusted.
̈ Press cover strip c piece by piece into
groove of crossbar.
̈ Install the crossbars as described
(
୴ page 298).
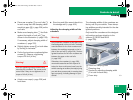
Removing the crossbars
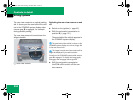
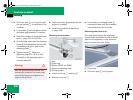
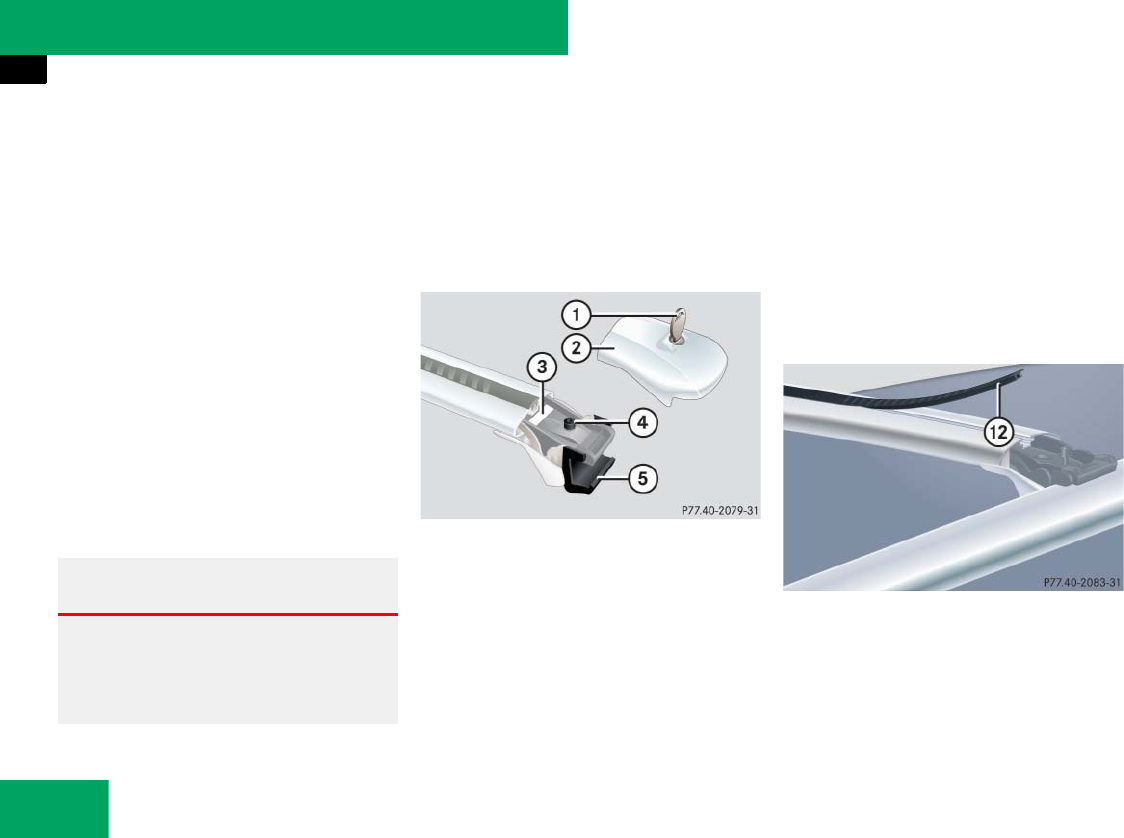
1 Key
2 Cover cap
3 Sticker FRONT (or REAR)
4 Screw for clamping claw
5 Clamping claw
̈ Unlock cover cap 2 with key 1.
̈ Remove cover cap 2.
̈ Turn screws for clamping claws 5
counterclockwise until the crossbars
can be lifted from the roof rails.
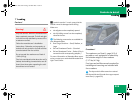
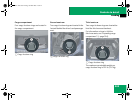
Shortening the cover strip
The cover strips reduce the wind noise
caused by the crossbars. In order to install
add-on roof equipment, it may be neces-
sary to shorten the cover strips.
c Cover strip
̈ Pull cover strip c out of groove.
Warning! G
Have the tightening torque checked after
mounting the crossbars. The screws could
come loose if they are not tightened to a
torque of 4 lb-ft (6 Nm).
୴୴
164.boo Seite 300 Freitag, 30. März 2007 12:54 12