


Installation 4
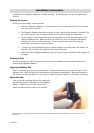
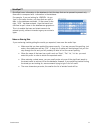
Attach the Adjustable Mount
Align the two tabs on the adjustable mount with
the holes on the back of the cradle. Once the
adjustable mount is flush with the cradle, push the
cradle and receiver assembly down until they lock
into place with the adjustable mount.
Secure the Mount to the Windshield or Adhesive Disk
Make sure that the lever at the base of the adjustable mount is in the up position. Place the base of
the mount firmly over the area of the windscreen to be used or the adhesive disk. Push the lever at
the base of the mount all the way down until it snaps into place. Carefully let go of the assembly,
making sure that it is securely mounted.
Adjust the Mount for Optimum Viewing
Loosen the adjustment locking knobs and position the Magellan Maestro for optimum viewing.
Once set, tighten the locking knobs. (Never attempt to adjust the mount while driving.)
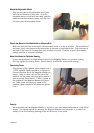
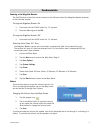
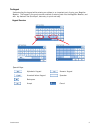
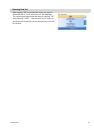
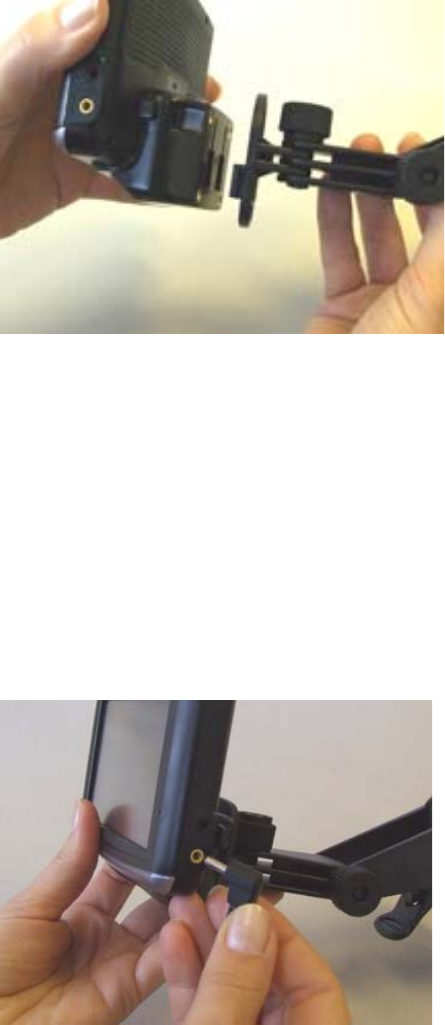
Connecting Power
Plug the end of the cigarette lighter adapter into a
12 VDC cigarette lighter receptacle in the vehicle.
Connect the other end to the Magellan Maestro as
shown. There is a wire catch on the side of the
cradle to run the power cable through to prevent it
from becoming disconnected. If there is power at
the receptacle, the Magellan Maestro will power
on. (Note: some vehicles apply power to the
cigarette lighter receptacle only when the ignition
is on.)
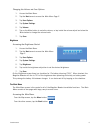
Security
We recommend that the Magellan Maestro is not left in plain view when unattended as it may attract
thieves. The easiest method for removing the Magellan Maestro once the mount is in place is to
unsnap it from the cradle by pressing on the tab at the top of the cradle.