16
top of the screen. 3D renders the path ahead from a position above and
behind your current position, so that the display on the map more
closely matches what you'll actually see through your windshield. Prac-
tice some with each mode, and find out which one is right for you.
Using the Location Information Button
There's one more button that appears whenever the cursor is up. The
Location Information button appears in the top right corner of
the screen. You can always use this button to bring up a screen
showing details on the location selected by the map cursor. This
could be a Point of Interest such as a restaurant or gas station, or a con-
tact that you've saved, or simply a map location that you'd like to visit.
As we mentioned, whenever you press the Location Information button,
the Location Information Screen appears. The Location Information
Screen will include as much information as possible about the location
that you've selected. If it's simply a cursor location, this may include
only the lat/lon coordinates and the distance and bearing to the loca-
tion, although a cursor location close to a road will also have the street
address. If it's a Point of Interest the information should include street
address and even the shop's phone number.
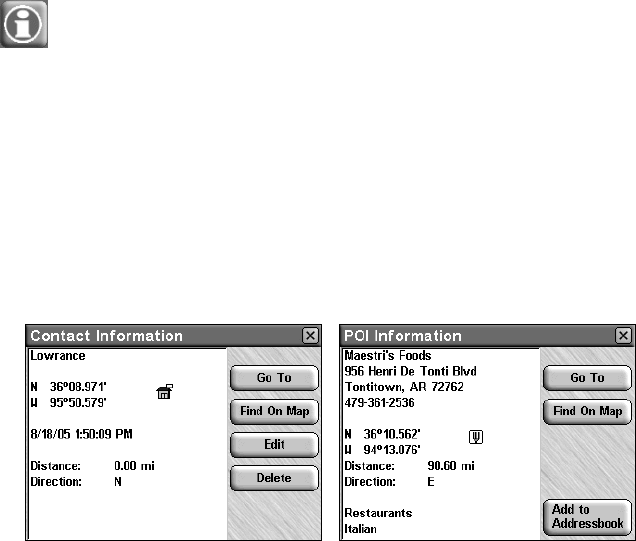
The Location Information Screen for a saved contact (shown left)
and for a restaurant POI (shown right).
From the information screen, you can choose to GO TO the selected loca-
tion, which makes the iWAY generate a route. This is the easiest way
to generate a route to a destination, and we'll use it in the "Map Mode
Practice Run." See the heading "Navigating to a Contact" below for de-
tails. The command
FIND ON MAP can be used to center the map on the
selected location.
Creating and Saving Contacts
You can use the Location Information button to access information con-
cerning anything from a Point of Interest to a simple cursor position. If
you've selected a cursor position, a button labeled "Add to Address


