6.2
Section 6
Lubrication System
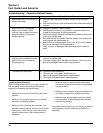
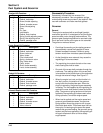
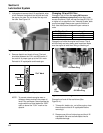
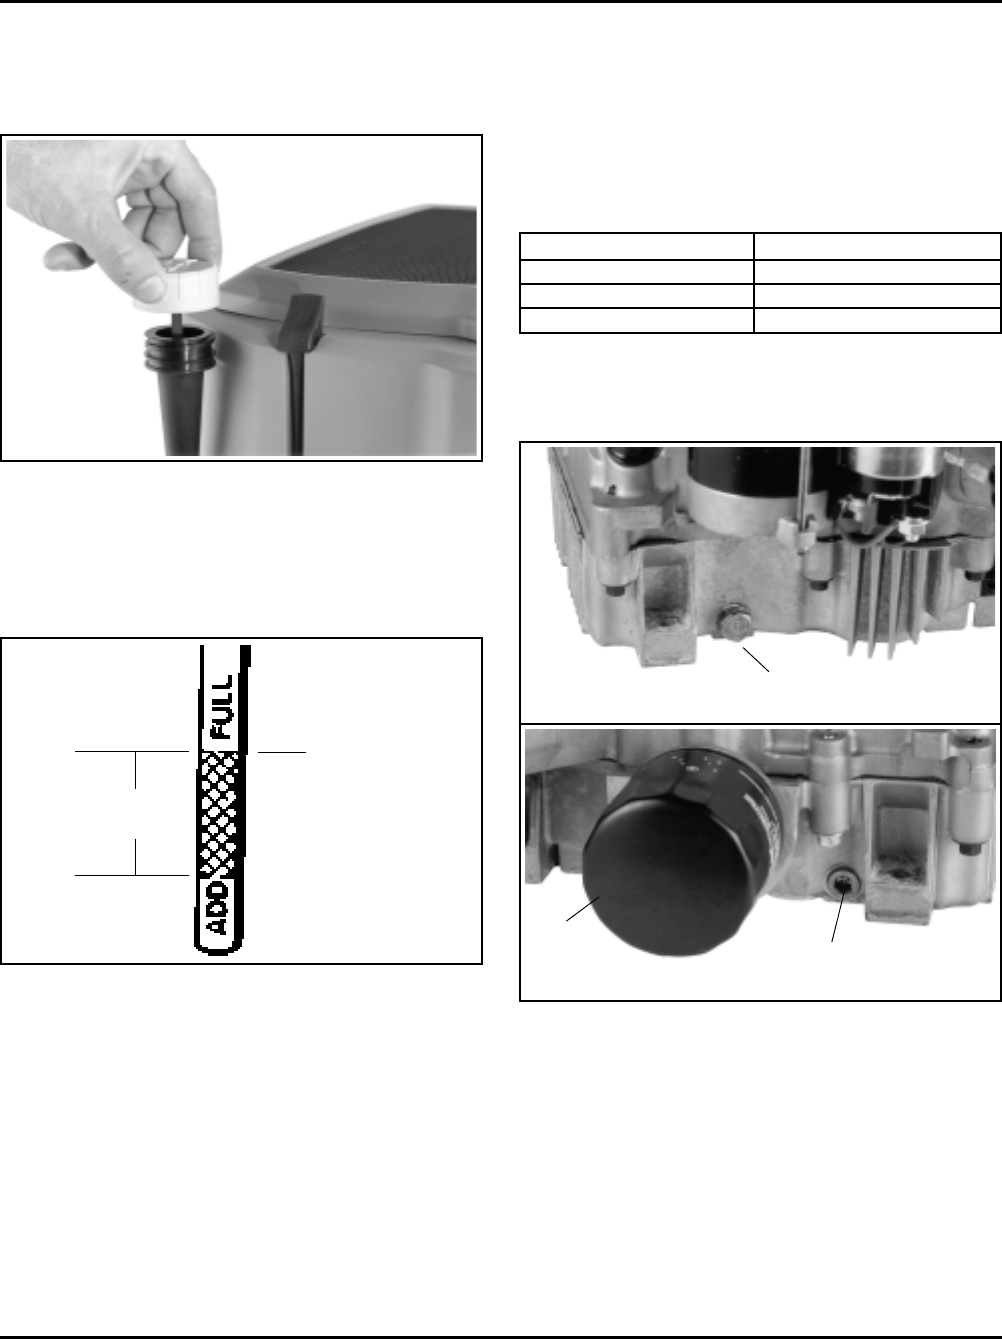
Figure 6-3. Oil Level Marks on Dipstick.
NOTE: To prevent extensive engine wear or
damage, always maintain the proper oil
level in the crankcase. Never operate the
engine with the oil level below the ‘‘ADD’’
mark or above the ‘‘FULL’’ mark on the
dipstick.
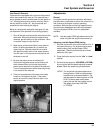
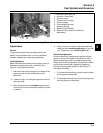
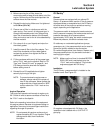
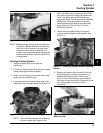
3. Unthread and remove the oil fill cap/dipstick; wipe
oil off. Reinsert the dipstick into the tube and rest
the cap on the tube. Do not thread the cap onto
the tube. See Figure 6-2.
Figure 6-2. Oil Fill Cap/Dipstick.
4. Remove dipstick and check oil level. The level
should be between the FULL and ADD marks. If
low, add oil of proper type up to the FULL mark.
Reinstall oil fill cap/dipstick and thread tight.
Changing Oil and Oil Filter
Change oil and oil filter after every 200 hours or
annually, whichever comes first (more often under
severe conditions). Refill with service class SG, SH, SJ
or higher oil, as specified in the ‘‘Viscosity Grades’’ table
on previous page. Always use a genuine Kohler oil
filter. Use chart below to determine part number to
order.
Operating
Range
‘‘Full’’ Mark
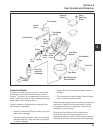
Oil Filter Part No.
Length
277233-S
12 050 01-S
52 050 02-S
5"
2-1/2"
3-3/8"
Change the oil while the engine is still warm. The oil
will flow freely and carry away more impurities. Make
sure the engine is level when filling or checking oil.
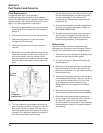
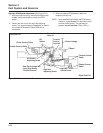
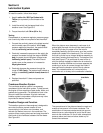
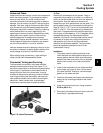
Figure 6-4. Oil Drain Plugs and Oil Filter.
Change the oil and oil filter as follows (See
Figure 6-4.):
1. To keep dirt, debris, etc., out of the engine, clean
the area around the oil fill cap/dipstick before
removing it.
2. Remove one of the oil drain plugs and the oil fill
cap/dipstick. Be sure to allow ample time for
complete drainage.
Oil
Filter
Oil Drain Plug
Oil Drain Plug


