


40
REFERENCE
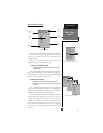
Main Menu—
Navigation Setup
Submenu
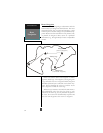
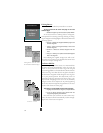
Map Datums (cont)
To define a user datum:
1. Highlight the ‘MAP DATUM’ field, and press
ENTER
.
2. Scroll through the map datum options until ‘User’
appears, and press
ENTER
.
3. Enter the five parameters of the map datum—‘DX’,
‘DY’, ‘DZ’, ‘DA’, and ‘DF’—using the rocker keypad,
and press
ENTER
. The signs of each value should
follow the convention: WGS 84 +/- local geodetic
system.
4. Highlight ‘SAVE?’, and press
ENTER
.
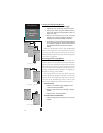
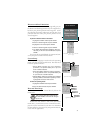
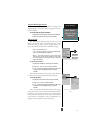
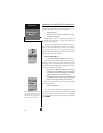
CDI Scale
The course deviation indicator (CDI) field lets you
select the range of the CDI bar scale on the Highway
Page. Four scales are available: +/- 0.02, 0.25 (default),
1.25, and 5.0 miles or kilometers. Note: This CDI value
represents the full scale limits (left or right from center)
of the CDI.
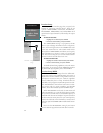
To enter a CDI scale setting:
1. Highlight the ‘CDI’ field, and press
ENTER
.
2. Select the desired setting, and press
ENTER
.
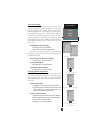
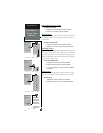
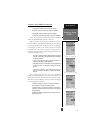
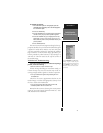
Units of Measure
The GPS 12 CX lets you select statute (default), nau-
tical, or metric units of measure for all speed and distance
readouts.
To change the unit of measure:
1. Highlight the ‘UNITS’ field, and press
ENTER
.
2. Select the desired units of measure, and press
ENTER
.
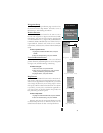
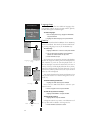
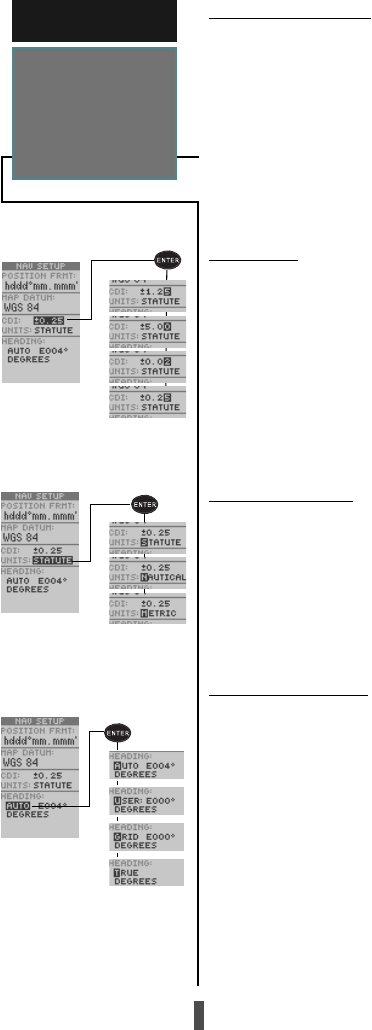
Heading Reference
The GPS 12CX’s heading information can be displayed
referencing magnetic north (automatic or user-defined),
true north, or calculated grid headings. The default set-
ting is automatically-calculated magnetic north, which is
suitable for most applications.
To select a heading reference:
1. Highlight the ‘HEADING’ field, and press
ENTER
.
2. Select the desired heading reference, and press
ENTER
.
To enter a user-defined magnetic heading:
1. Select ‘User Mag’ and press
ENTER
.
2. Enter the degrees and direction of magnetic variation,
and press
ENTER
.
Units of Measurement
Settings
Heading Settings
CDI Scale Settings