


34
Creating a Route
Activating a Route
Inverting a Route
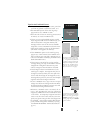
Creating and Navigating Routes
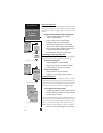
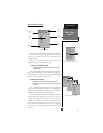
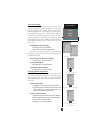
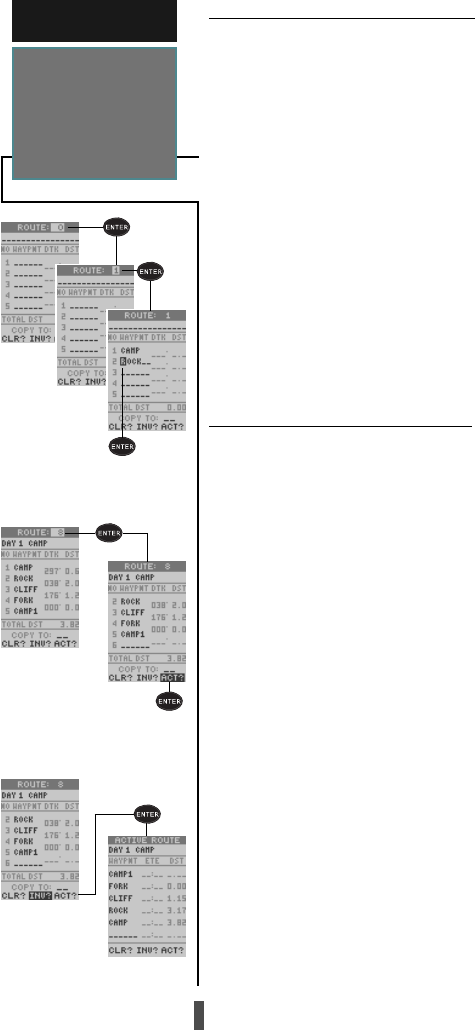
To create a route from the route definition page:
1. Highlight the route number field, and press
ENTER
.
2. Enter a route number, and press
ENTER
. (Select an
empty route—without any waypoints listed—when cre-
ating a new route.)
3. Enter the first waypoint of your route, and press
ENTER
. As you continue entering the rest of your
waypoints, the list will automatically scroll down.
4. To change the route comment (automatically assigned
to the route based upon the starting and final destina-
tion waypoints), highlight the route comment field and
press
ENTER
. Enter the new comment and press
ENTER
.
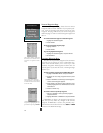
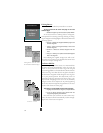
Whenever you activate a route, it will automatically
select the route leg closest to your position as the active
leg. As you pass each waypoint in the route, the receiver
will automatically sequence and select the next waypoint
as the ‘active to’ waypoint.
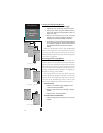
Activating and Inverting Routes
After a route has been entered, it can be either acti-
vated in sequence or inverted from the route definition
page. The process of activating or inverting a stored route
takes a storage route (routes 1-19) and copies it into the
active route (route 0) for navigation. The storage route is
no longer needed and will be retained in its original for-
mat under its existing route number.
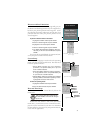
This system allows you to have an active route that
you may edit during navigation and save as an entirely
new route from the original. You will have to copy the
active route to an unused storage route to save it, since
new route or TracBack activation overwrites route 0.
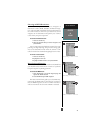
To activate a route:
1. From the route definition page, highlight the route
number field and press
ENTER
.
2. Enter the route number to be activated, and press
ENTER
.
3. Highlight ‘ACT?’, and press
ENTER
.
To activate a route in inverted order:
1. Follow the steps above, but select ‘INV?’, and press
ENTER
.
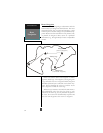
REFERENCE
Creating
& Navigating
Routes