


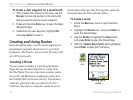
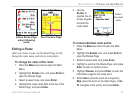


To delete a route:
1. Press the Menu key twice to open the Main
Menu.
2. Highlight the Routes icon, and press Enter to
open the Routes Page.
3.
Press the Menu key to open the Options Menu.
4.
Highlight Delete All Routes, and press Enter
to clear the list of saved routes. A confirmation
message appears, asking “Do you really want to
delete all routes?” Select Yes, and press Enter.
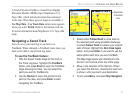
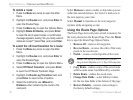
To select the off-road transition for a route:
1. Press the Menu key twice to open the Main
Menu.
2. Highlight the Routes icon, and press Enter to
open the Routes Page.
3.
Press the Menu key to open the Options Menu.
4. Select Off Road Transition, and press Enter
to open the Off Route Transition Page.
5. Highlight the Route Leg Transition field, and
press Enter to view the list of options.
6. Select the method to use (Manual or
Distance) when advancing the route to the
next point.
Select Distance to enter a radius so that when you are
within the entered distance, the Vista Cx leads you to
the next point on your route.
Select Manual to transition to the next waypoint
anytime while navigating a route.
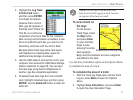
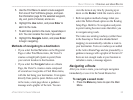
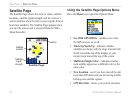
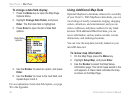
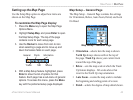
Using the Route Page Options
The Route Page shows all points stored in memory for
the route selected on the Routes Page. Press the Menu
key to open the Route Page Options Menu.
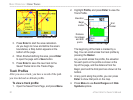
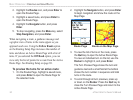
• Remove All
—removes all waypoints.
• Reverse Route—reverses the order of the route
points in the saved route.
• Profile—creates a vertical profile of the route.
NOTE: This option is available only if you are
using Garmin MapSource U.S. Topo 24K map data.
• Copy Route—makes a copy of the saved route
with the same name, but followed by a number.
• Delete Route
—deletes the saved route.
• Change Data Fields—select different values
for the two data fields at the bottom of the page.
• Restore Defaults
—restores route settings to
the factory default settings.
36 eTrex Vista Cx Owner’s Manual
BASIC OPERATION > CREATING AND USING ROUTES