


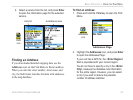
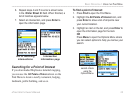

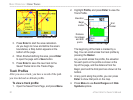
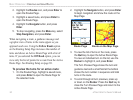

2. Highlight the Log Track
to Data Card option,
and then press ENTER
to activate the feature.
Observe that a current
date .gpx file appears in
the Data Card Tracks list.
This file is a continuous
compilation of all track data for the indicated
date. As long as this feature is enabled, a new
file is recorded for each day you use the unit.
Recording continues until the card is filled.
Because these track logs share card space
with MapSource mapping data, space for
additional map storage is reduced.
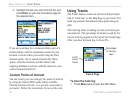
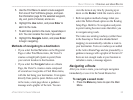
3. Use the USB cable to connect the unit to your
computer then access the USB Mass Storage
feature explained on page 68. You can open
the track logs using Garmin MapSource or
another .gpx file-compatible application.
4. To delete these track logs from the microSD
card, highlight individual logs, and then press
ENTER. Use the Delete All button to clear the
entire list.
NOTE: Do not remove the microSd card
from the unit while logging a track, because
corruption of the data can result.
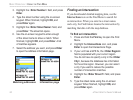
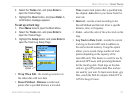
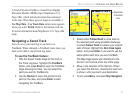
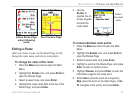
To view a track on
the map:
On the Saved
Track Page, select
the Map button,
and press Enter
to open the Map
Page. A map
showing the entire
track appears.
Begin and End markers and user waypoints
are added to the track.
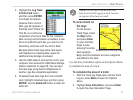
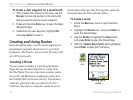
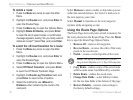
Use the Area Calculation option on the Options Menu
to calculate the area of a track.
To calculate the area of a track:
1. With the Track Log Page open and the Track
Log on, press Menu to open the Options
Menu.
2. Highlight Area Calculation, and press Enter
to open the Area Calculation Page.
Saved track on the Map Page
eTrex Vista Cx Owner’s Manual 29
BASIC OPERATION > USING TRACKS